AdoPiSoft, previously known as Ado Piso WiFi, is a software used in Piso WiFi vending machines, similar to LPB, PisoFi, and others.
AdoPiSoft Piso WiFi Login Menus
Additionally, it is a vending machine that consists of aRaspberry Pi or Orange Pi, a universal coin collector, amicro SD card, and other components, all connected to a router and WiFi modem to function as a hotspot.
It features a user portal (10.0.0.1) for viewing time rates, inserting coins, connecting to Piso WiFi, and pausing or resuming sessions, along with an admin menu (10.0.0.1/admin) to adjust pricing, enable or disable pause time buttons, activate licenses, manage admins (and sub-admins), set bandwidth limits, and more.
AdoPiSoft Piso WiFi User Menu
How to Connect (Insert Money) to AdoPiSoft Piso WiFi
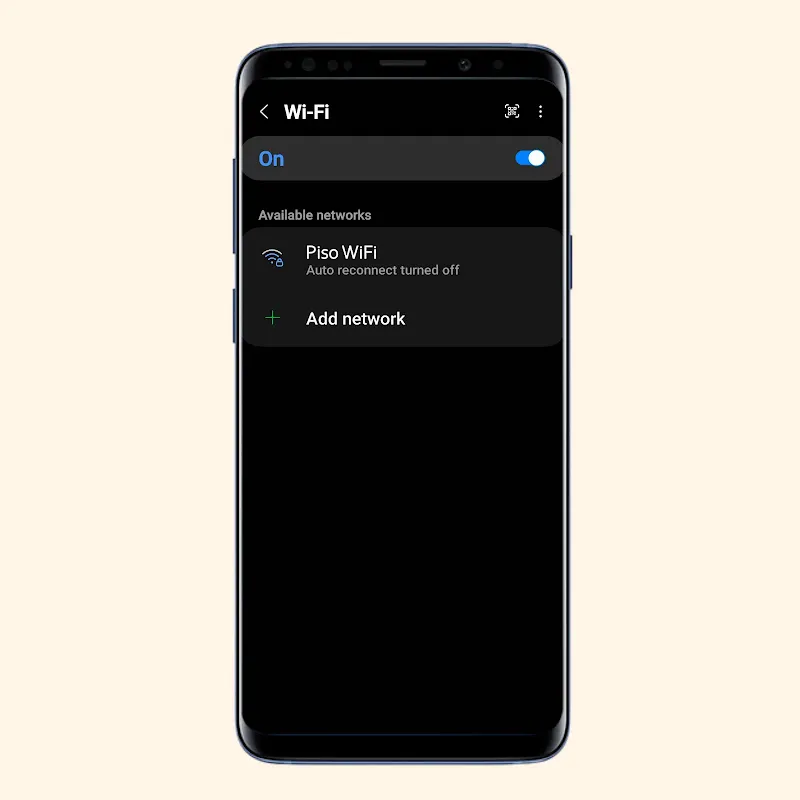
AdoPiSoft vending machines use a pay-to-connect system where users can connect to the WiFi, typically named 'AdoPiSoft Piso WiFi', but cannot access the internet until they make a payment by inserting a coin, purchasing e-load, or entering a voucher code.
Open WiFi menu and connect to 'AdoPiSoft Piso Wifi'.
Open Google Chrome (or any browser: Mozilla Firefox, Opera, Safari, etc.) and write 10.0.0.1 to the address bar and go.
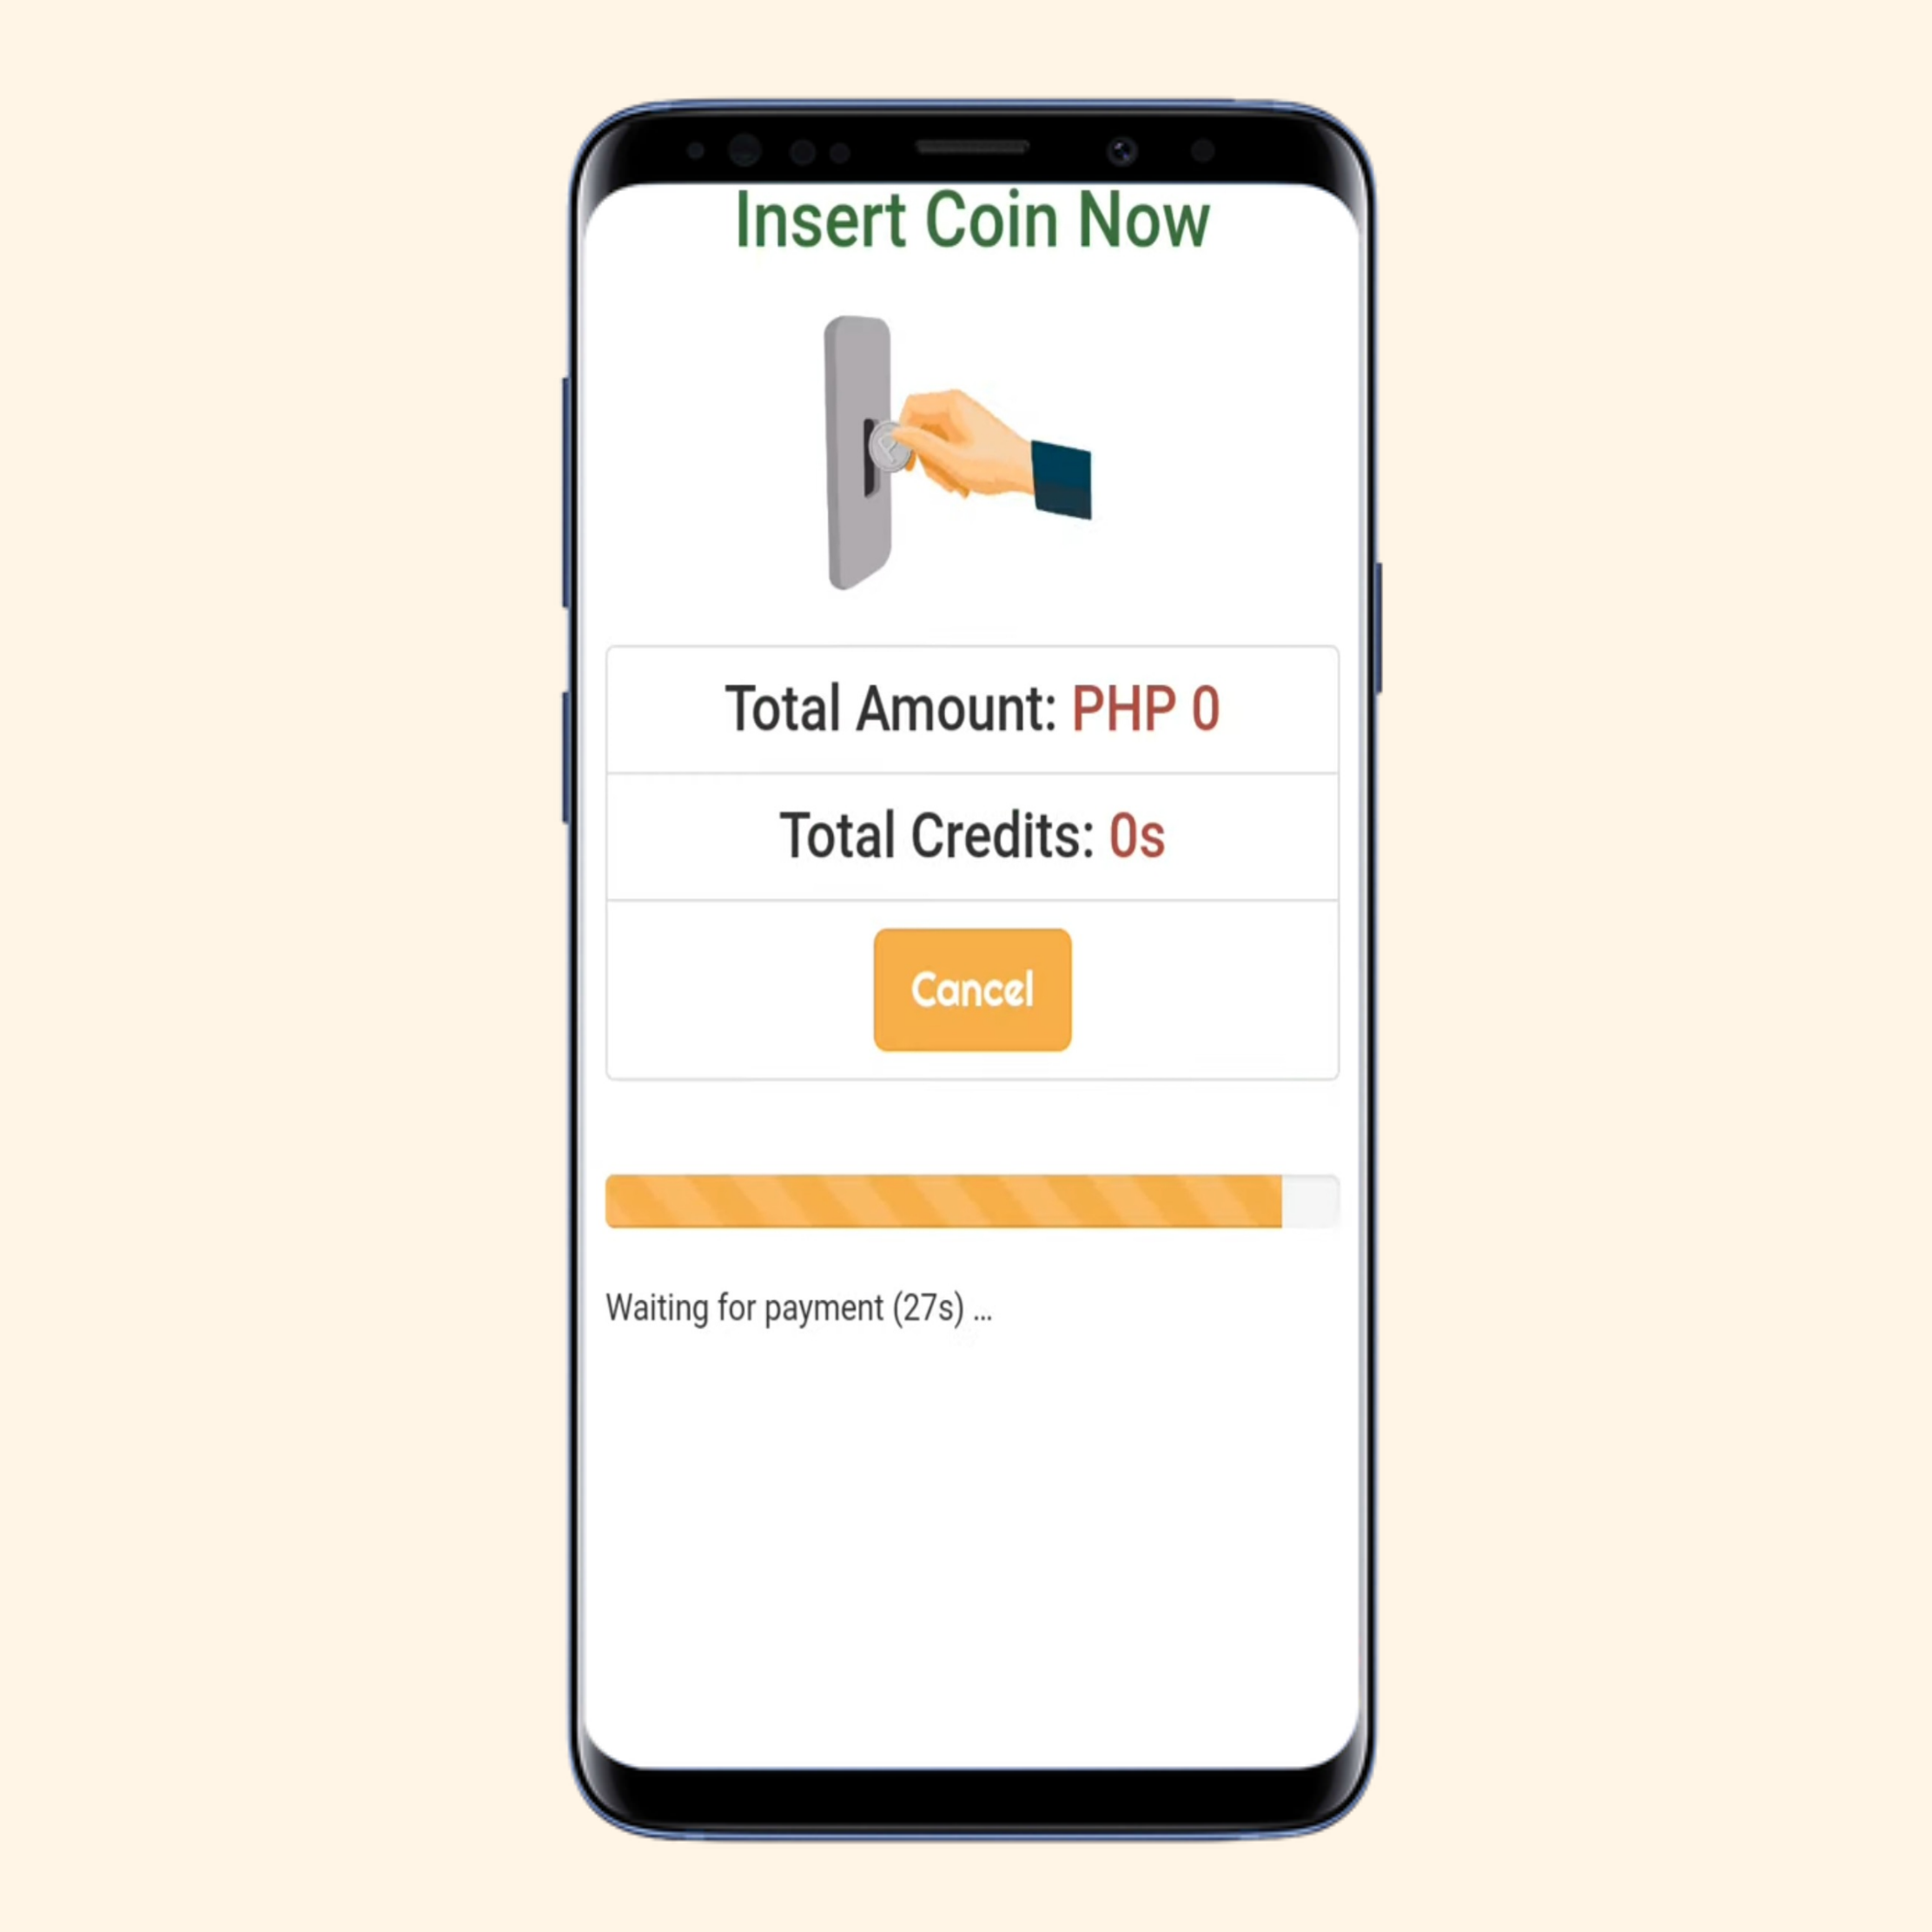
Tap Insert Coin button.
Insert piso coins to the vending machine.
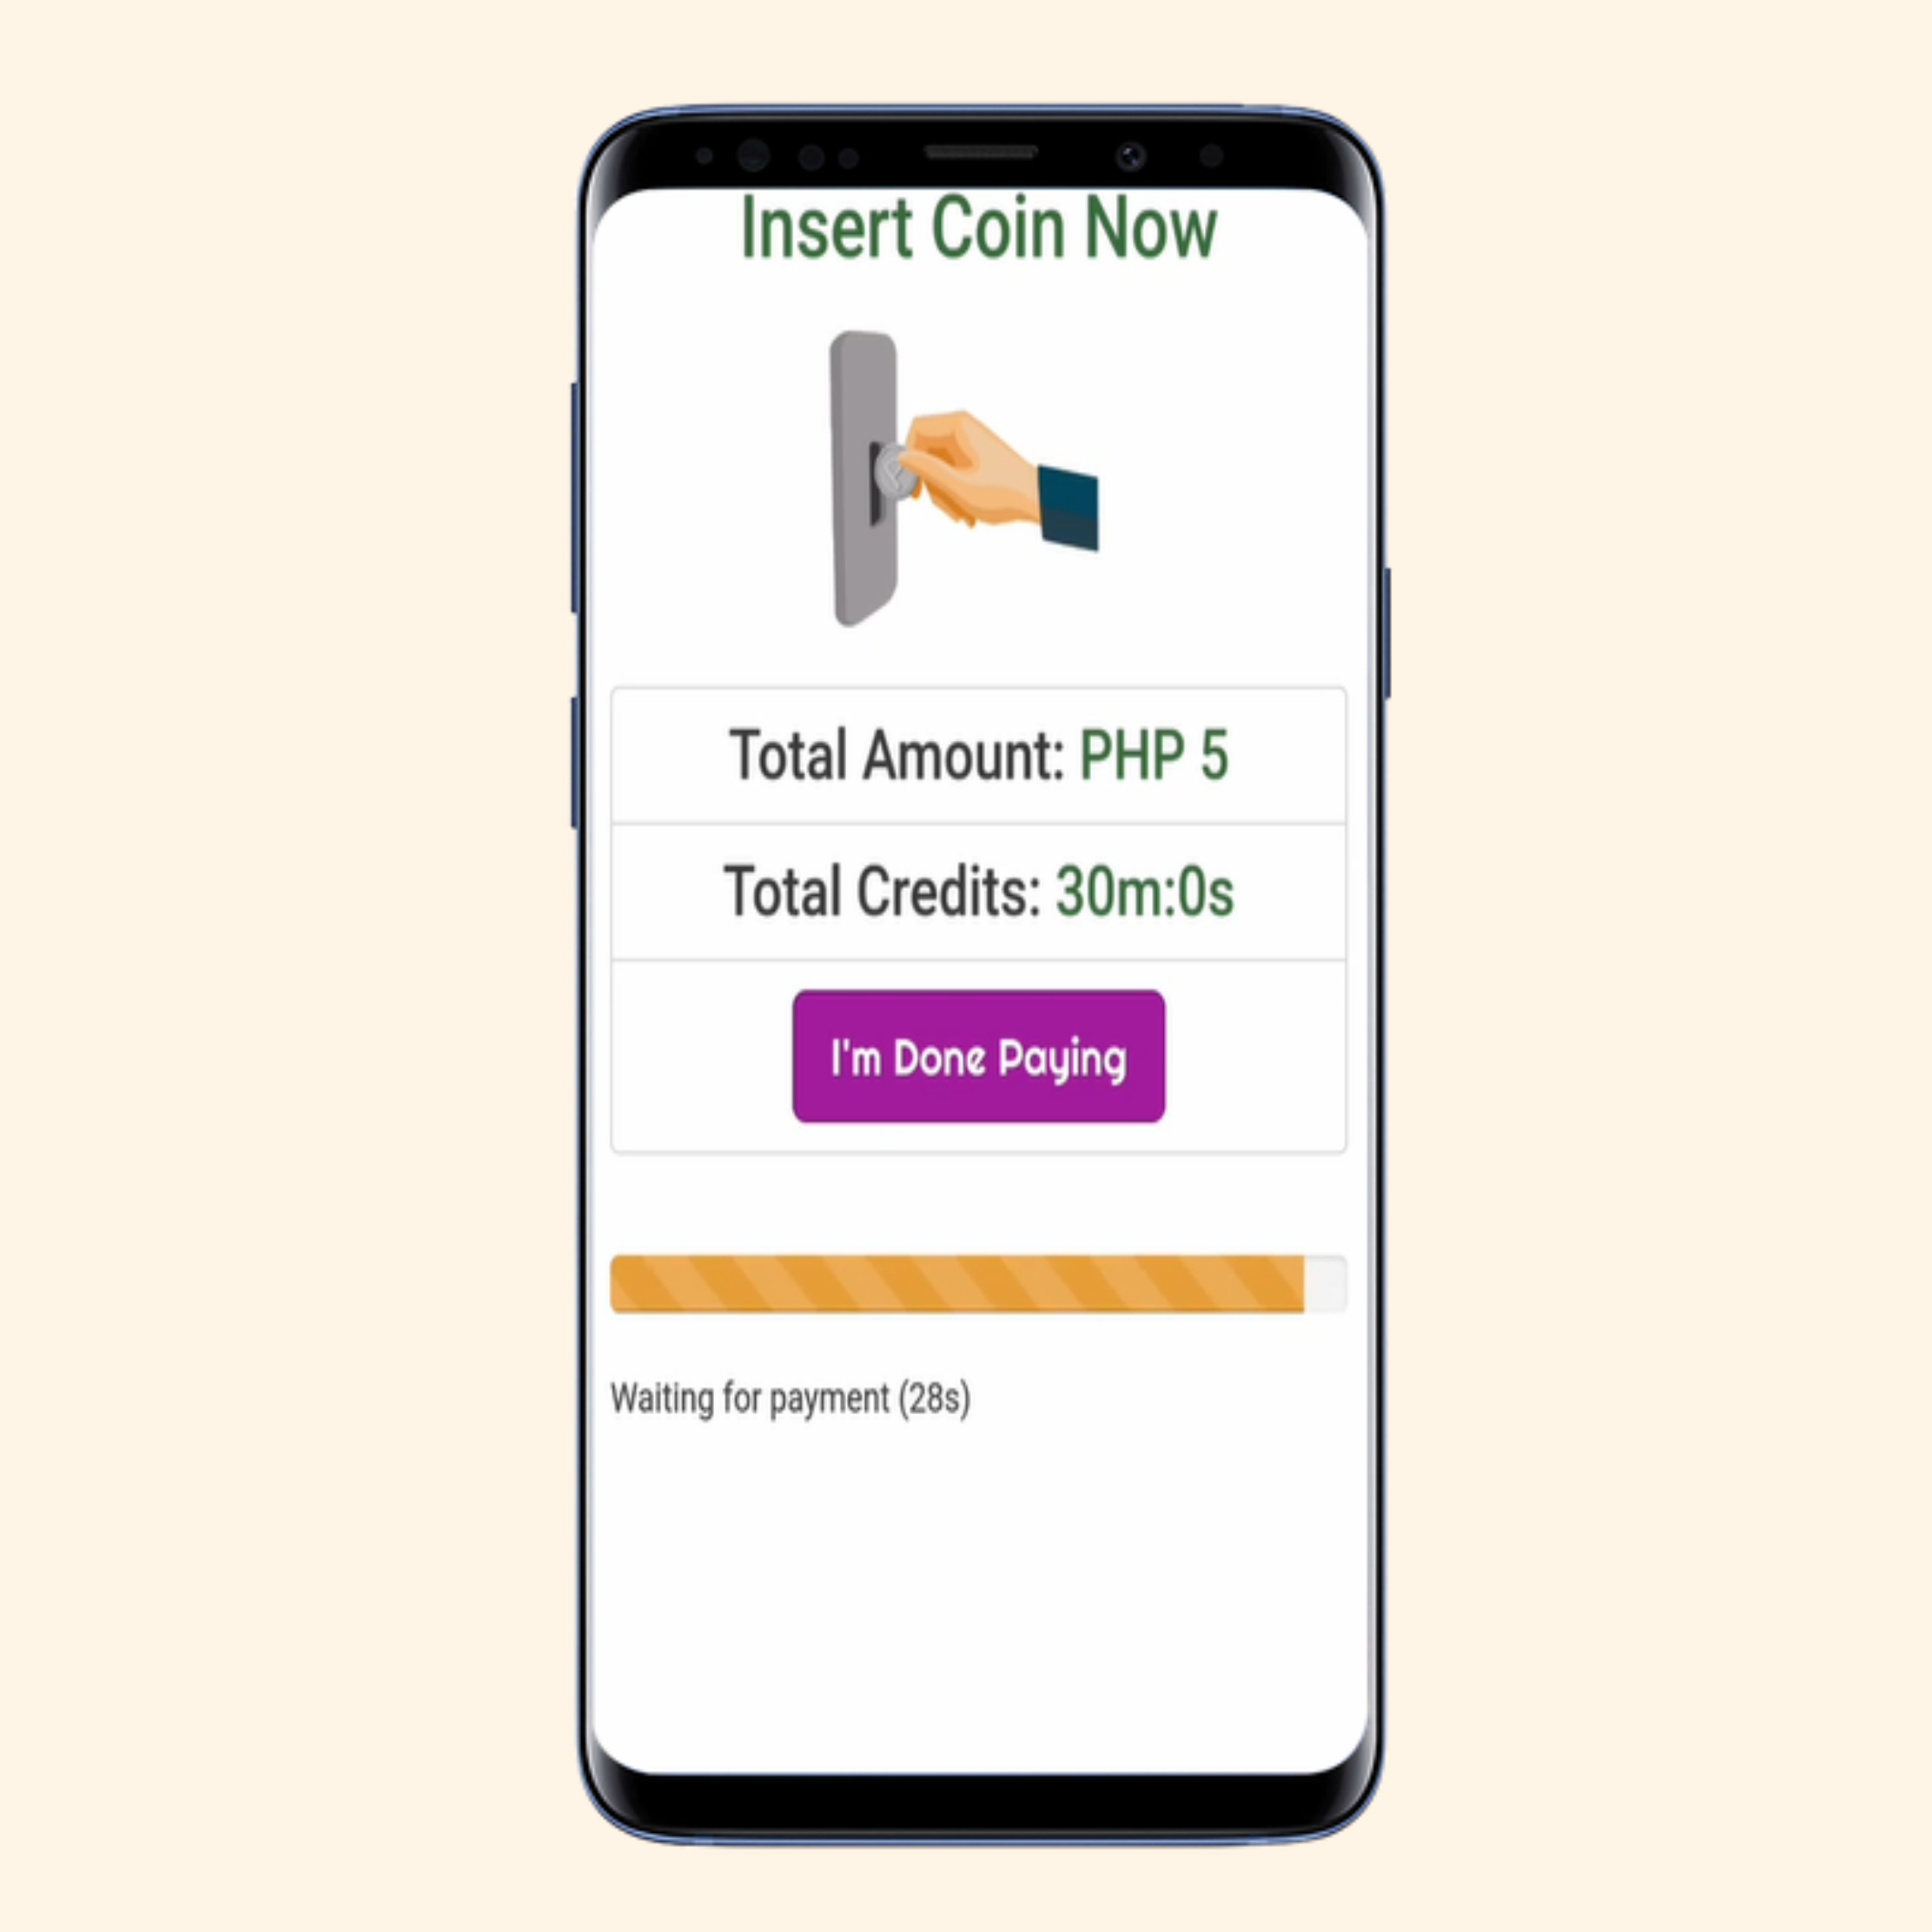
Once you inserted coins to the vending machine and see change in Total Credits and Total Amount, tap I'm Done Paying.
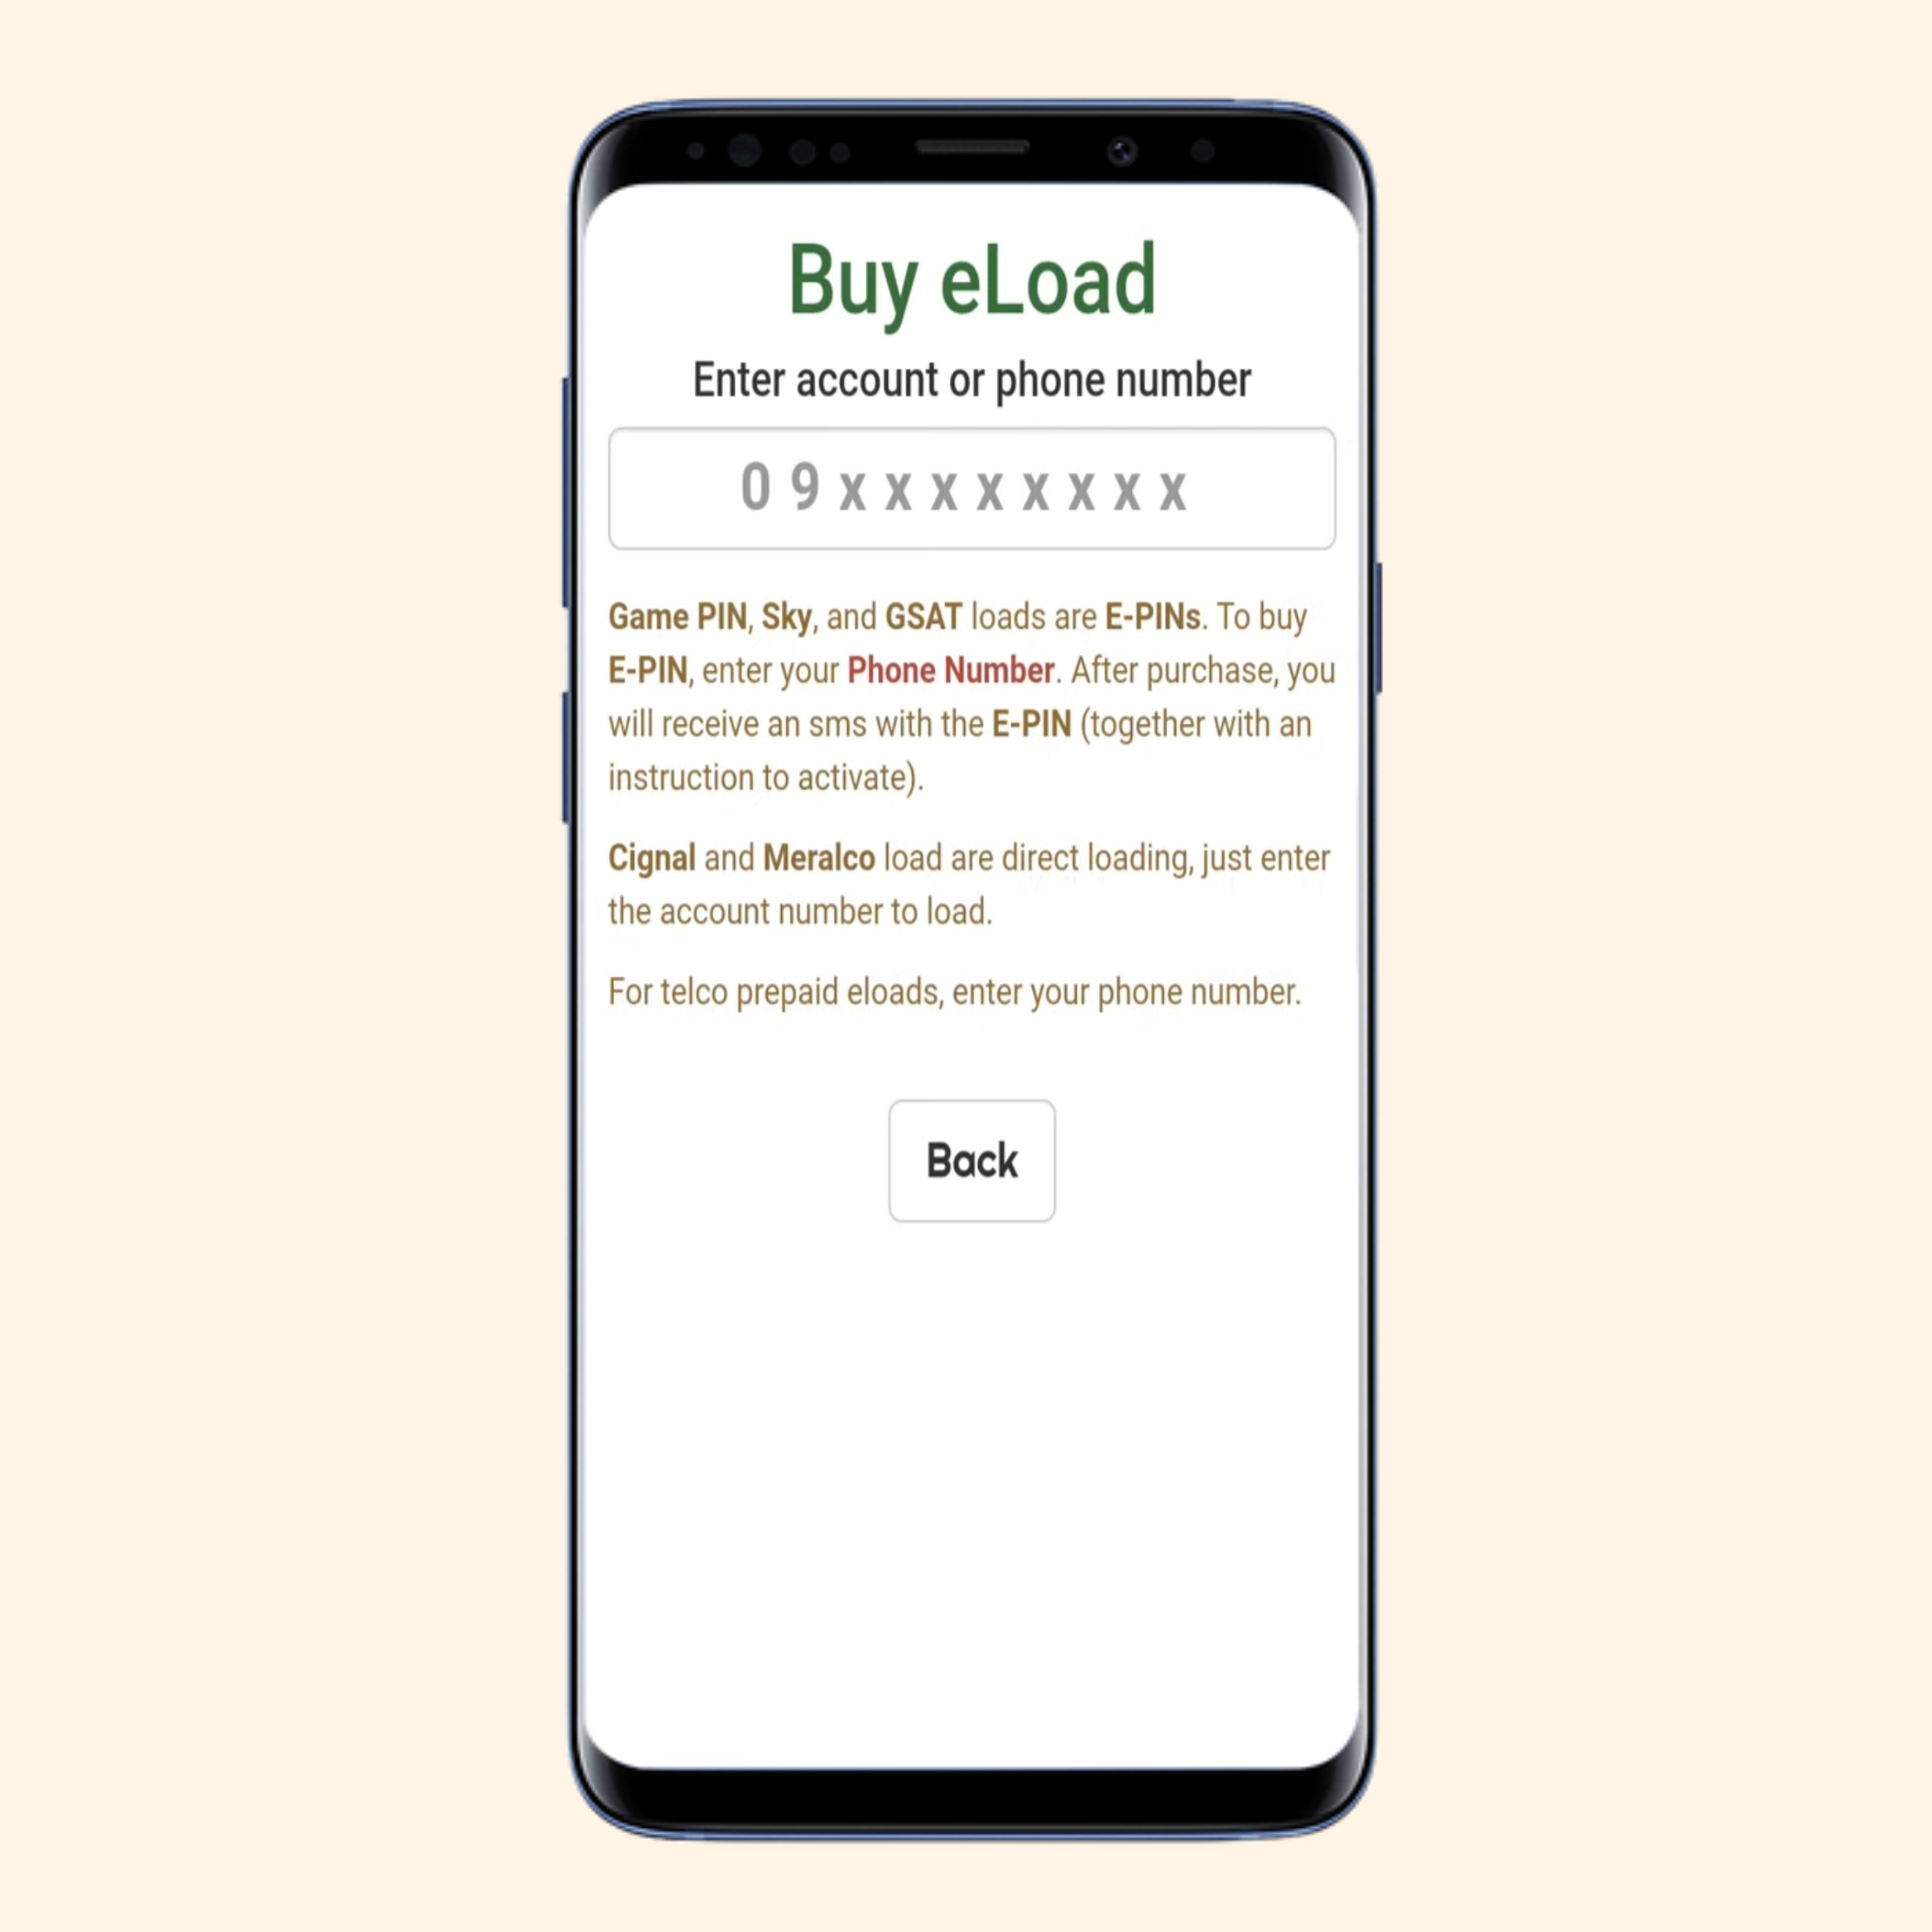
Alternatively, tap Buy eLoad to use your phone to insert money electronically.
Start to surf on the Internet.
How to Pause Time on AdoPiSoft Piso WiFi
It is possible to pause your timer to save your remaining time when busy; however, it is only available if the admin has enabled it.
Provided that the 'pause time' button does not appear after inserting a coin, the admin may have disabled it entirely or applied restrictions, such as allowing only users who pay 10 piso to pause their time, limiting pauses to users with 30 minutes remaining, or restricting the button's use to a maximum of three times or less per user.
Open WiFi menu and connect to 'AdoPiSoft Piso Wifi'.
Open Google Chrome (or any browser: Mozilla Firefox, Opera, Safari, etc.) and write 10.0.0.1 to the address bar and go.
Insert Coin or Buy eLoad using the steps in How to Insert Coin on AdoPiSoft.
Tap Pause button to pause your internet session timer temporarily.
Tap Connect to restart your internet session after it has been paused.
AdoPiSoft Piso WiFi Admin Menu
How to Use Admin Panel on AdoPiSoft Piso WiFi
AdoPiSoft also includes an admin portal that allows owners to customize settings, such as user time rate per piso coin, pause/resume time limitations, and download/speed limits.
To access the portal, enter 10.0.0.1/admin in your browser (Microsoft Edge, Yandex, Google Chrome, Mozilla Firefox...) and enter the default credentials:
AdoPiSoft
Username: admin
Password: admin
Open WiFi menu and connect to 'AdoPiSoft Piso Wifi'.
Open Google Chrome (or any browser: Mozilla Firefox, Opera, Safari, etc.) and write 10.0.0.1/admin to the address bar and go.
Enter Username (default: admin), Password (default: admin), and tap Login button to log into admin portal.
How to Generate Voucher Codes on AdoPiSoft Piso WiFi
Open WiFi menu and connect to 'AdoPiSoft Piso Wifi'.
Open Google Chrome (or any browser: Mozilla Firefox, Opera, Safari, etc.) and write 10.0.0.1/admin to the address bar and go.
Enter Username (default: admin), Password (default: admin), and tap Login button to log into admin portal.
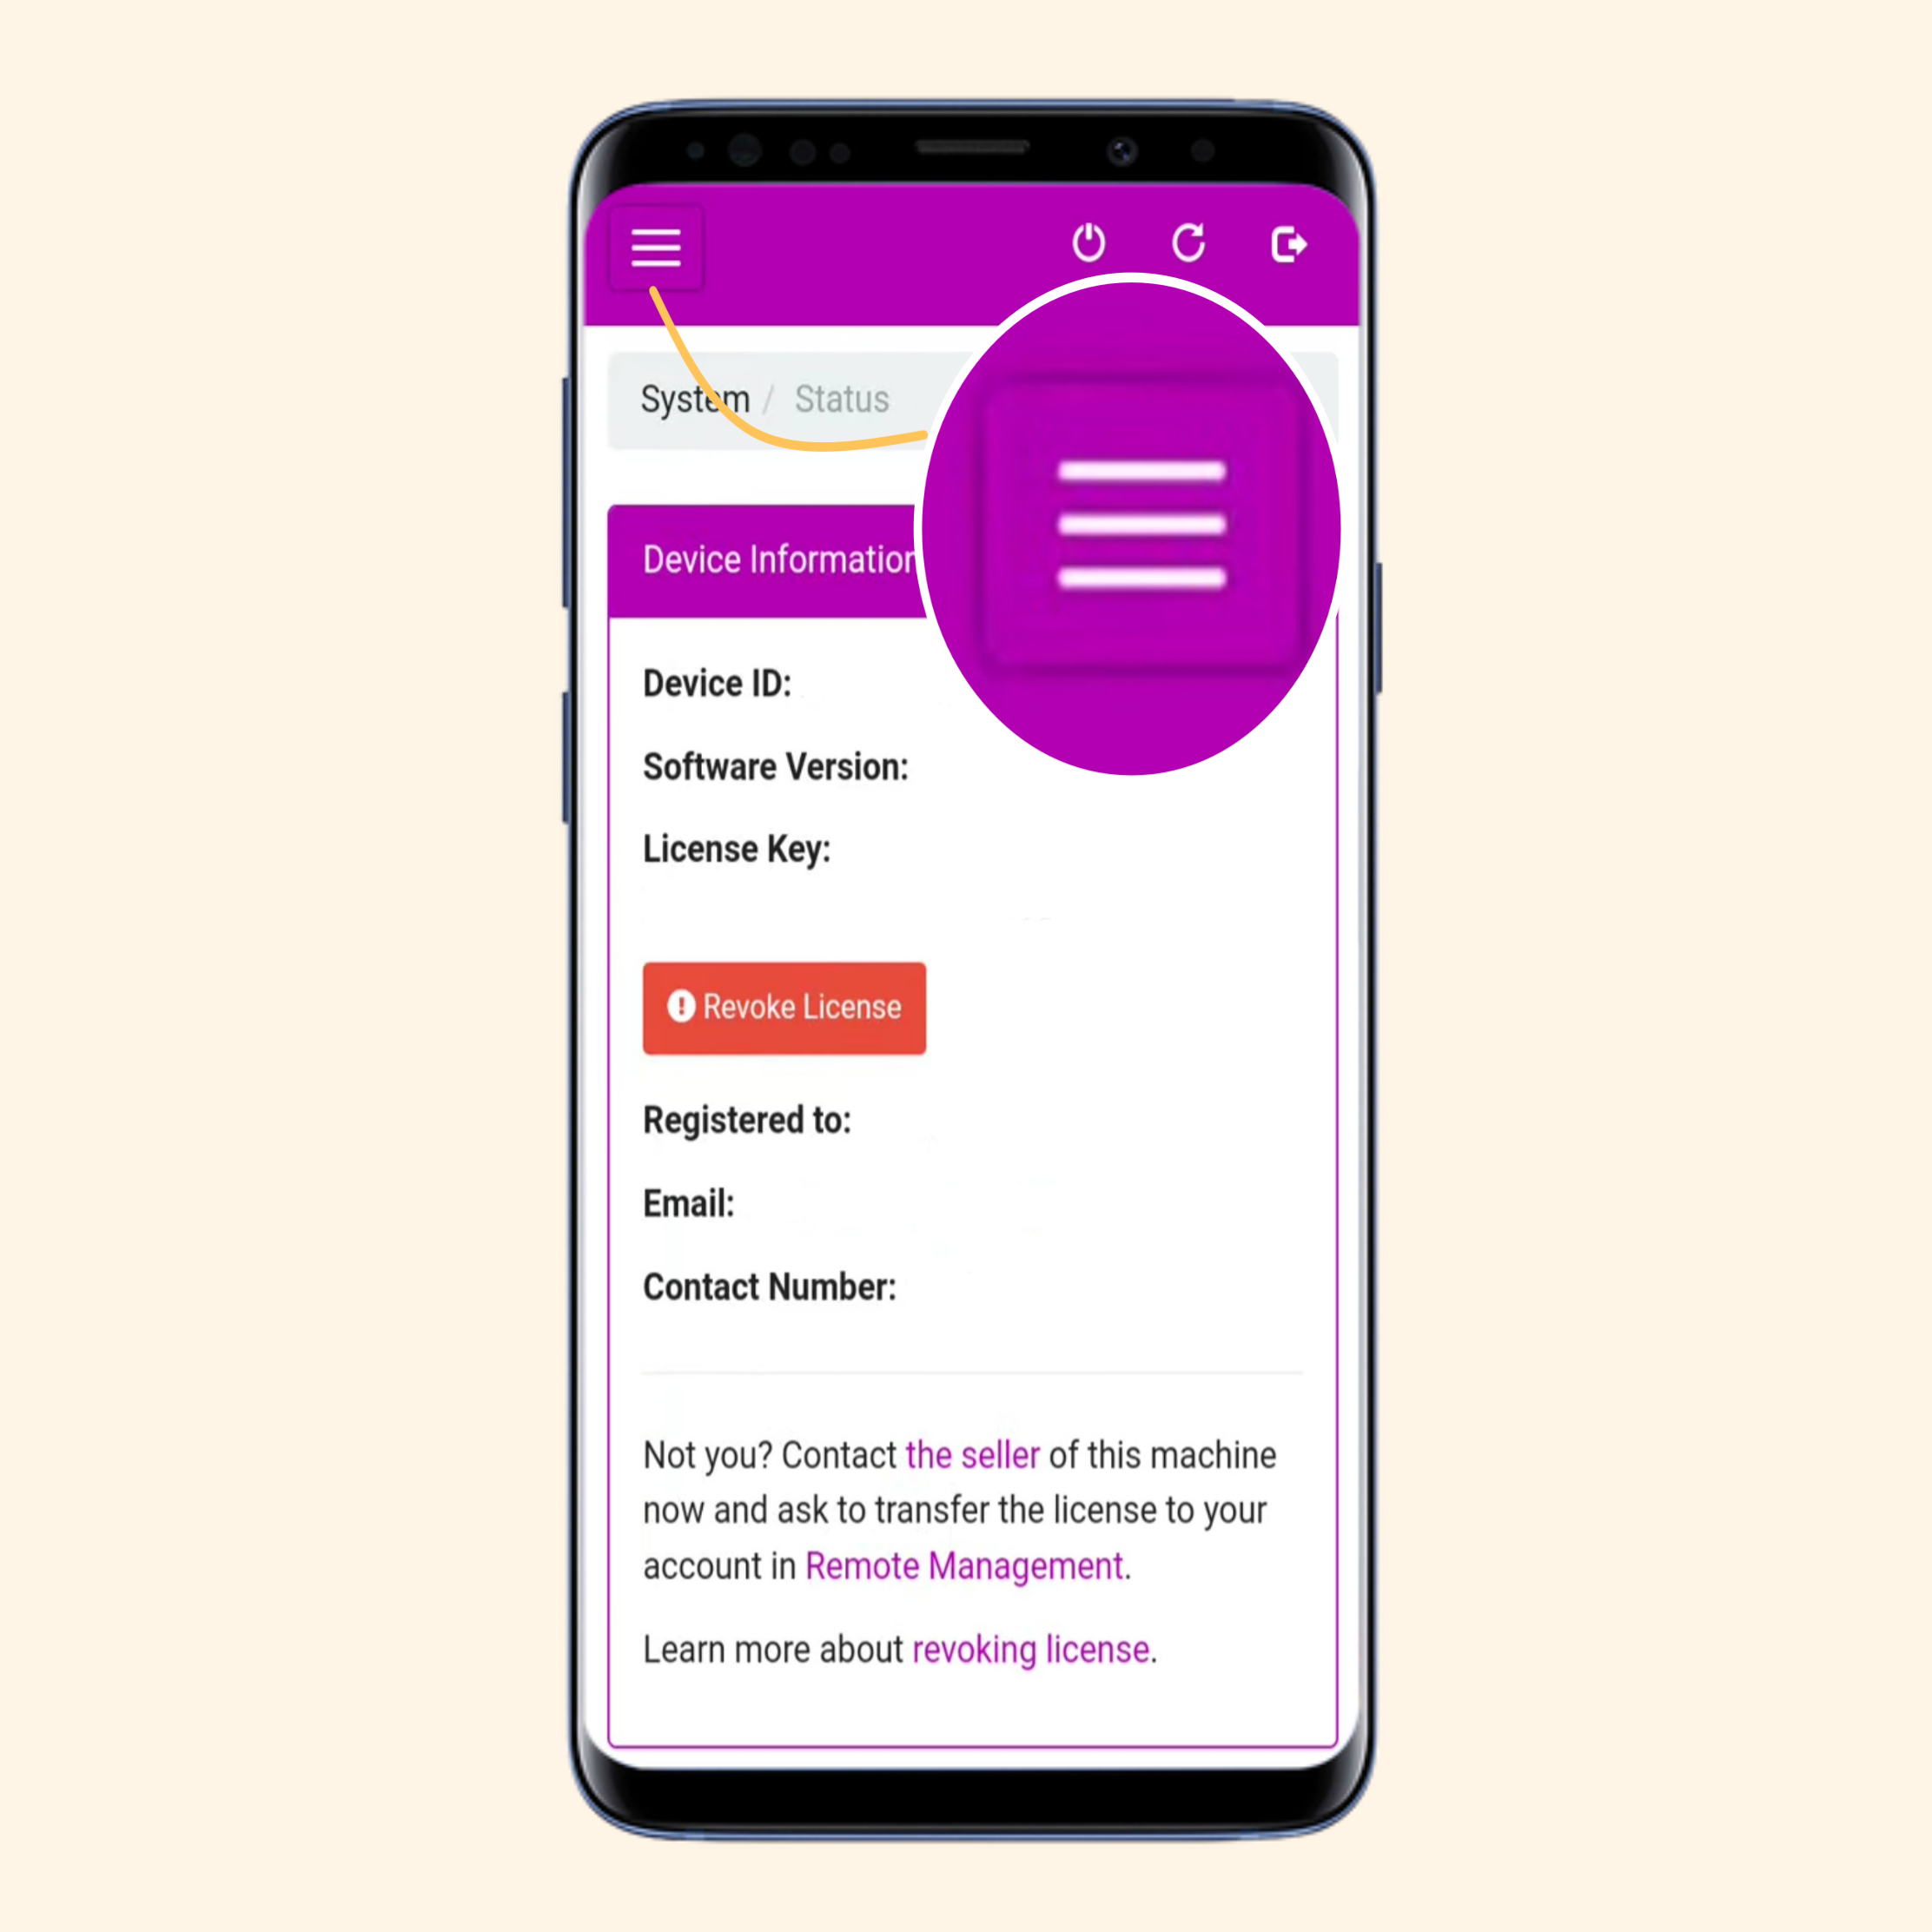
Tap ☰ (three-horizontal-lines or hamburger button) on the top left to see admin settings.
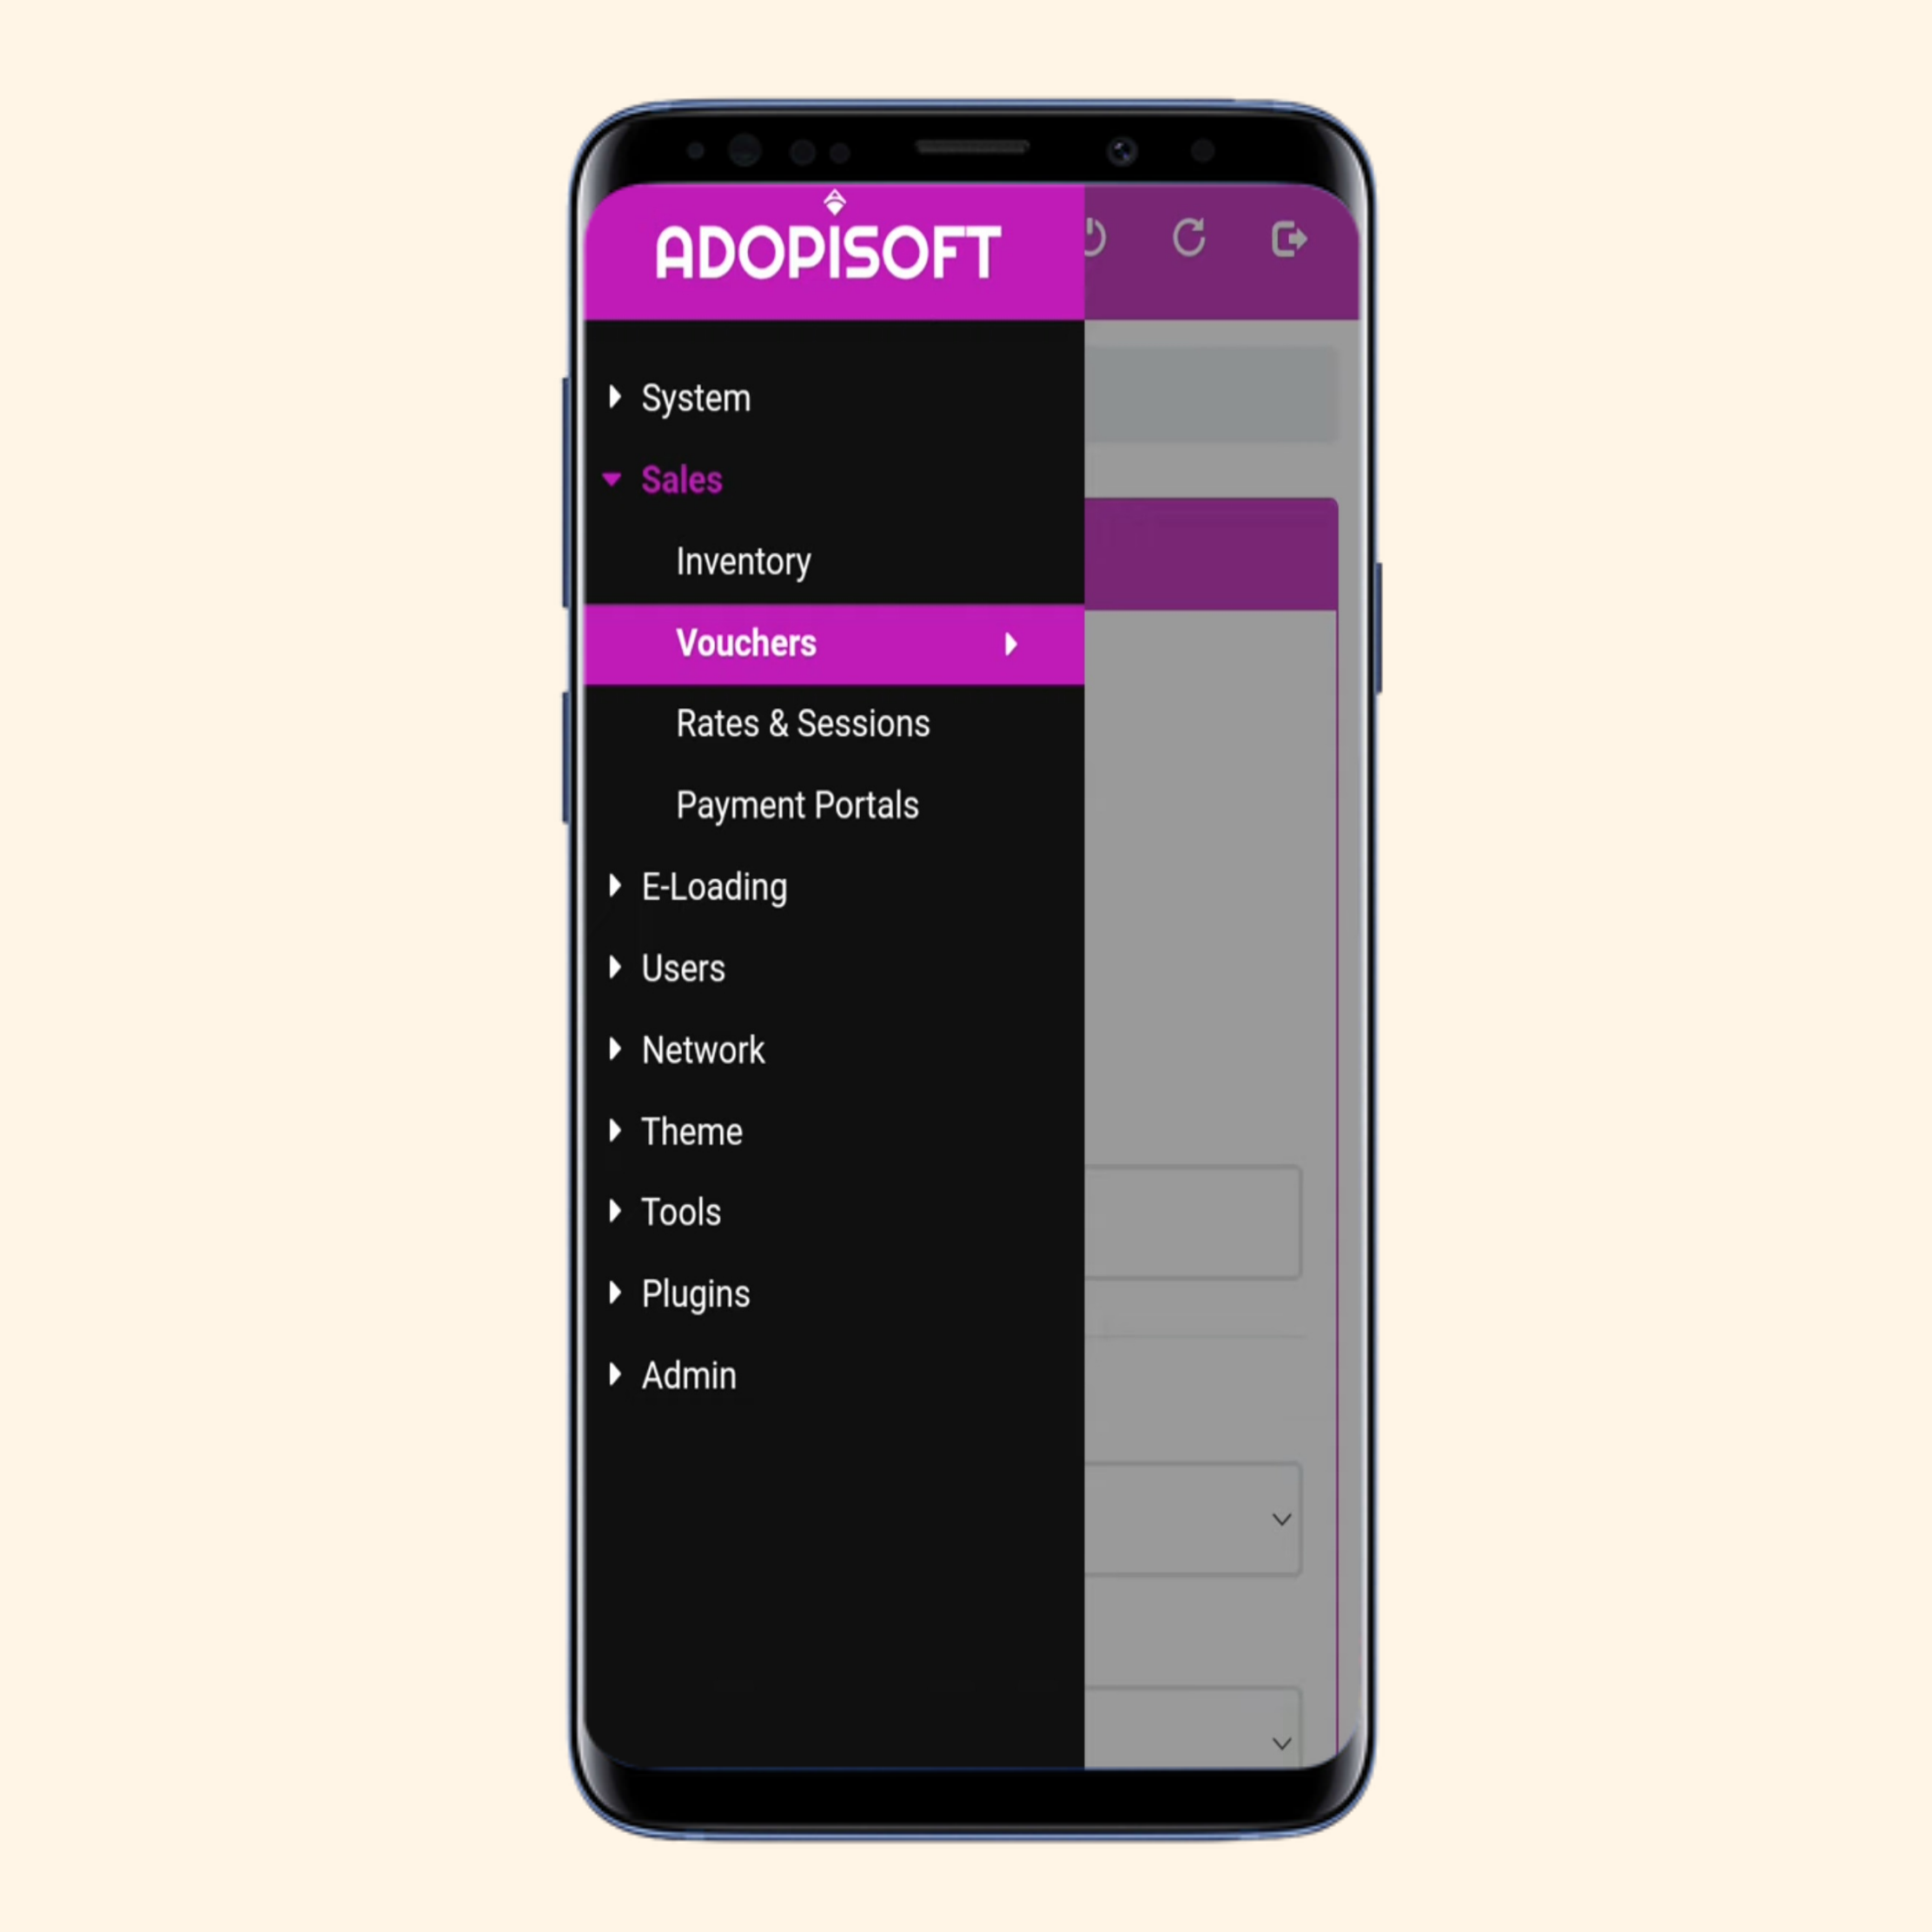
Select Vouchers.
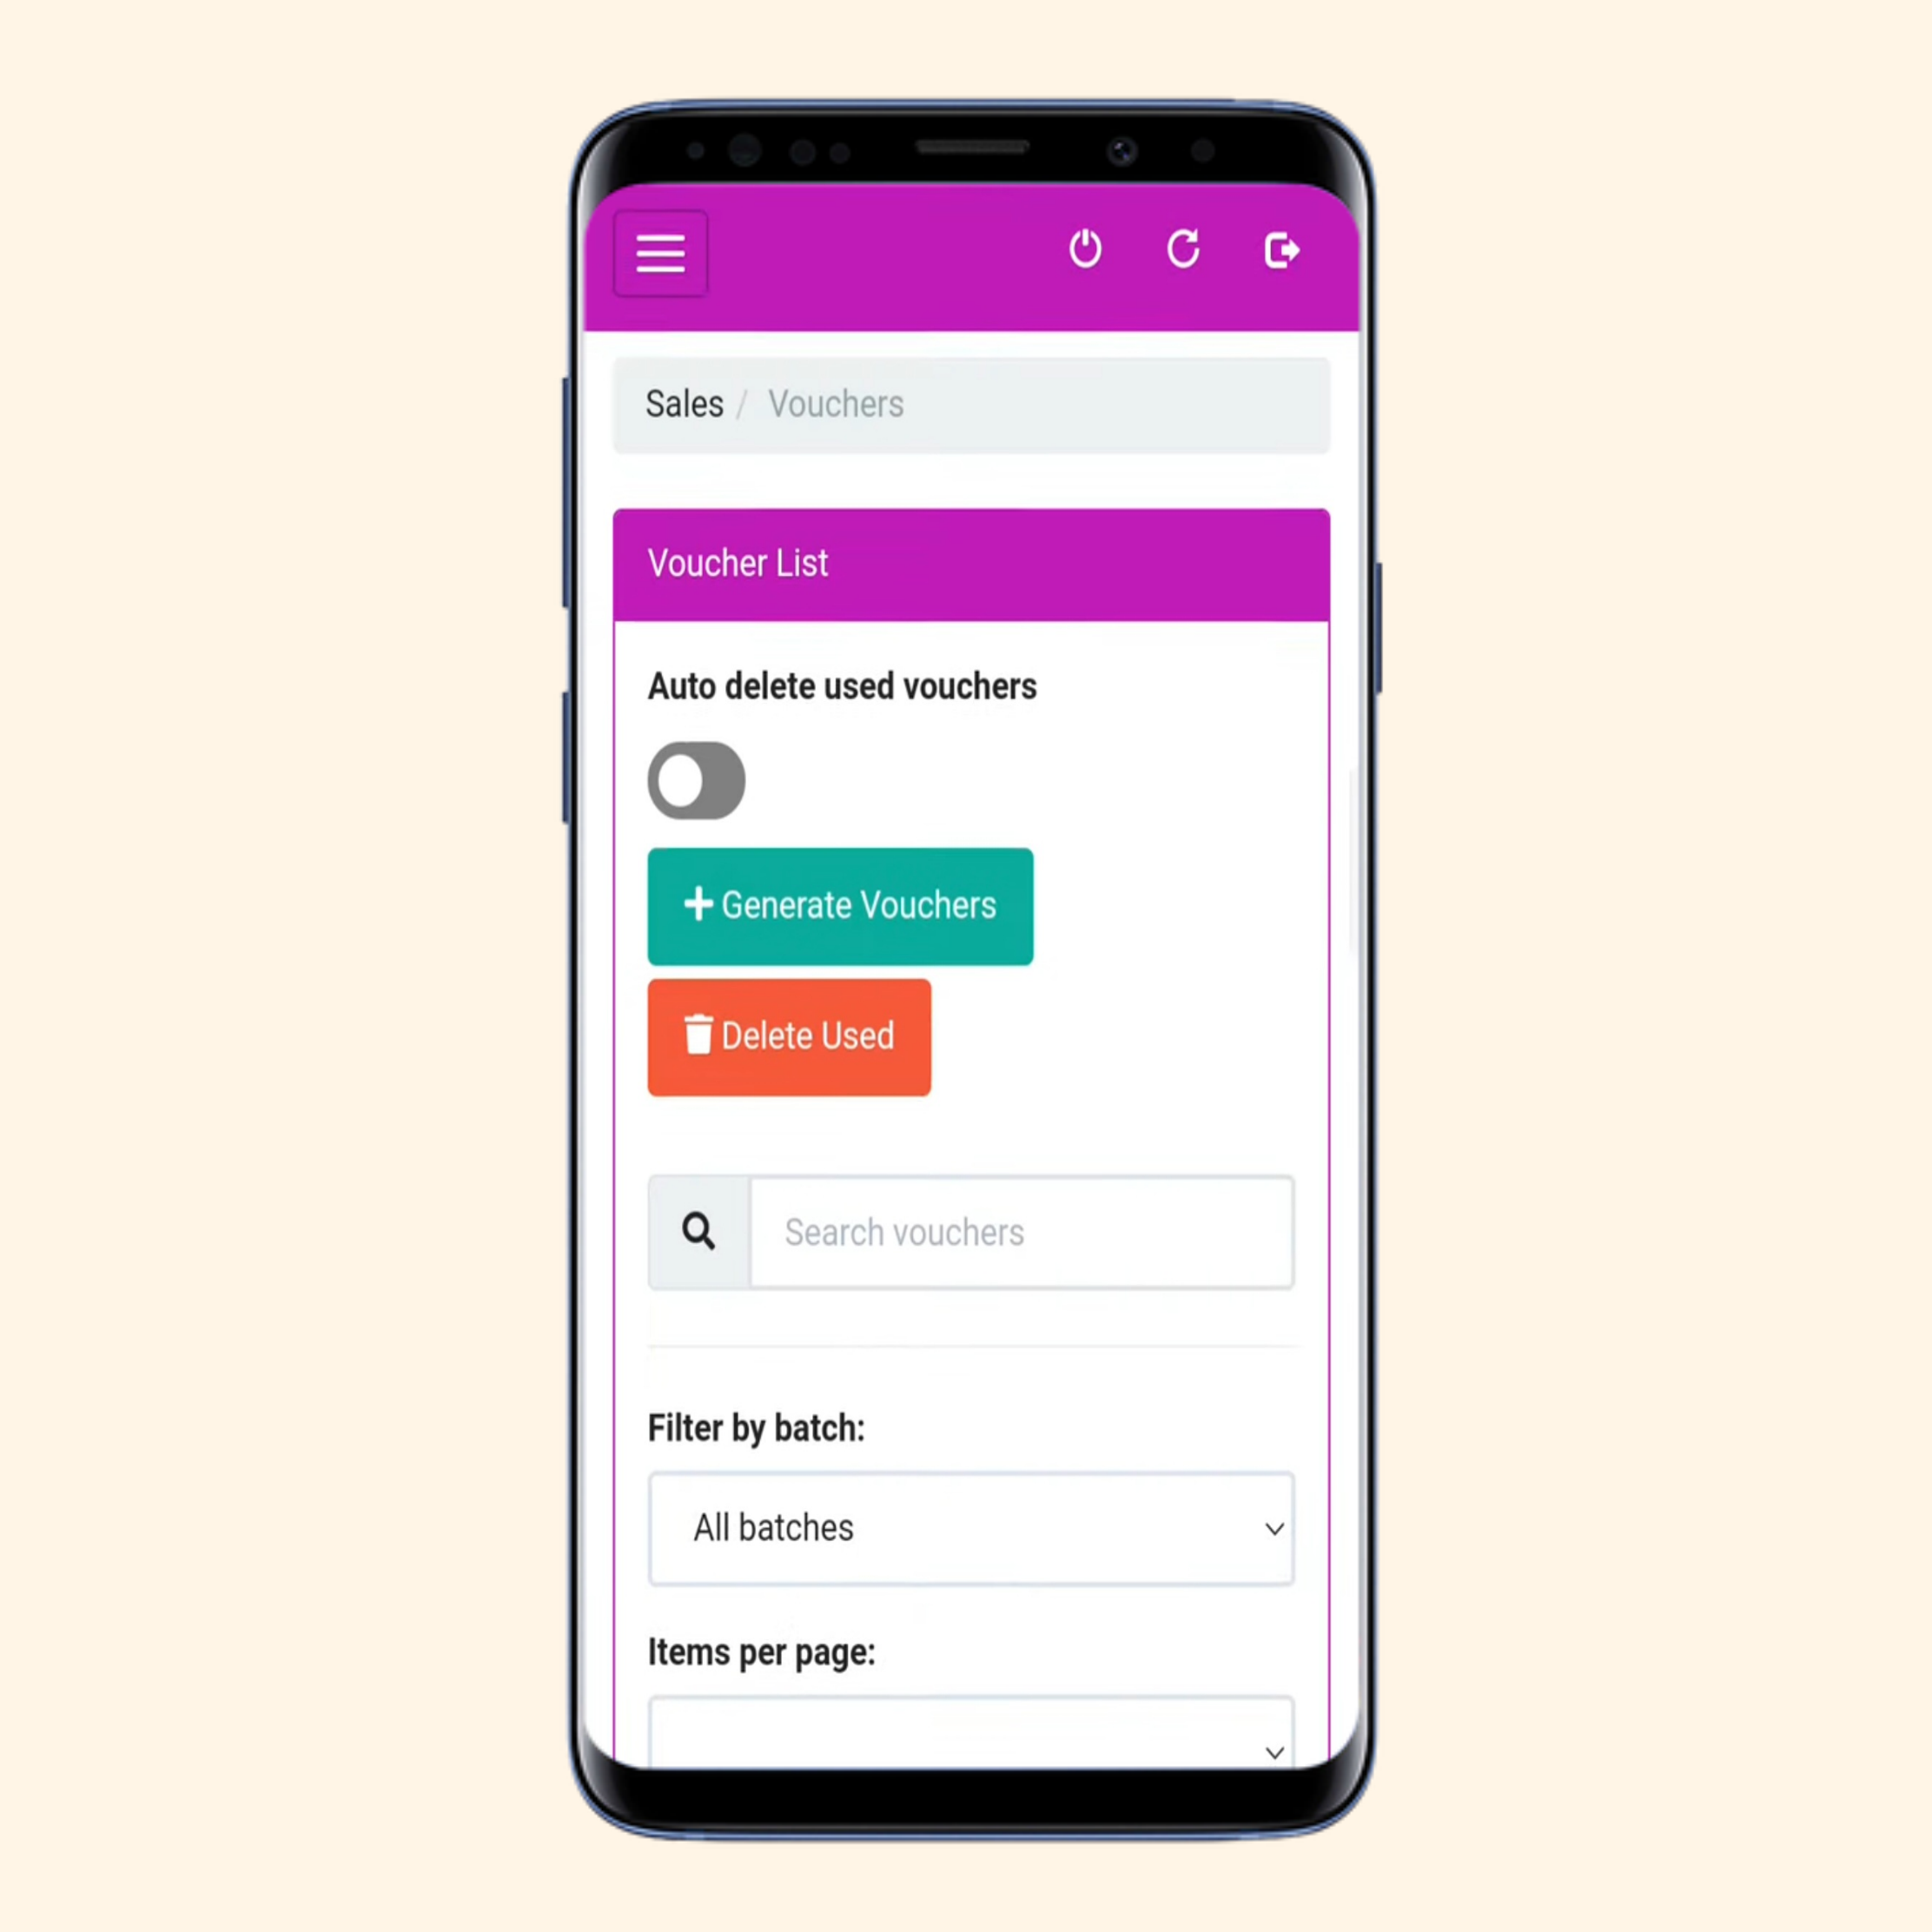
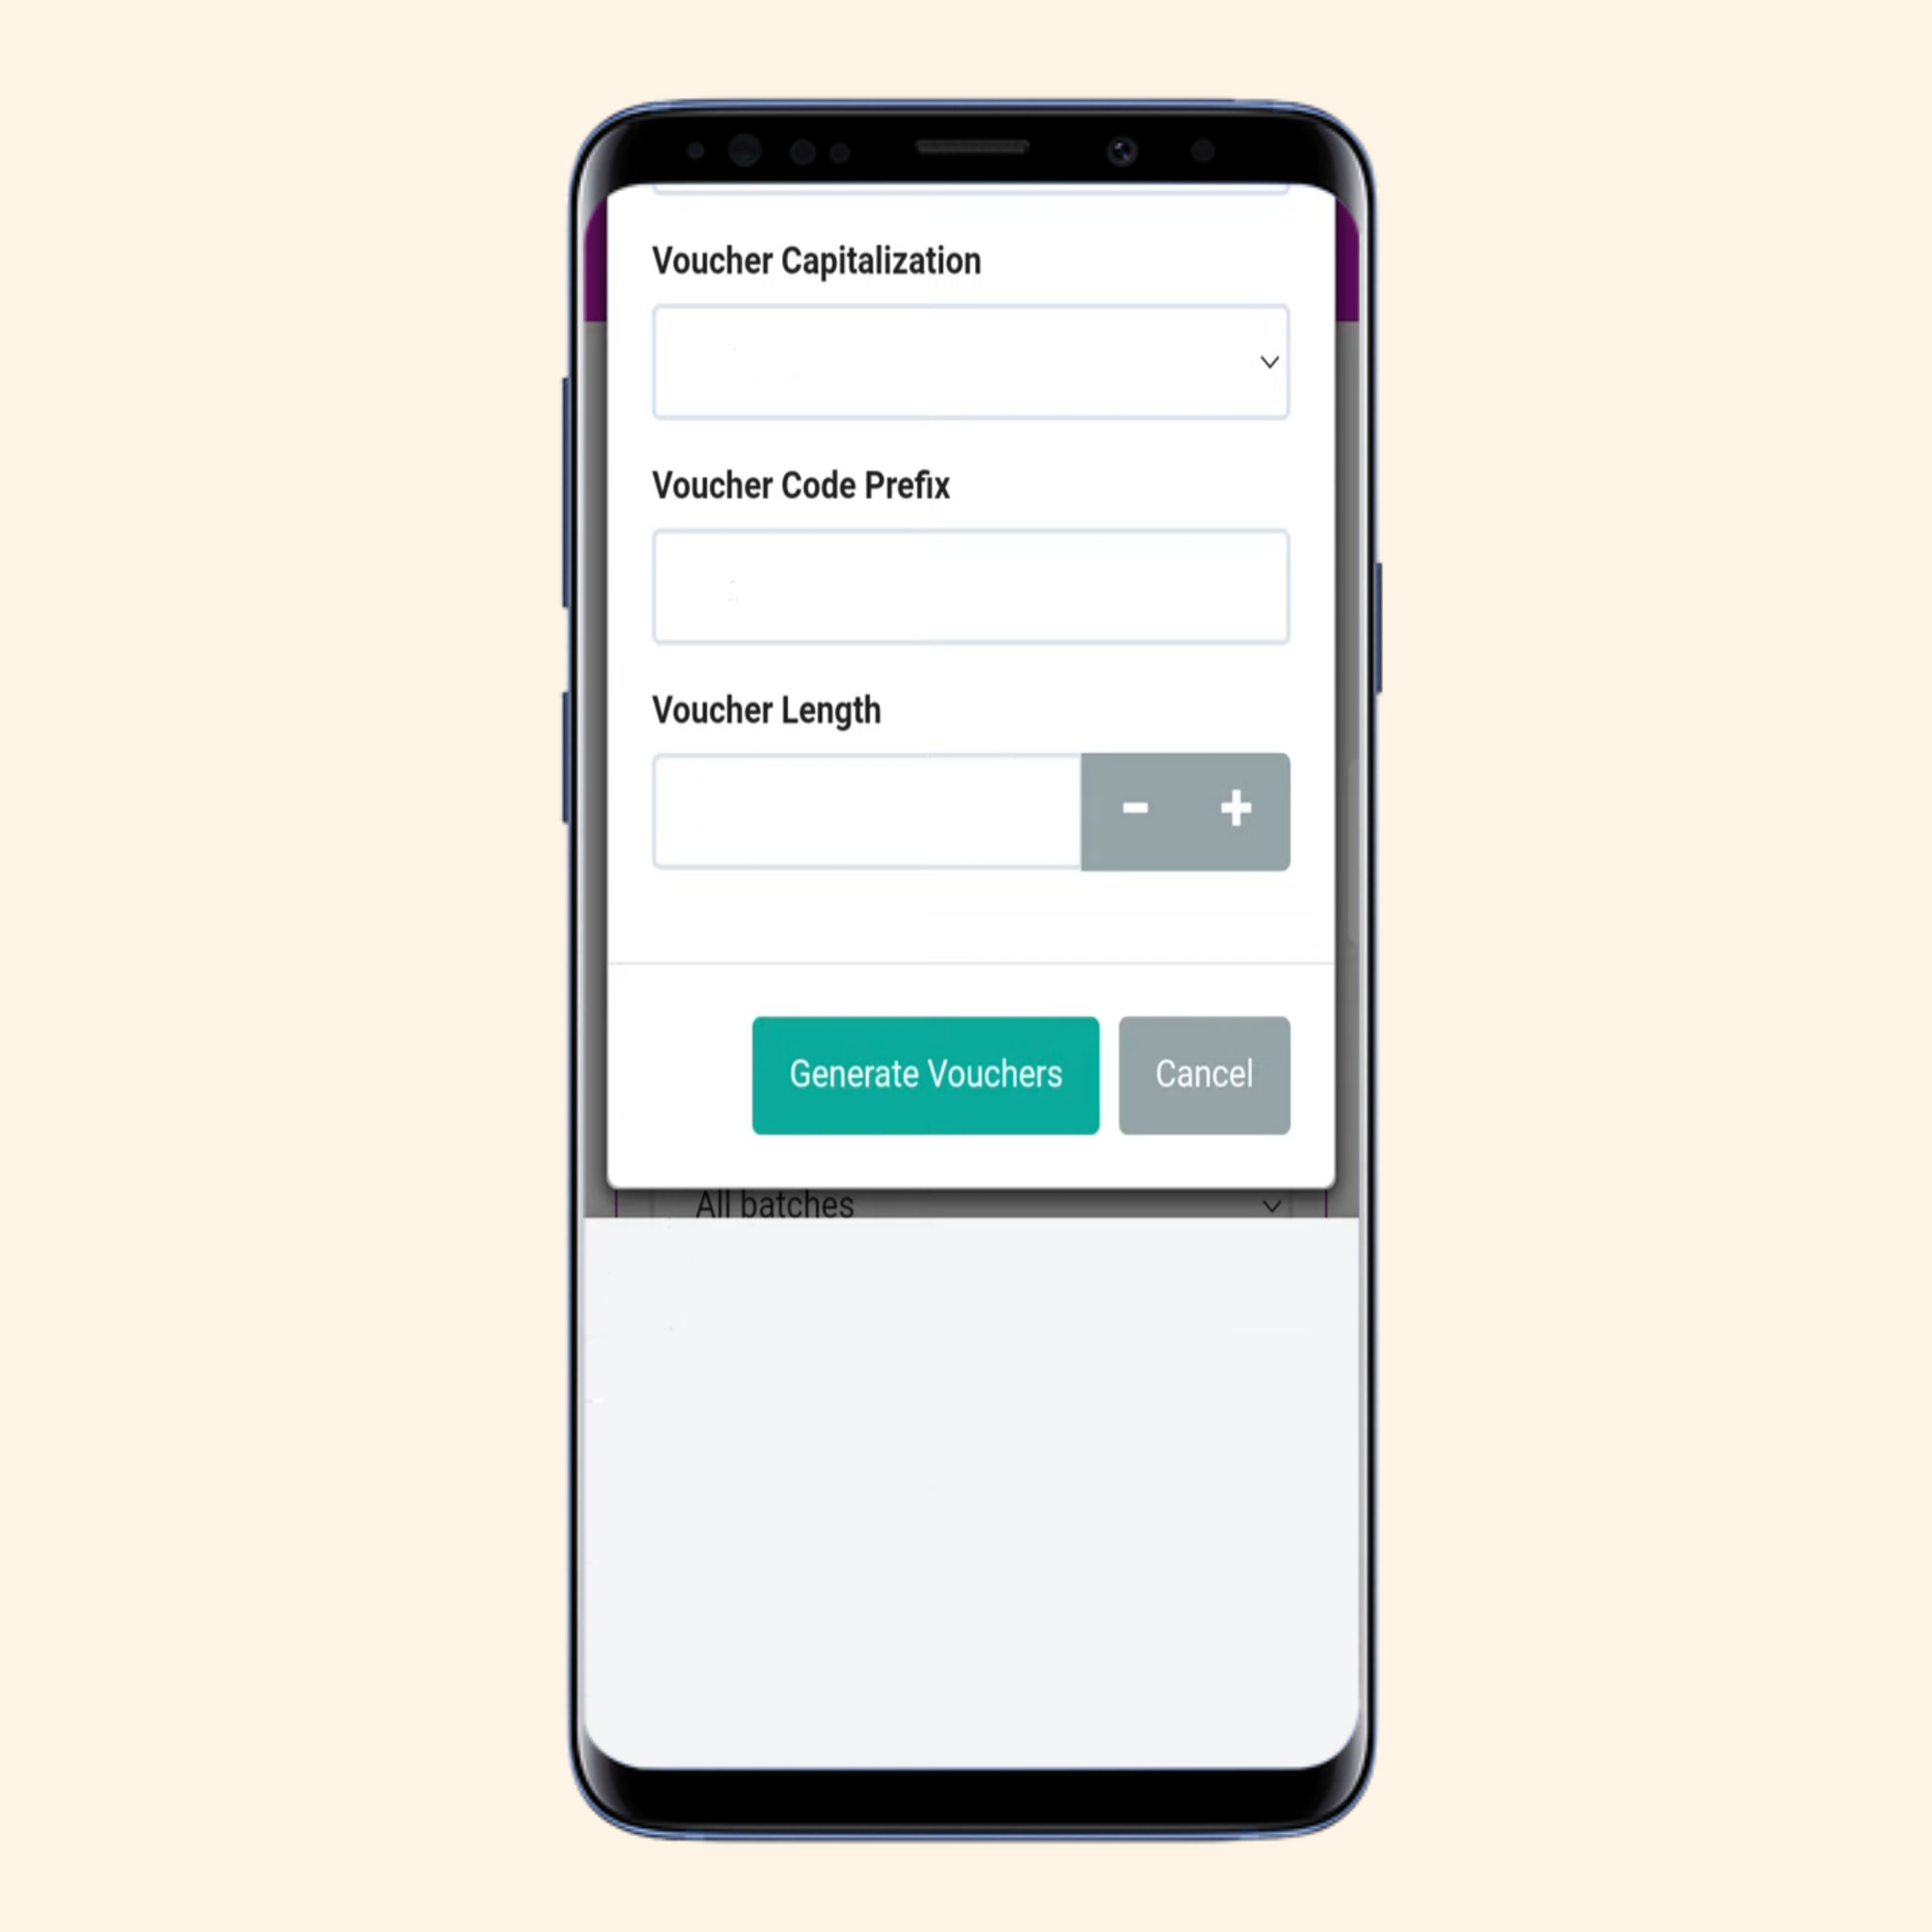
Tap + Generate Vouchers to create new time or data type vouchers.
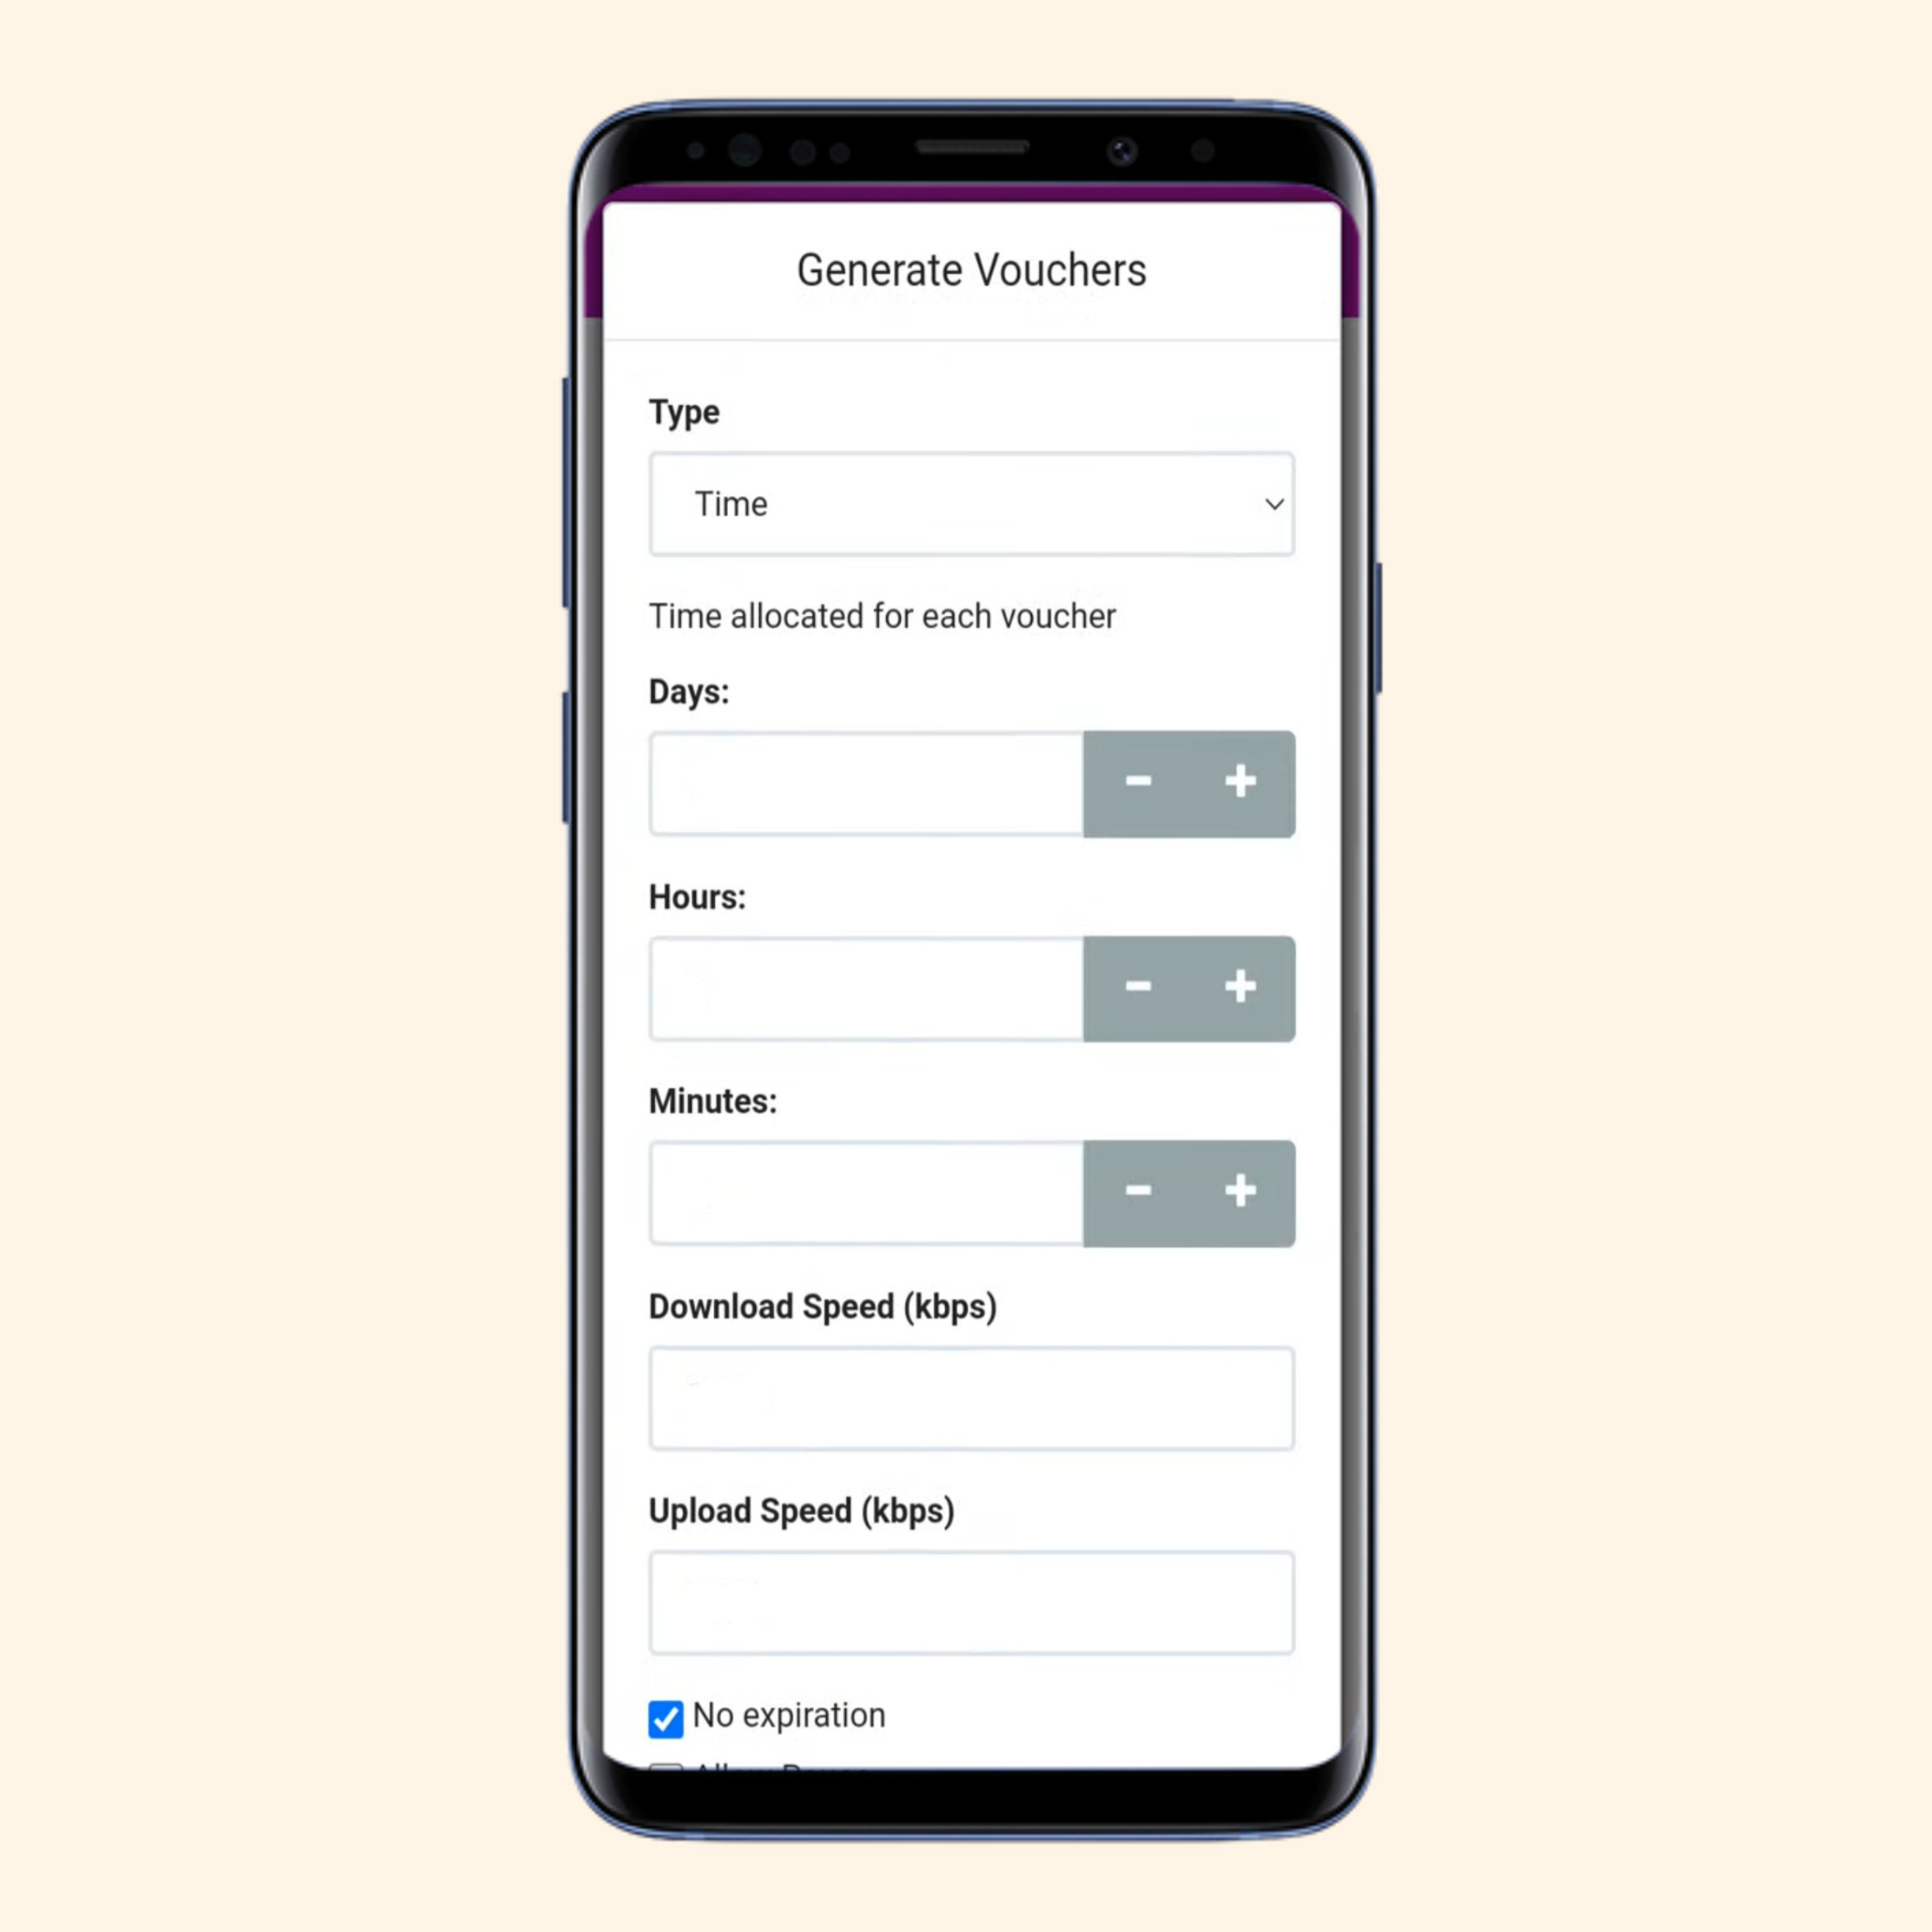
Enter the settings, such as the number of days and hours the vouchers will be valid, the amount of internet data they can use, whether there is a pause limit, and the expiration date.
Ultimately, tap Generate Vouchers button to create.
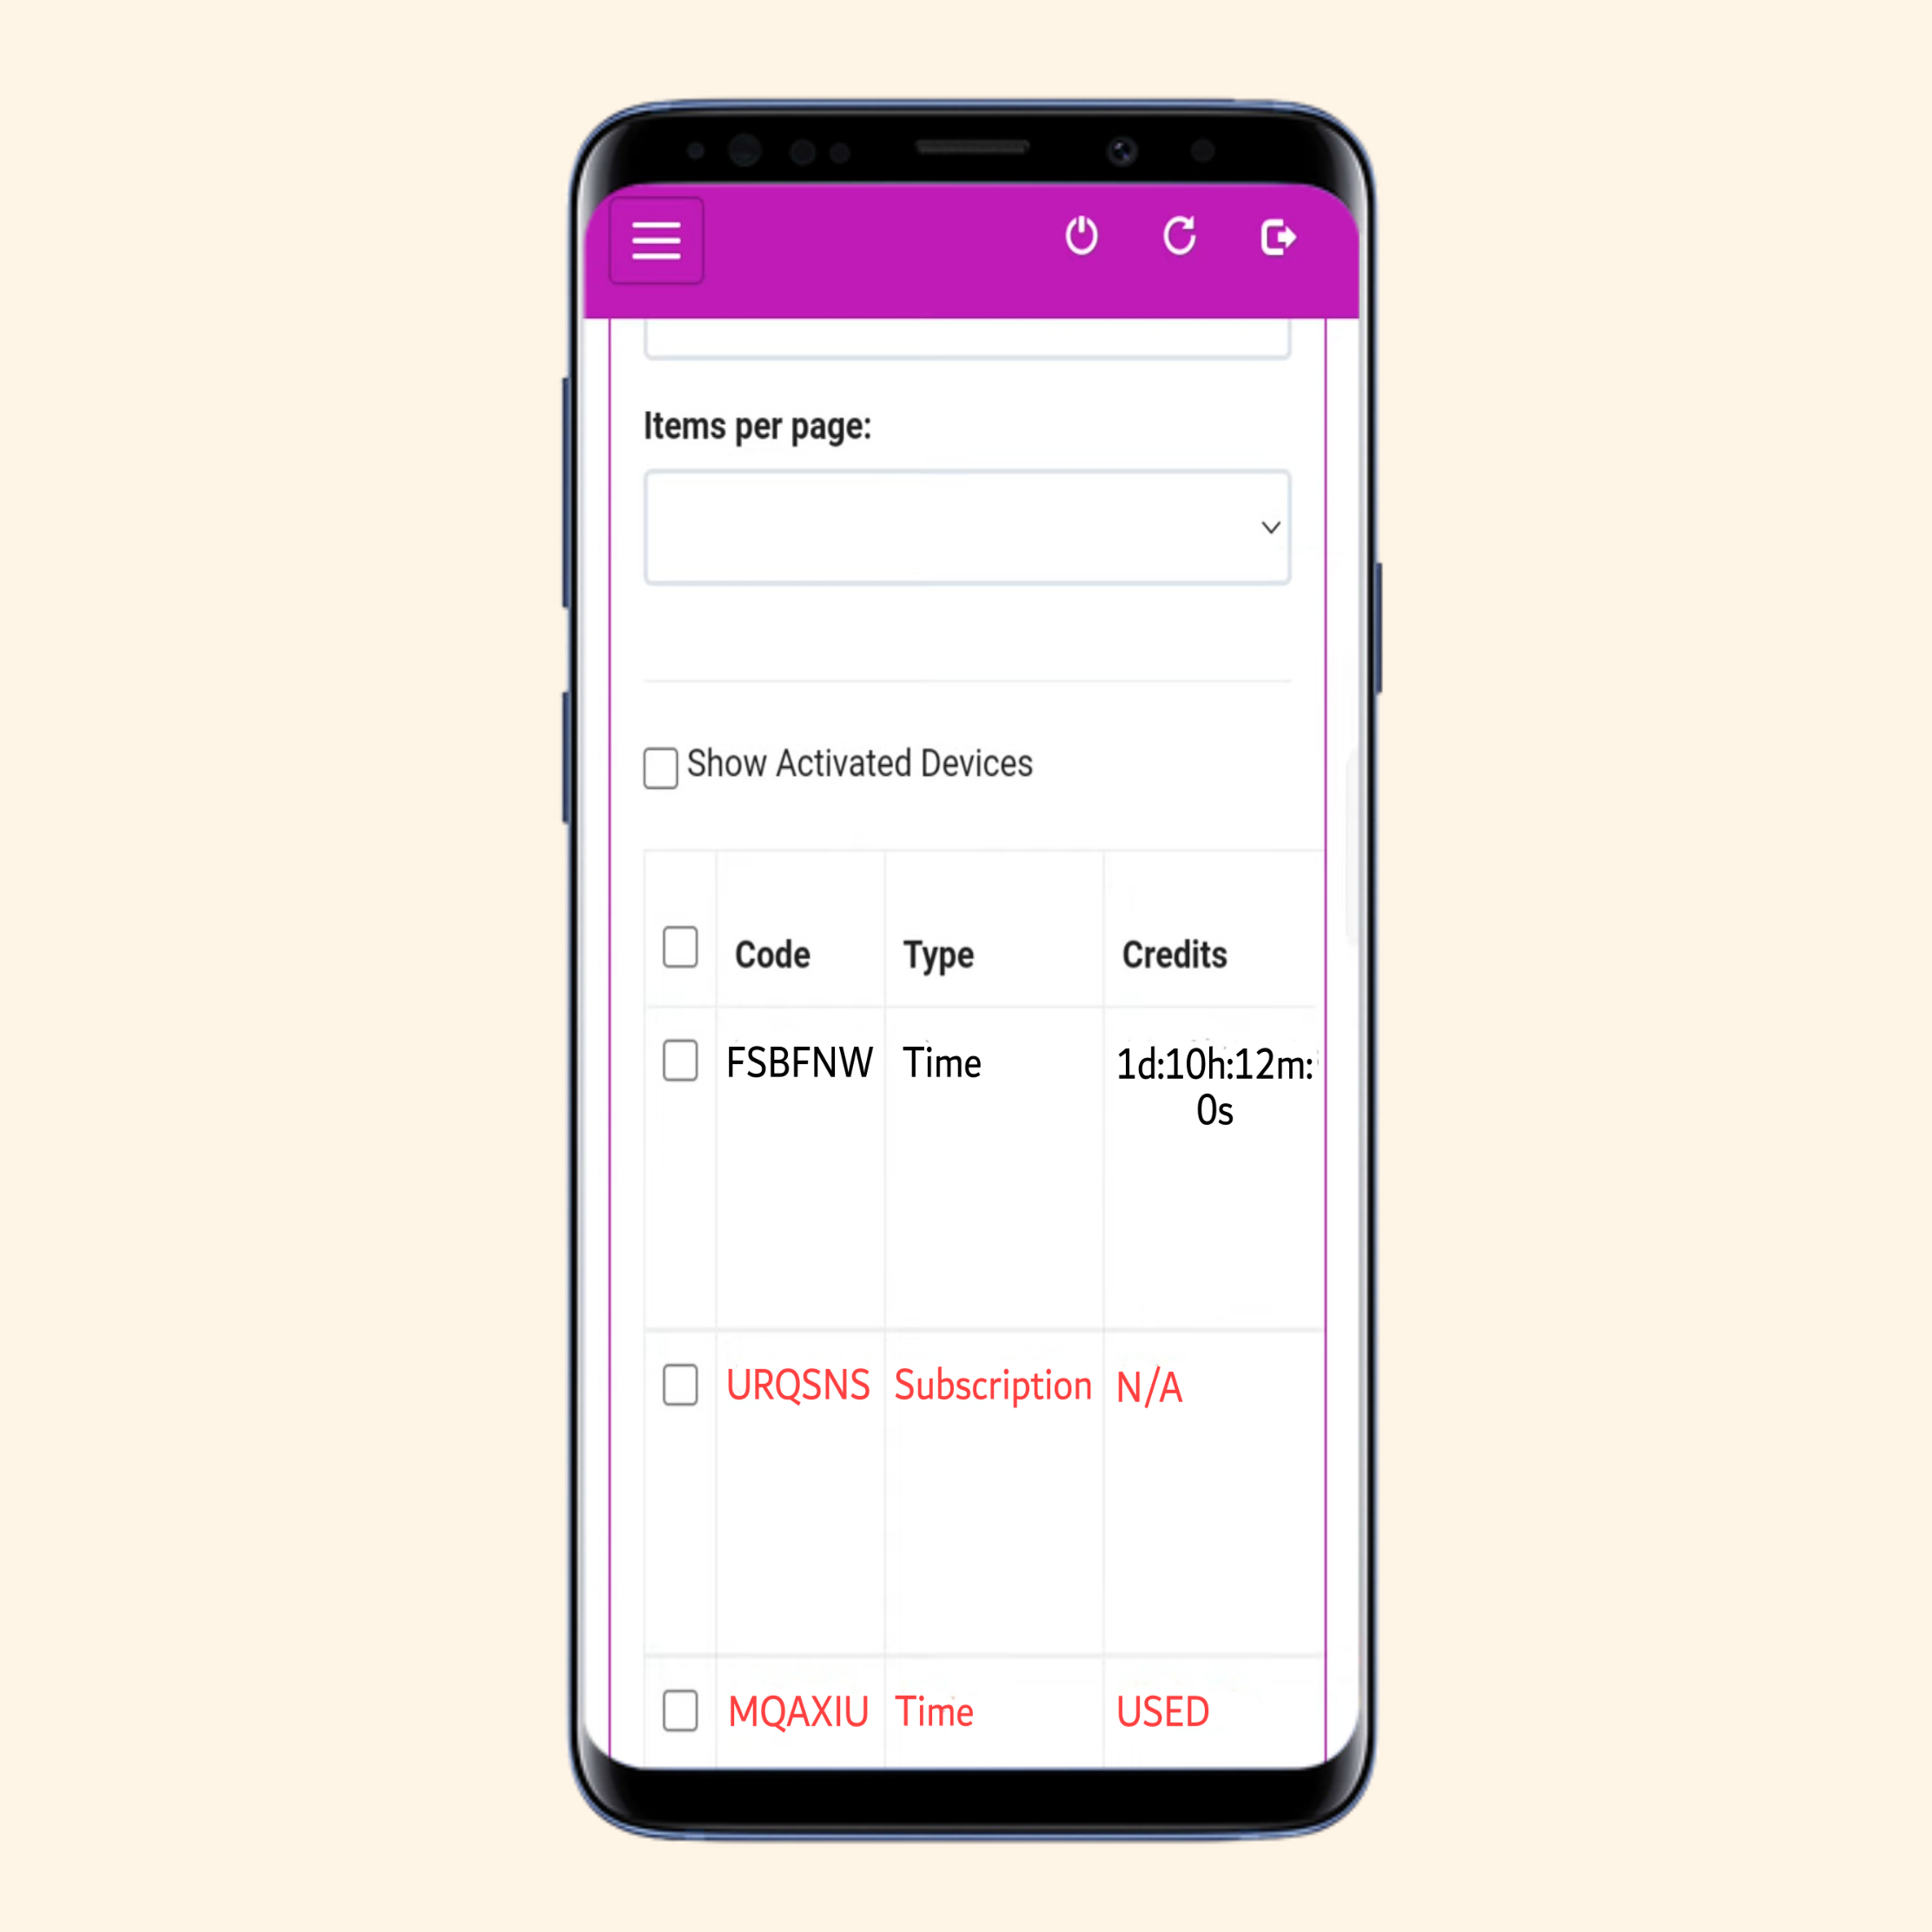
All used and unused voucher codes list will be available on the same menu.
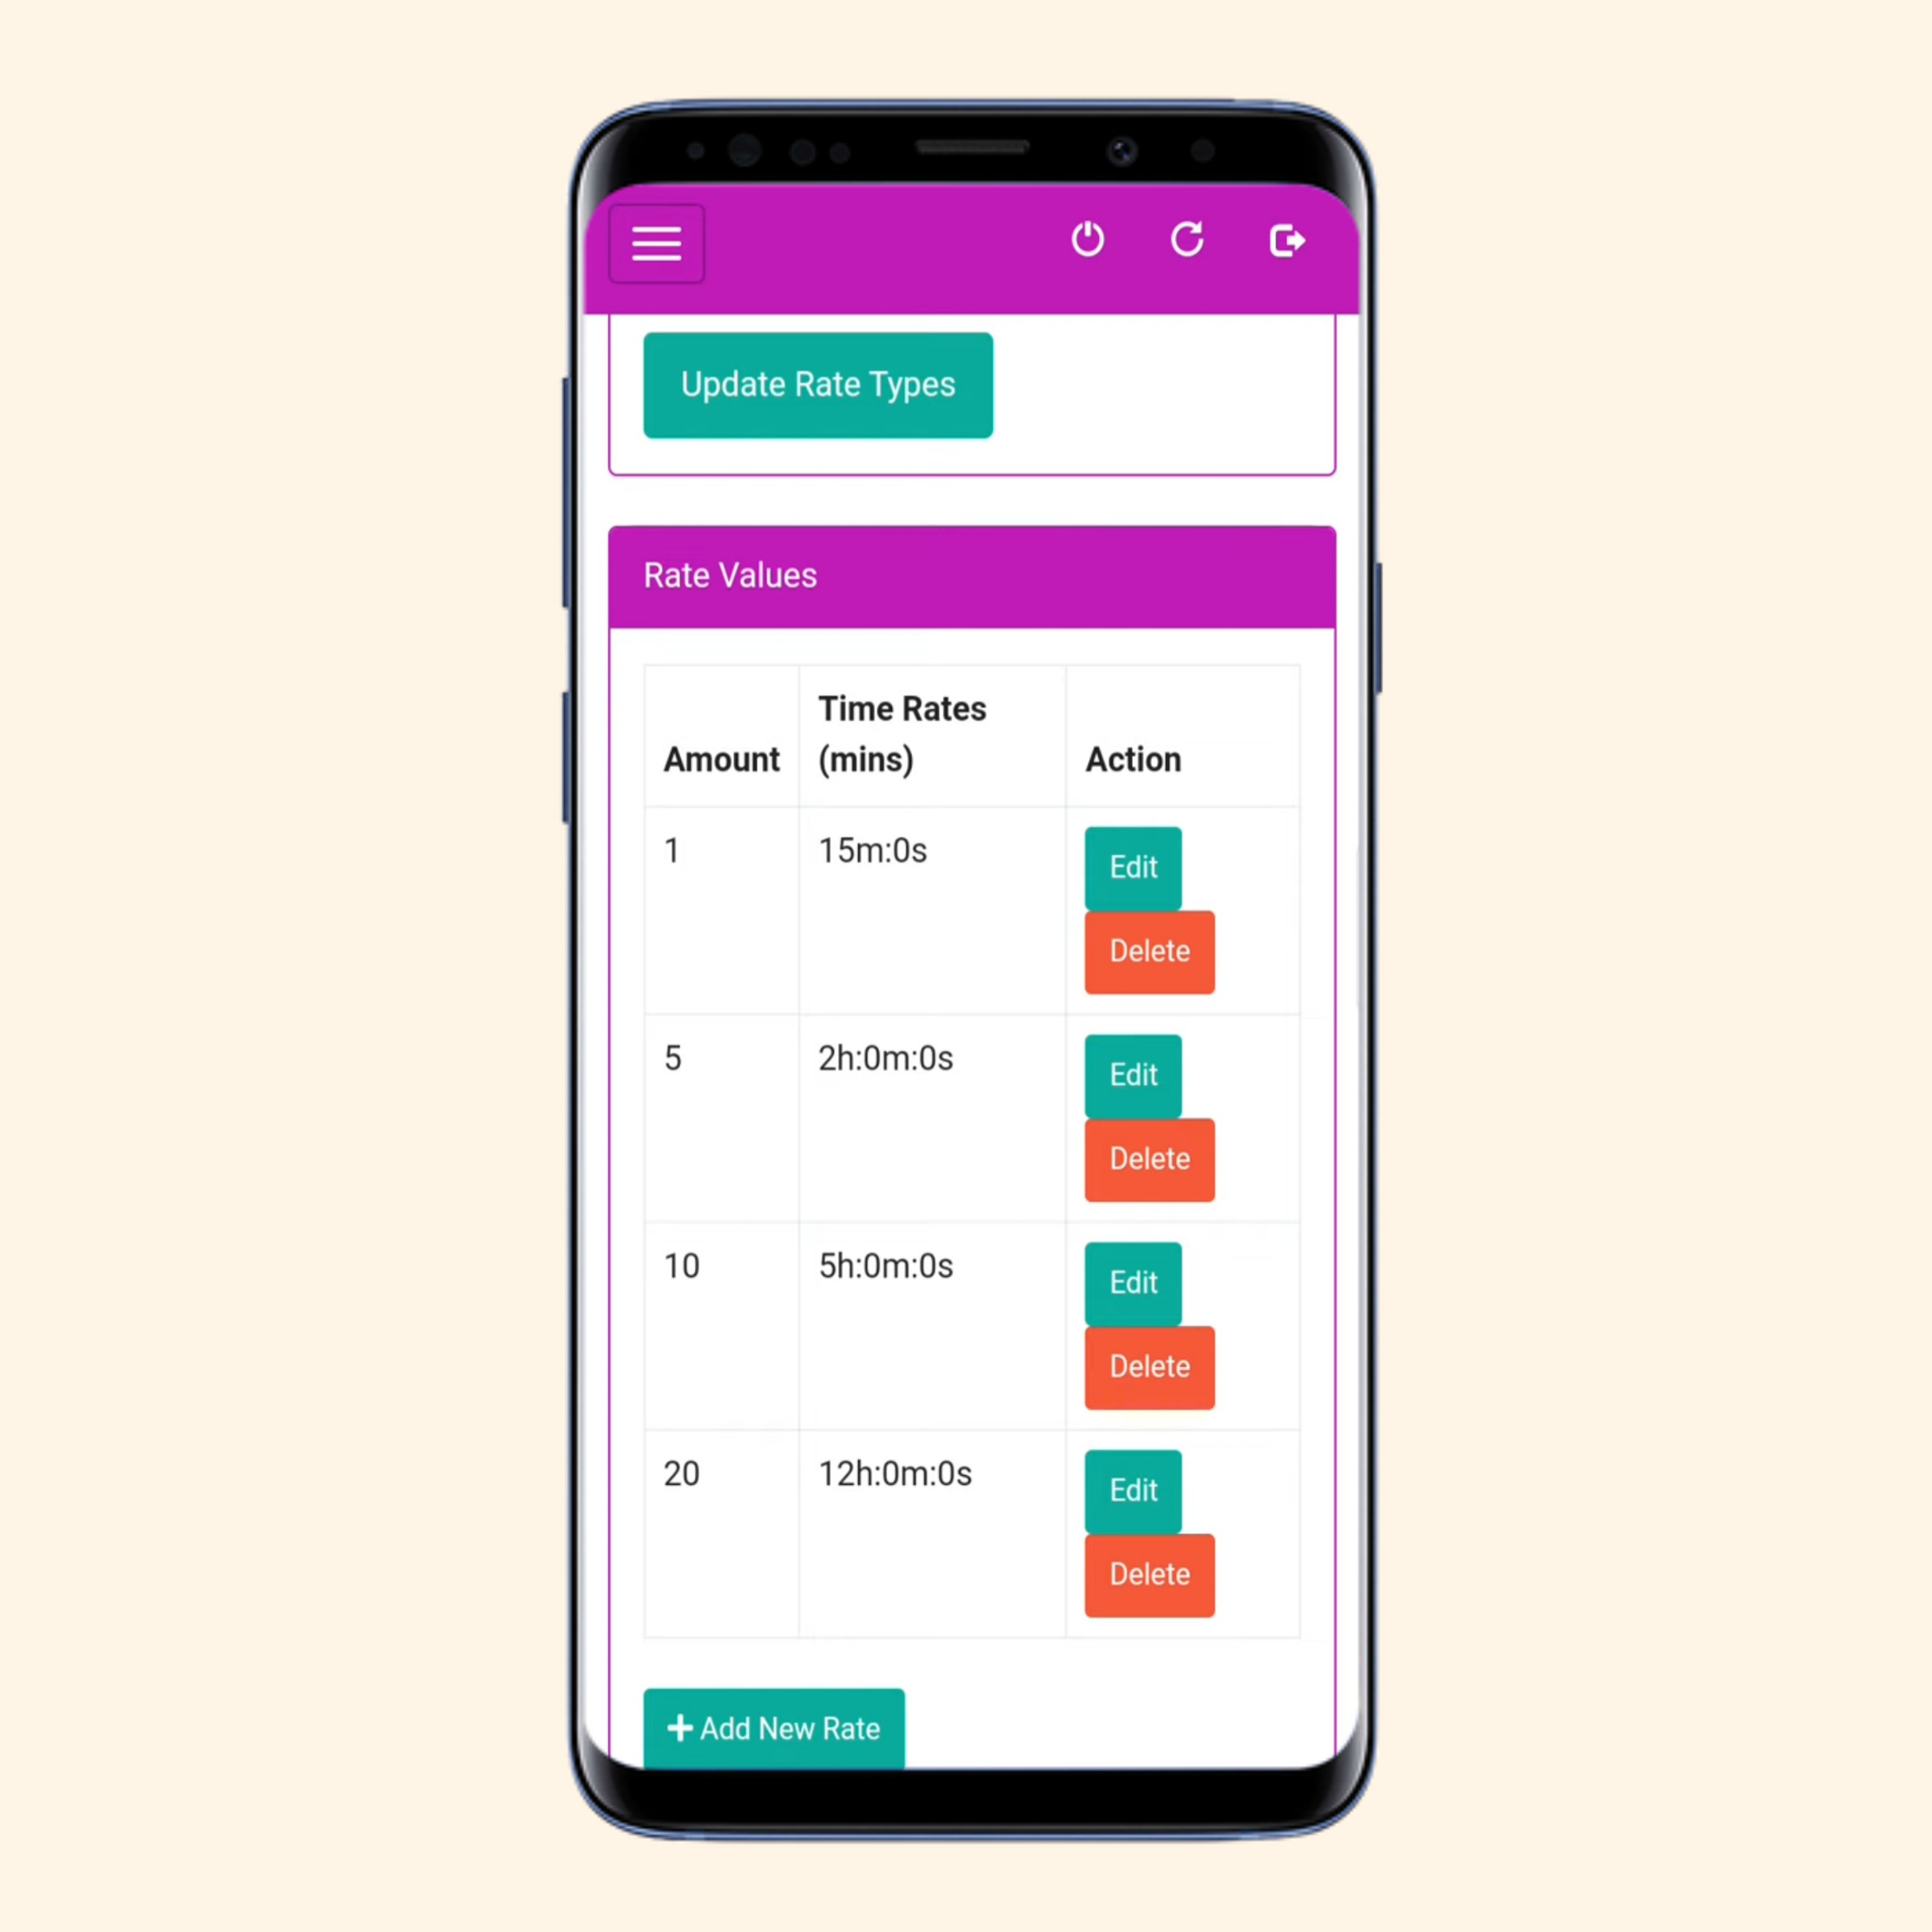
How to Add, Edit or Delete Timer Rates on AdoPiSoft Piso WiFi
Open WiFi menu and connect to 'AdoPiSoft Piso Wifi'.
Open Google Chrome (or any browser: Mozilla Firefox, Opera, Safari, etc.) and write 10.0.0.1/admin to the address bar and go.
Enter Username (default: admin), Password (default: admin), and tap Login button to log into admin portal.
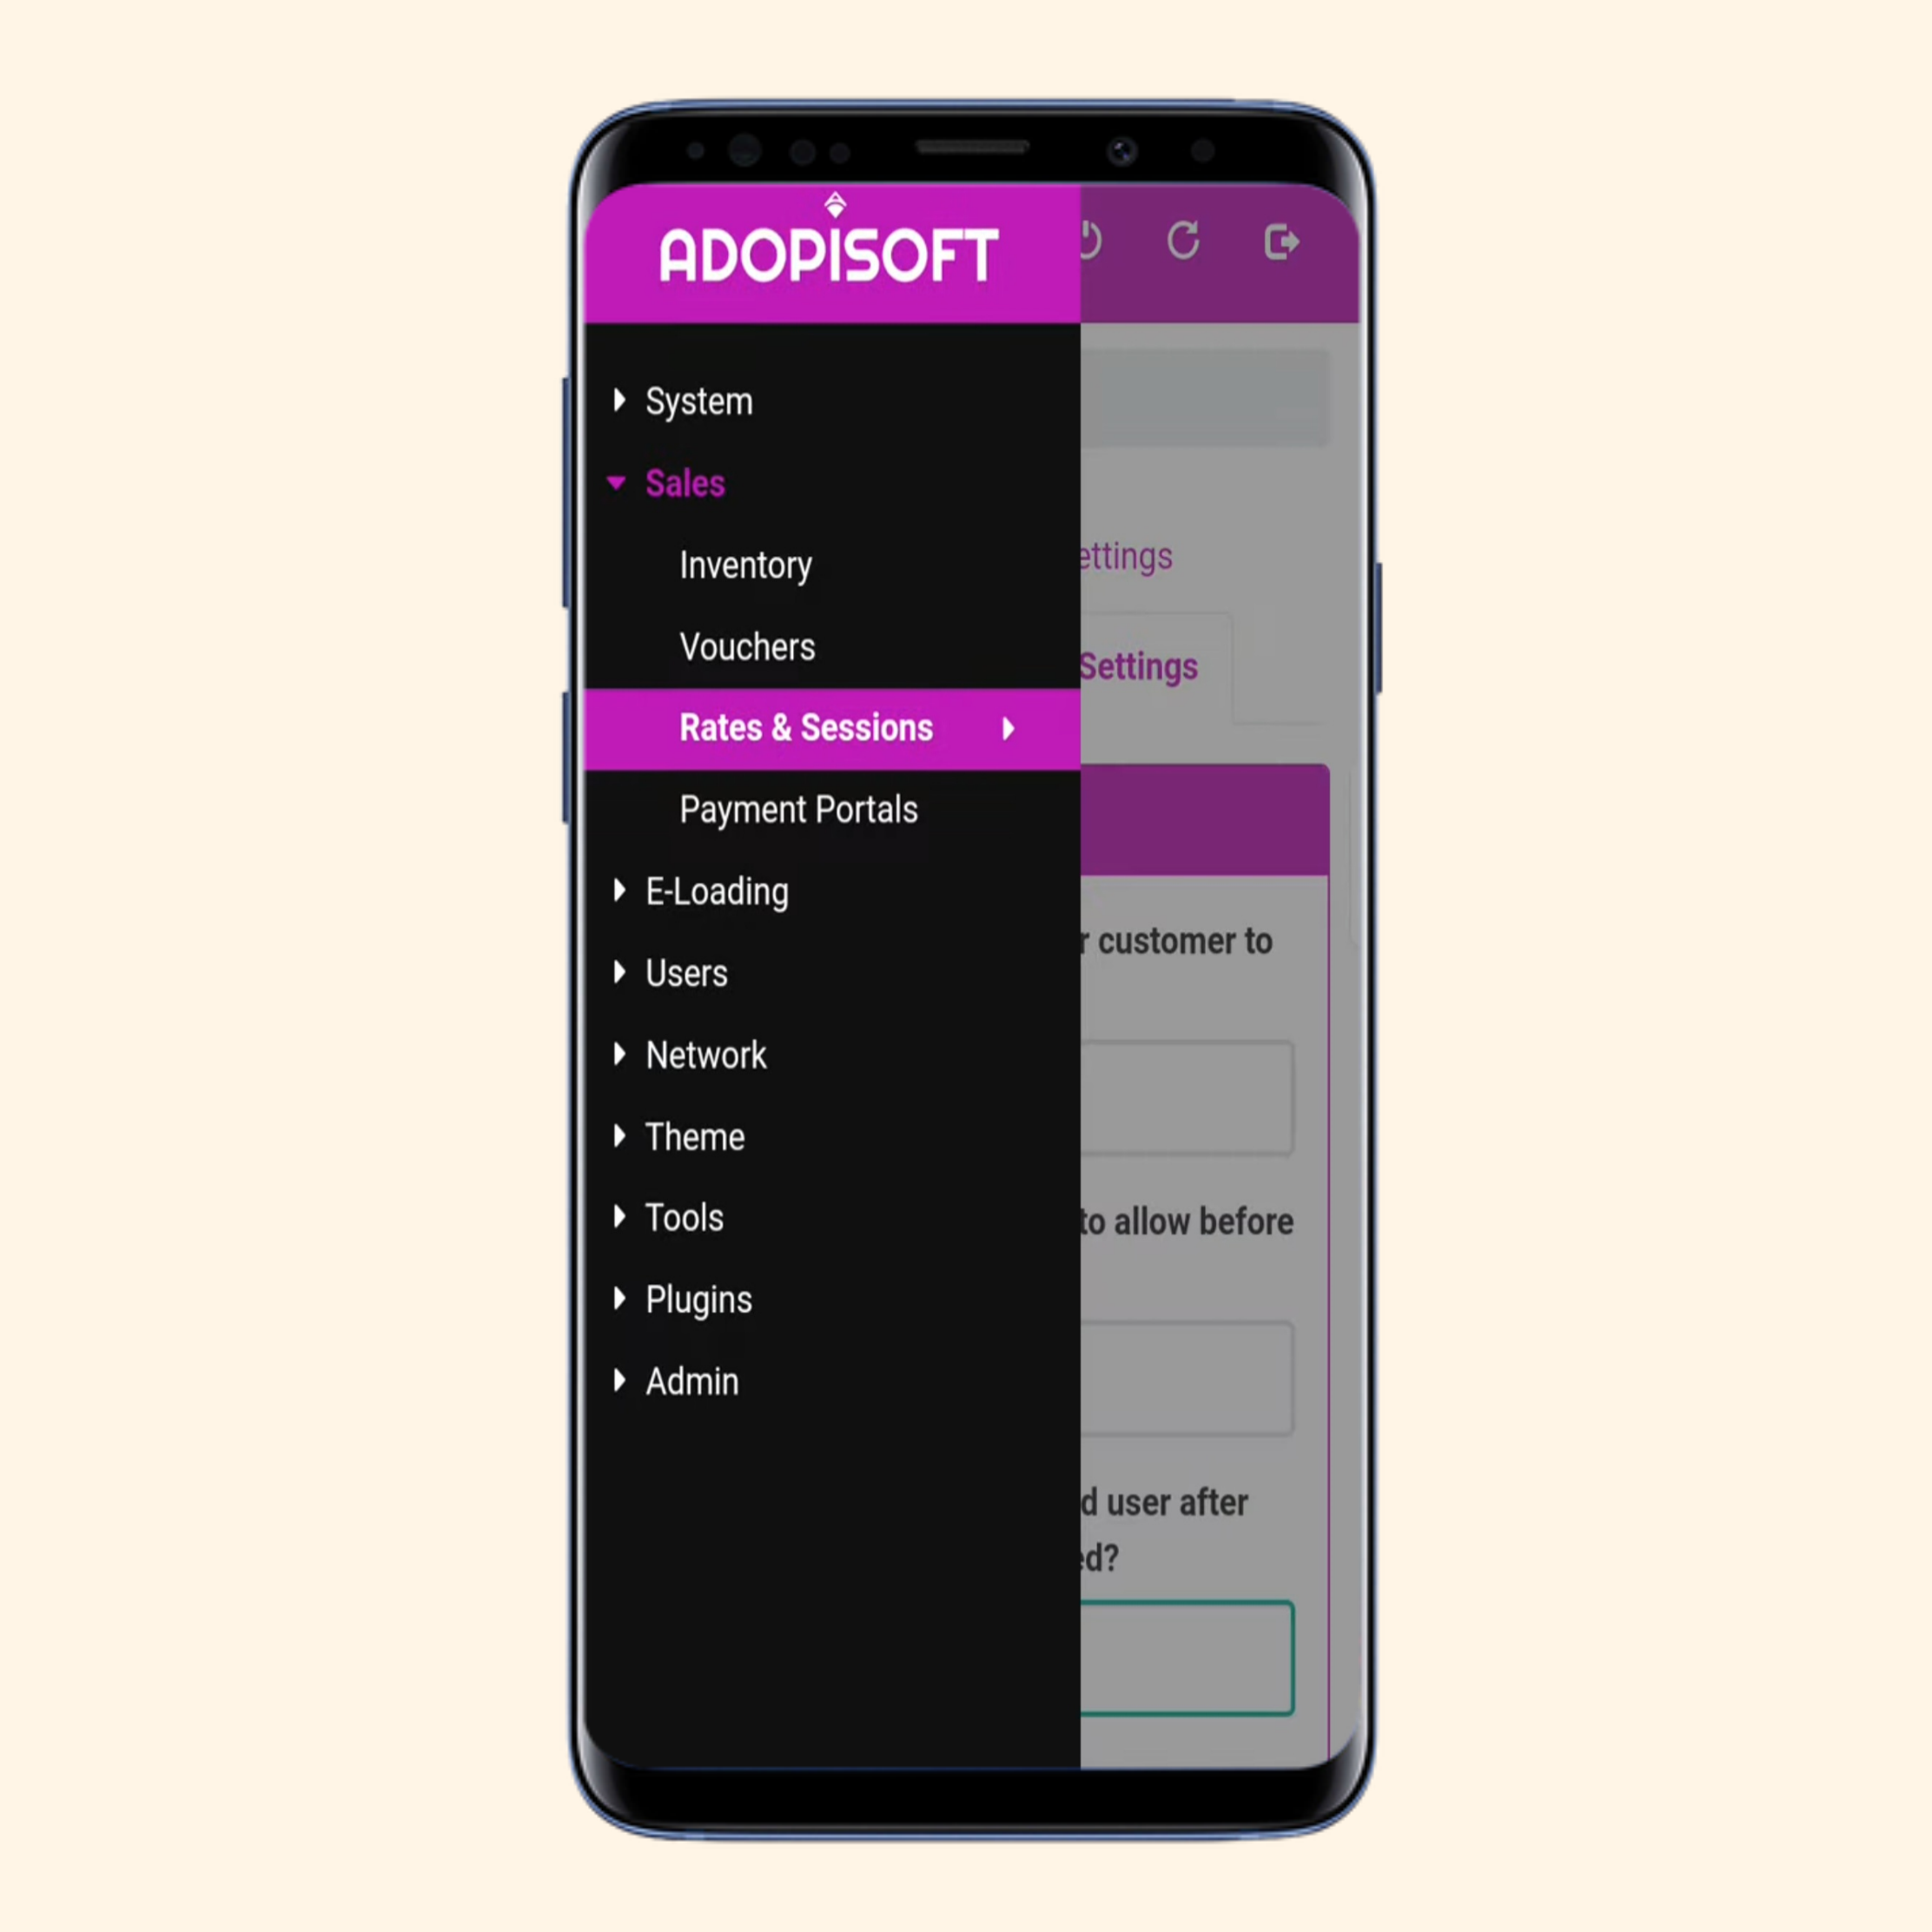
Tap ☰ (three-horizontal-lines or hamburger button) on the top left to see admin settings.
Select Rates & Sessions.
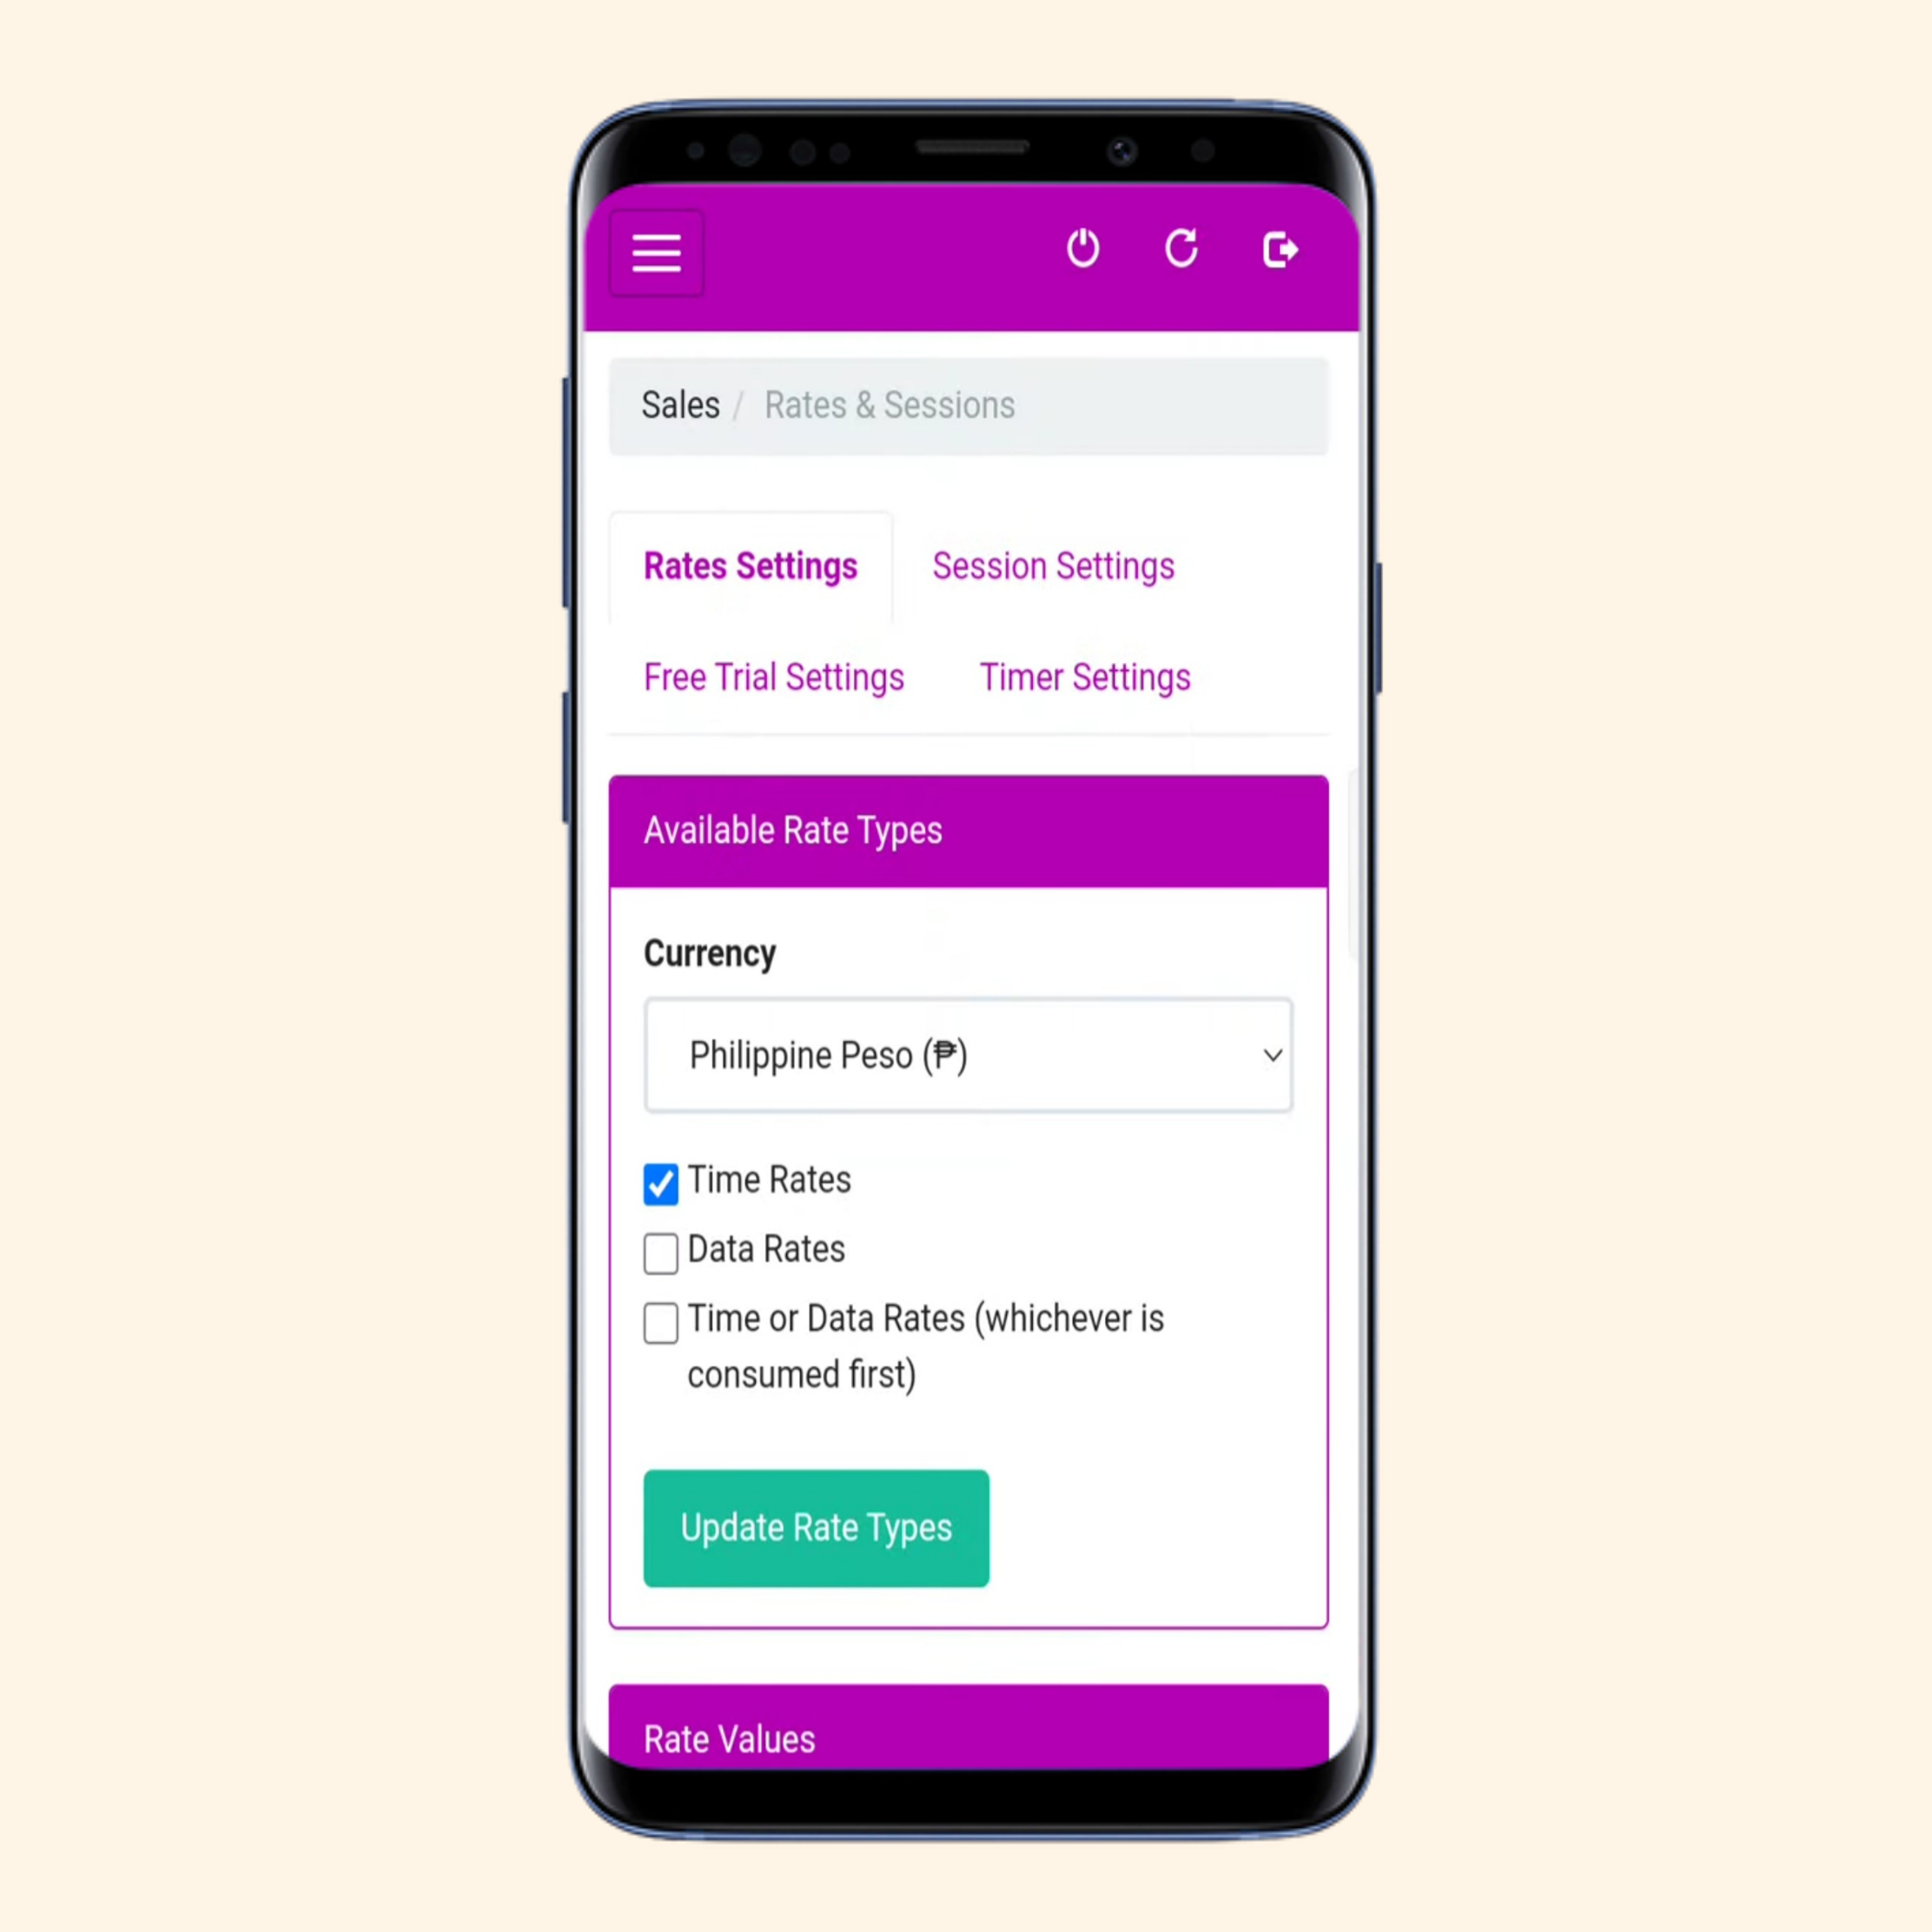
Tap Rates Settings.
To edit, tap Edit, tap Delete to delete existing ones, and tap + Add New Rate to add new ones.
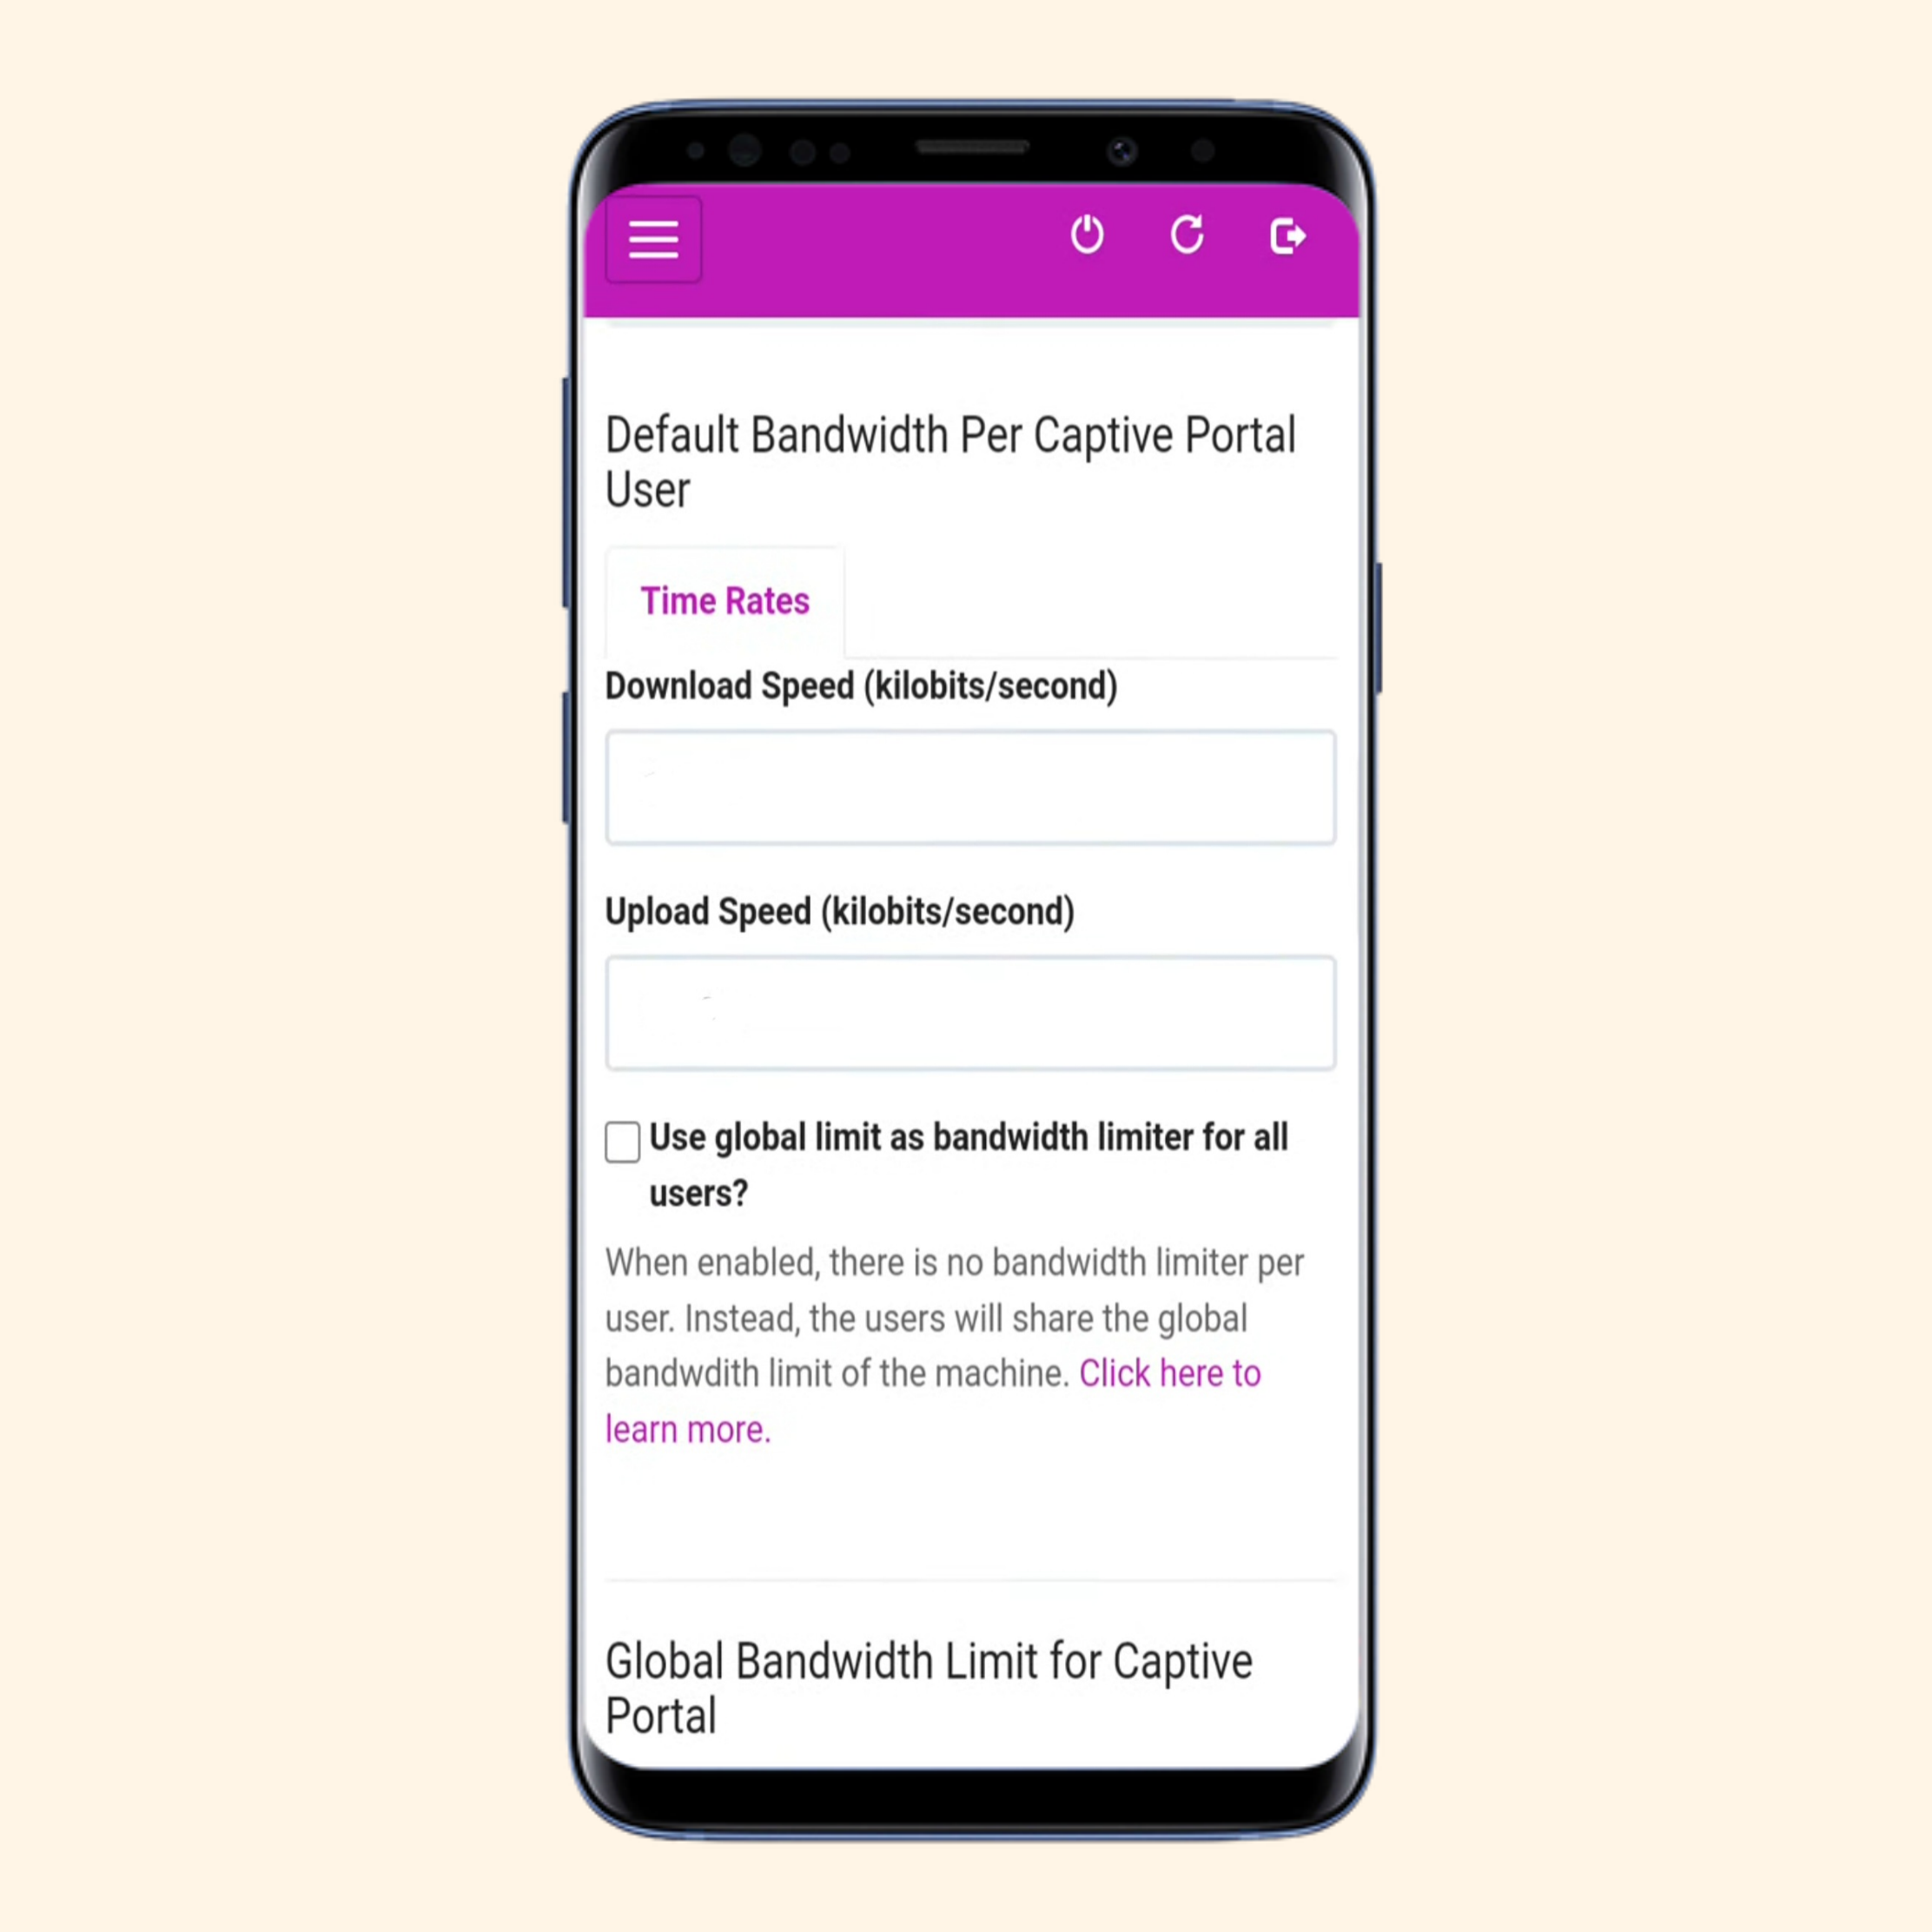
How to See and Change Download/Upload Speed (Bandwidth) Limits on AdoPiSoft Piso WiFi
Open WiFi menu and connect to 'AdoPiSoft Piso Wifi'.
Open Google Chrome (or any browser: Mozilla Firefox, Opera, Safari, etc.) and write 10.0.0.1/admin to the address bar and go.
Enter Username (default: admin), Password (default: admin), and tap Login button to log into admin portal.
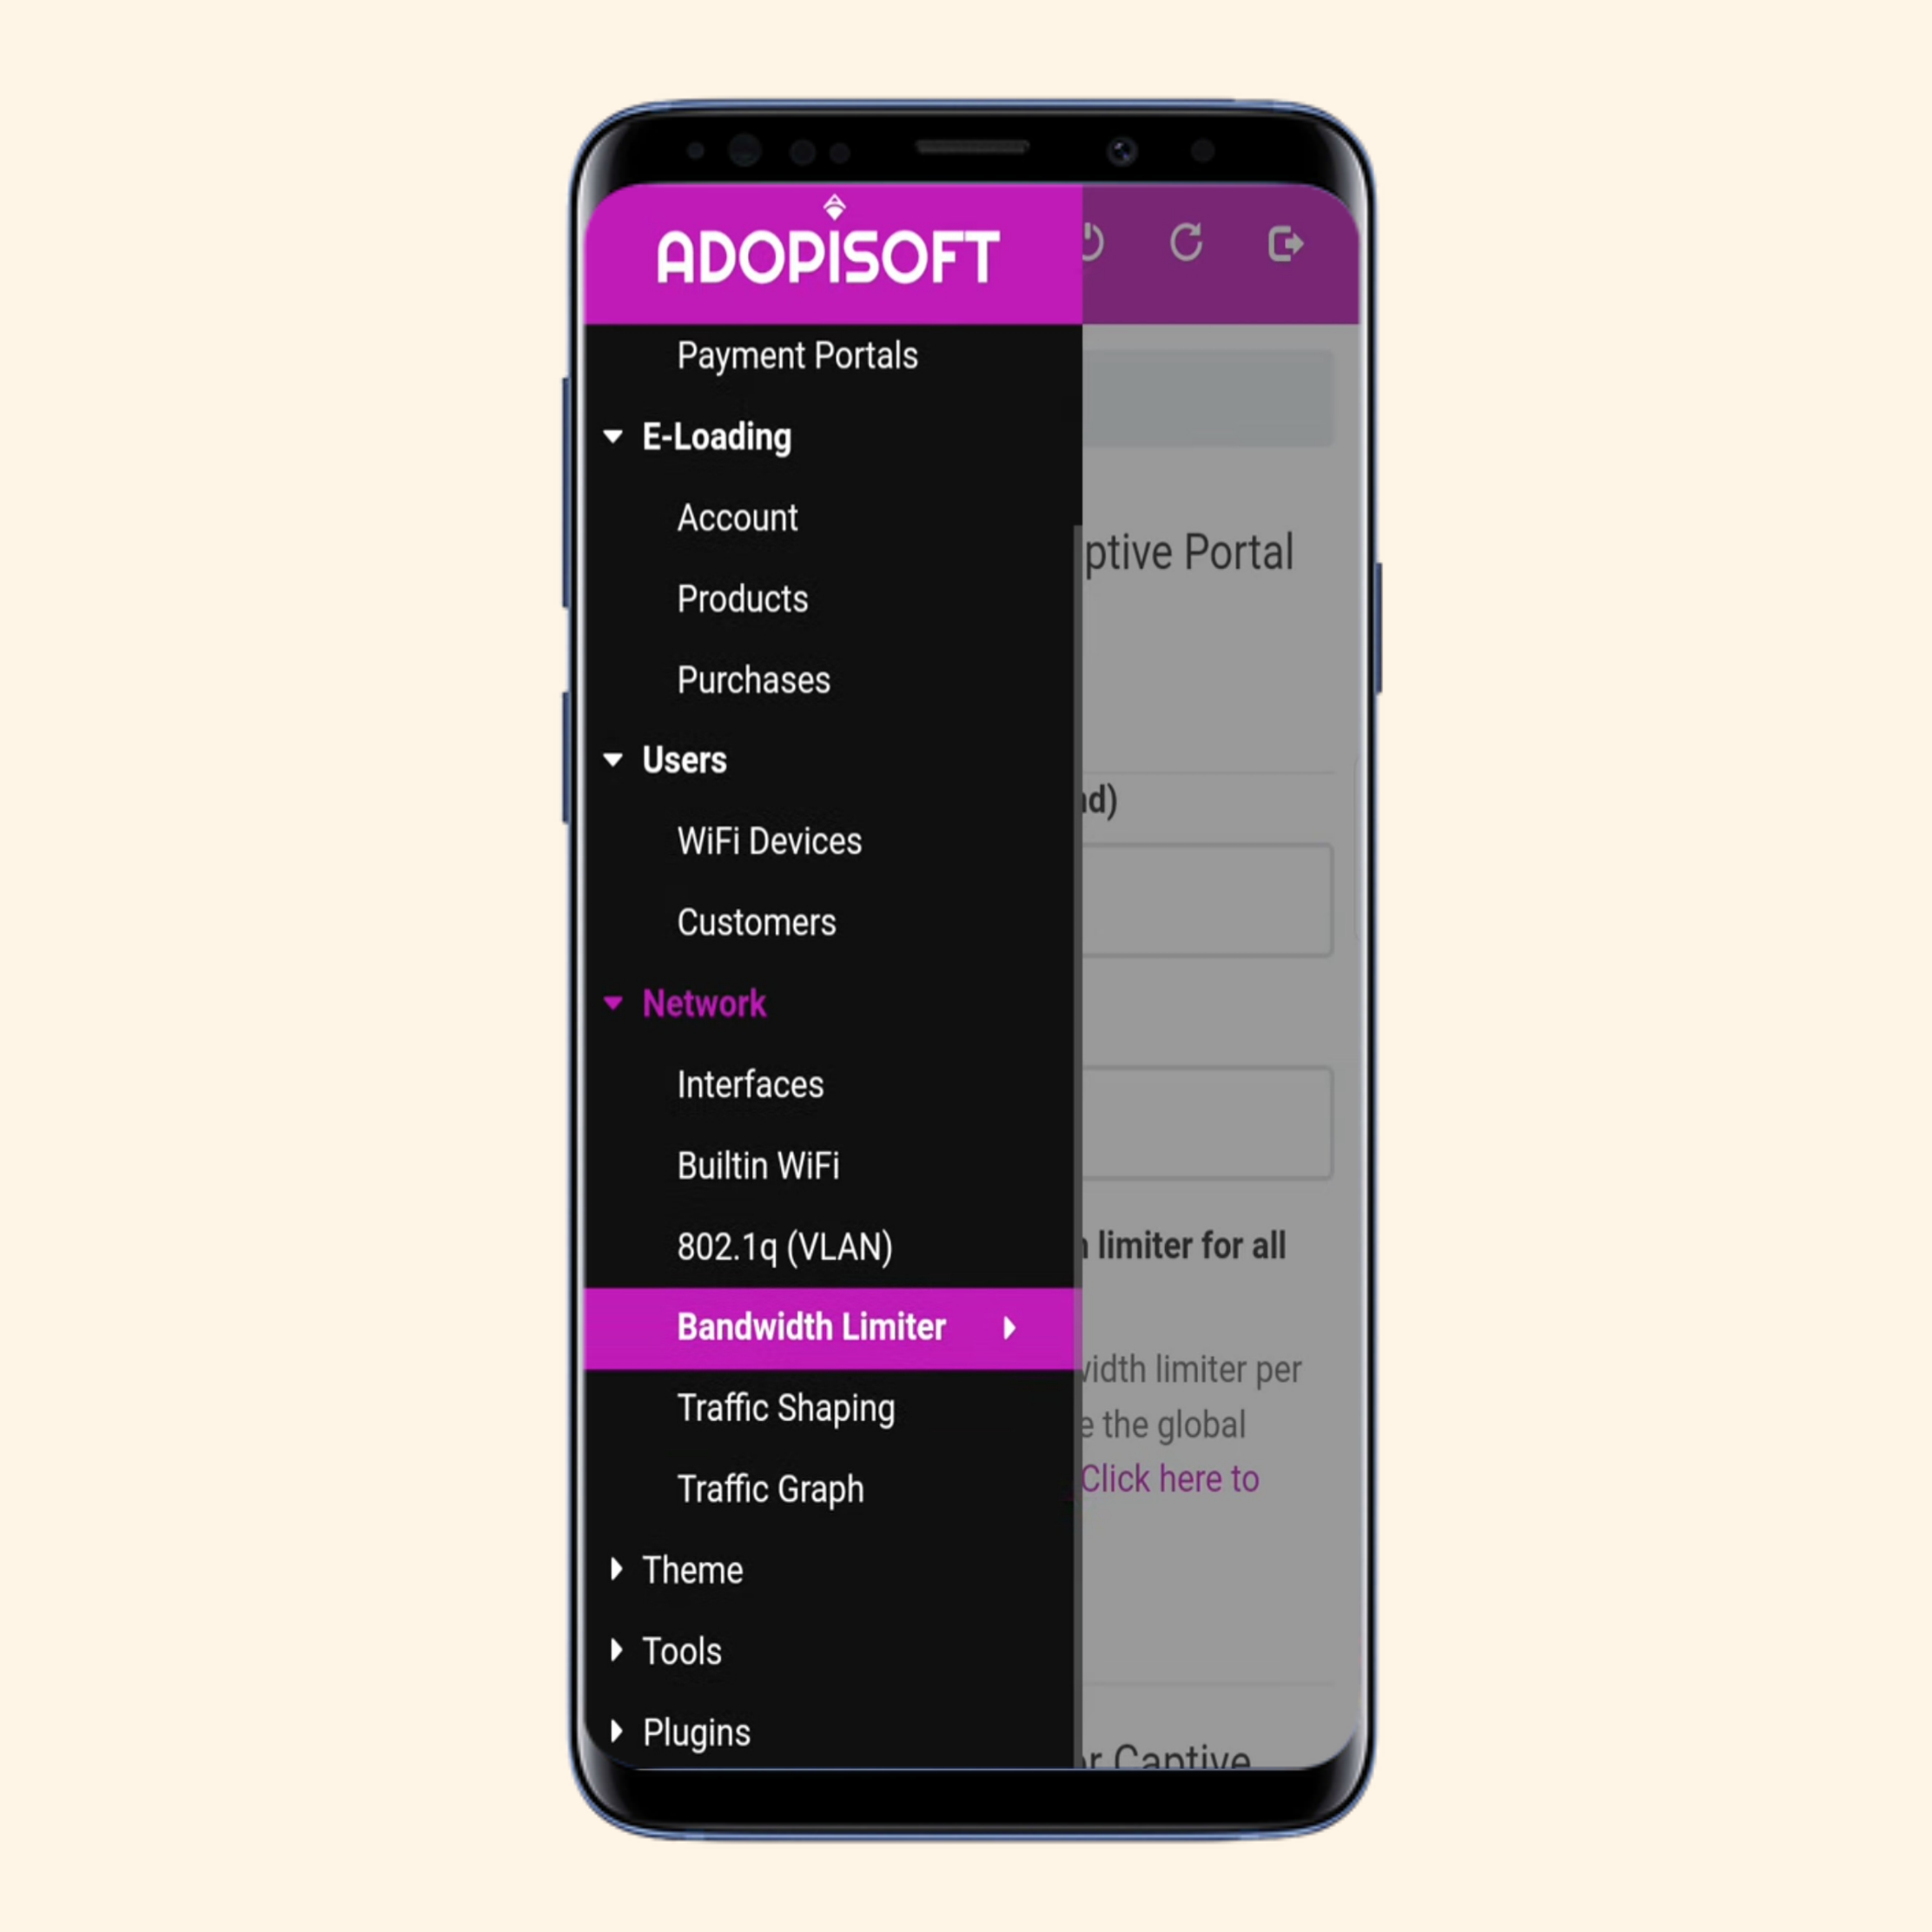
Tap ☰ (three-horizontal-lines or hamburger button) on the top left to see admin settings.
Tap Bandwidth Limiter.
Edit both Global Bandwidth Limit for Captive Portal (setting limits the total bandwidth (internet speed) that the entire Piso WiFi system can use) and Default Bandwidth Per Captive Portal User (setting limits the bandwidth for each individual user connected to the Piso WiFi network).
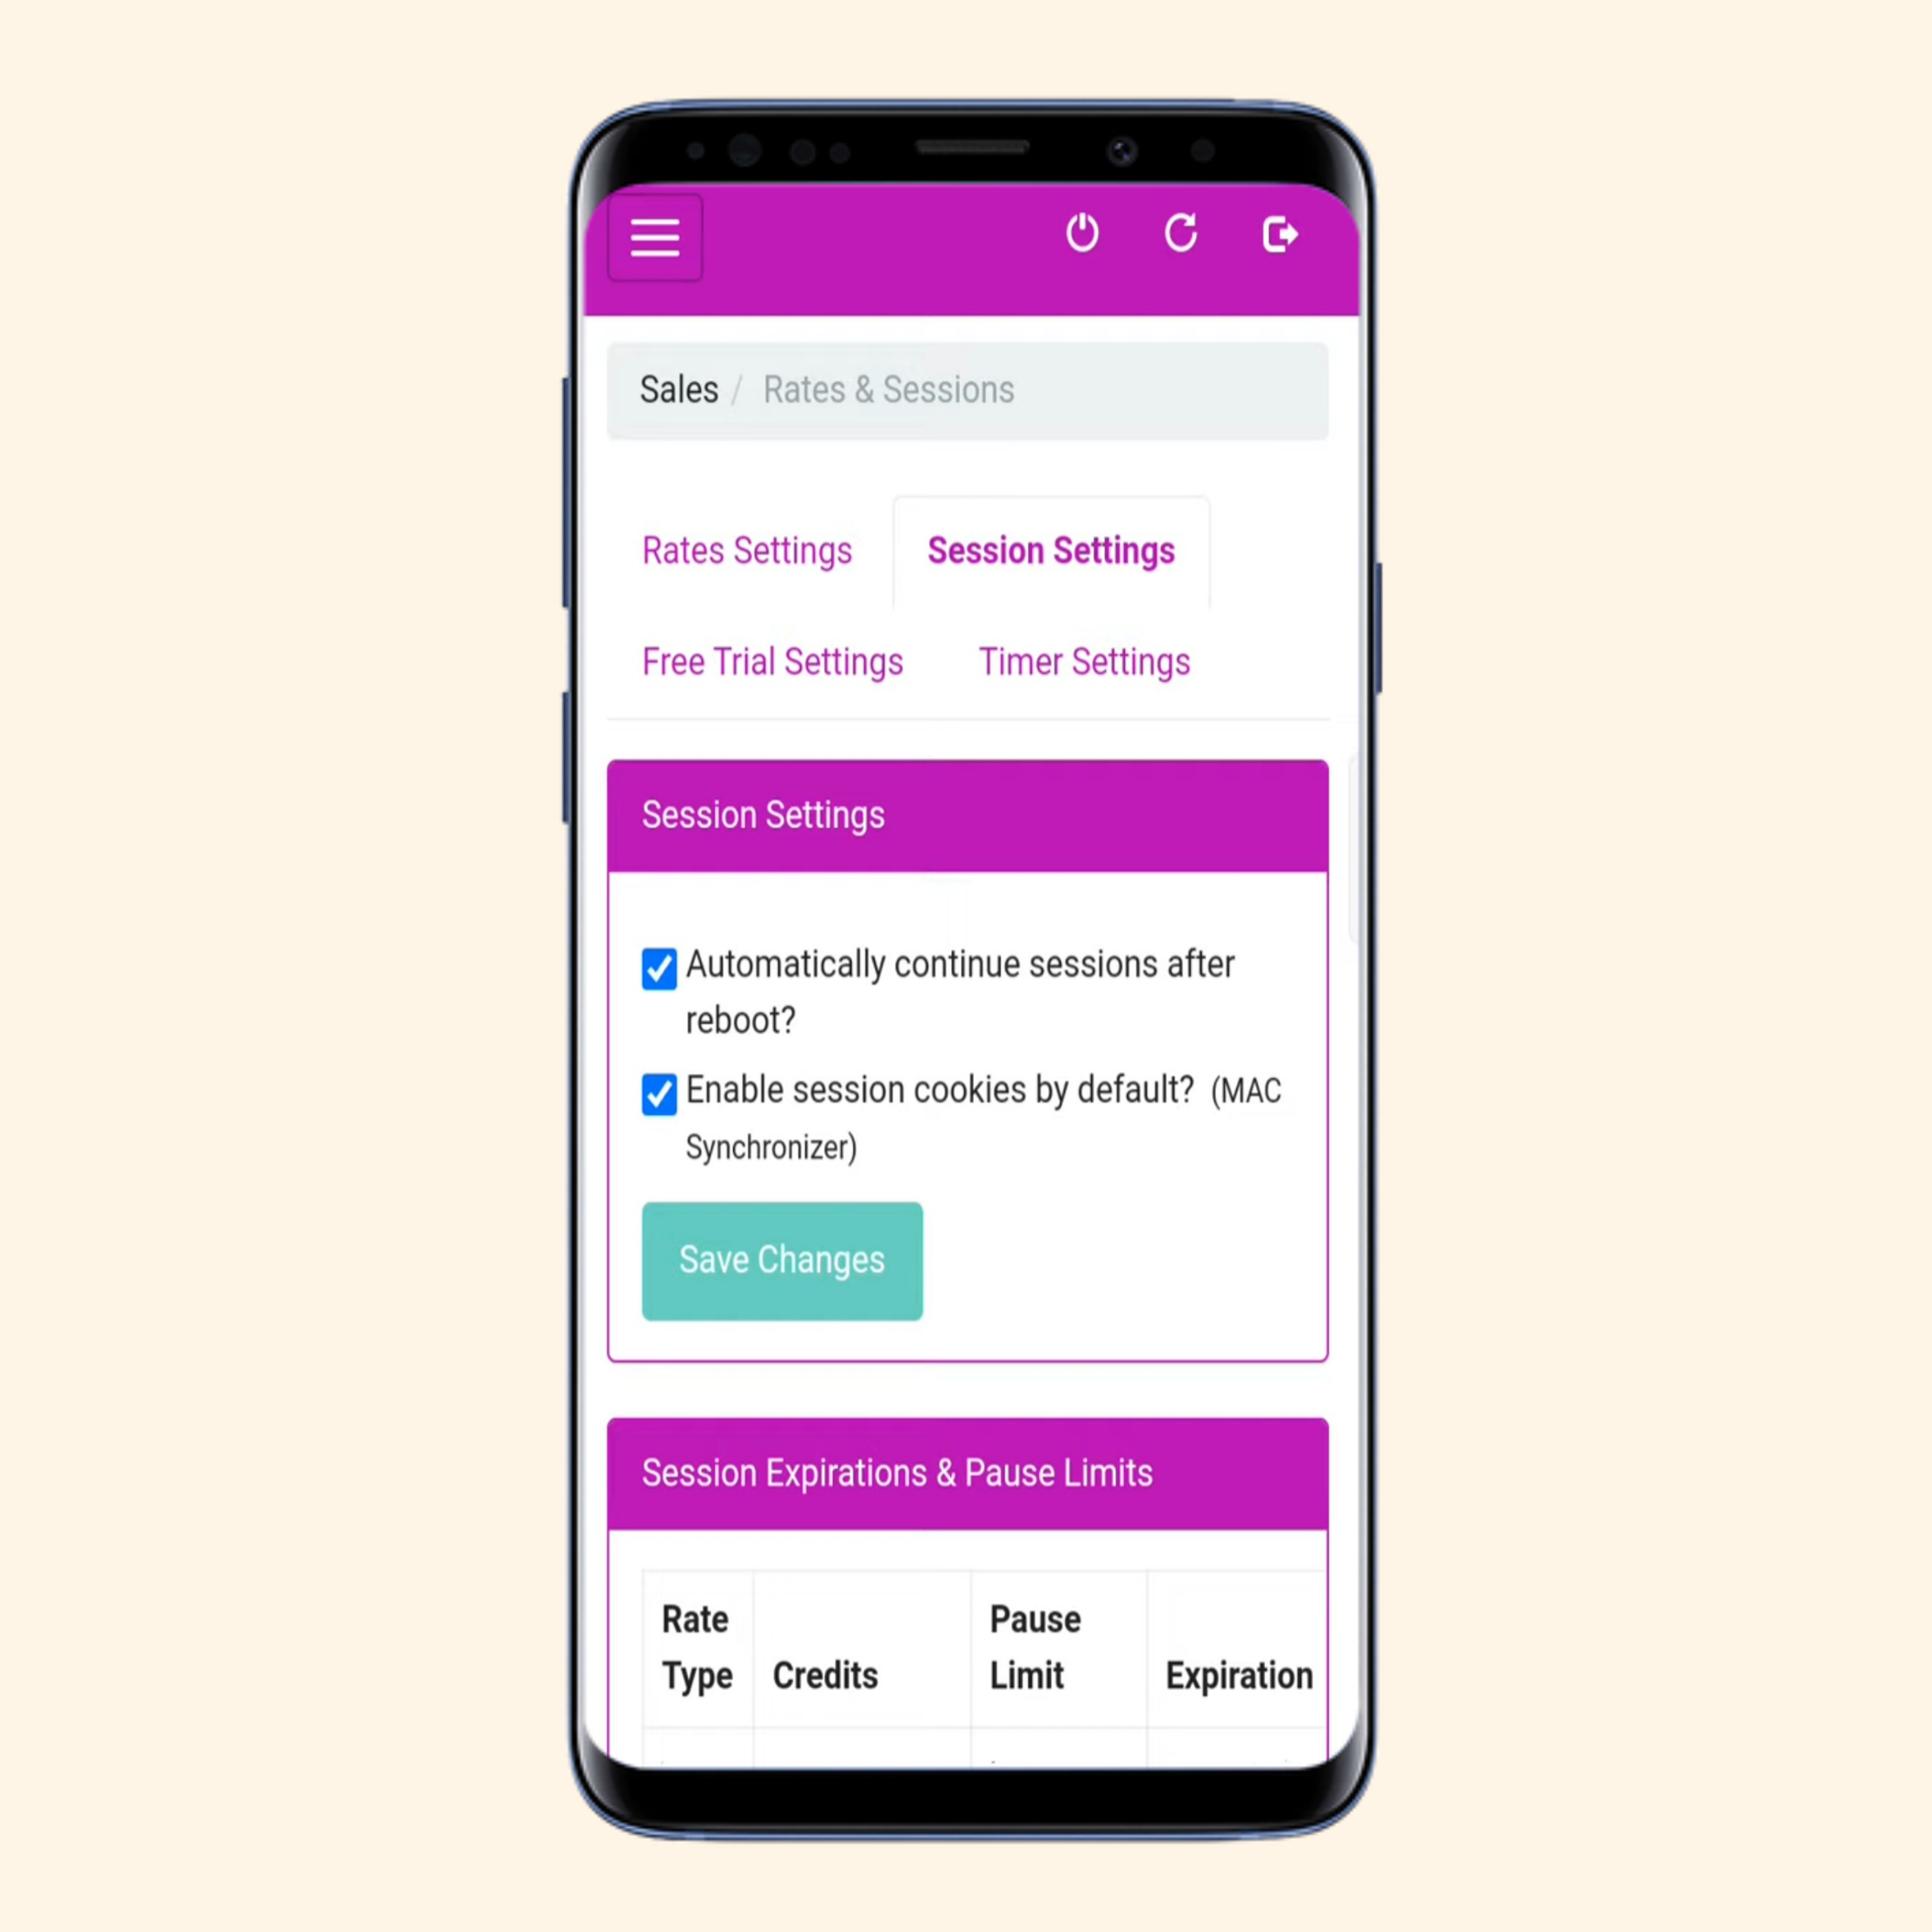
How to Set Pause Time Limit and Session Expiration on AdoPiSoft Piso WiFi
Open WiFi menu and connect to 'AdoPiSoft Piso Wifi'.
Open Google Chrome (or any browser: Mozilla Firefox, Opera, Safari, etc.) and write 10.0.0.1/admin to the address bar and go.
Enter Username (default: admin), Password (default: admin), and tap Login button to log into admin portal.
Tap ☰ (three-horizontal-lines or hamburger button) on the top left to see admin settings.
Select Rates & Sessions.
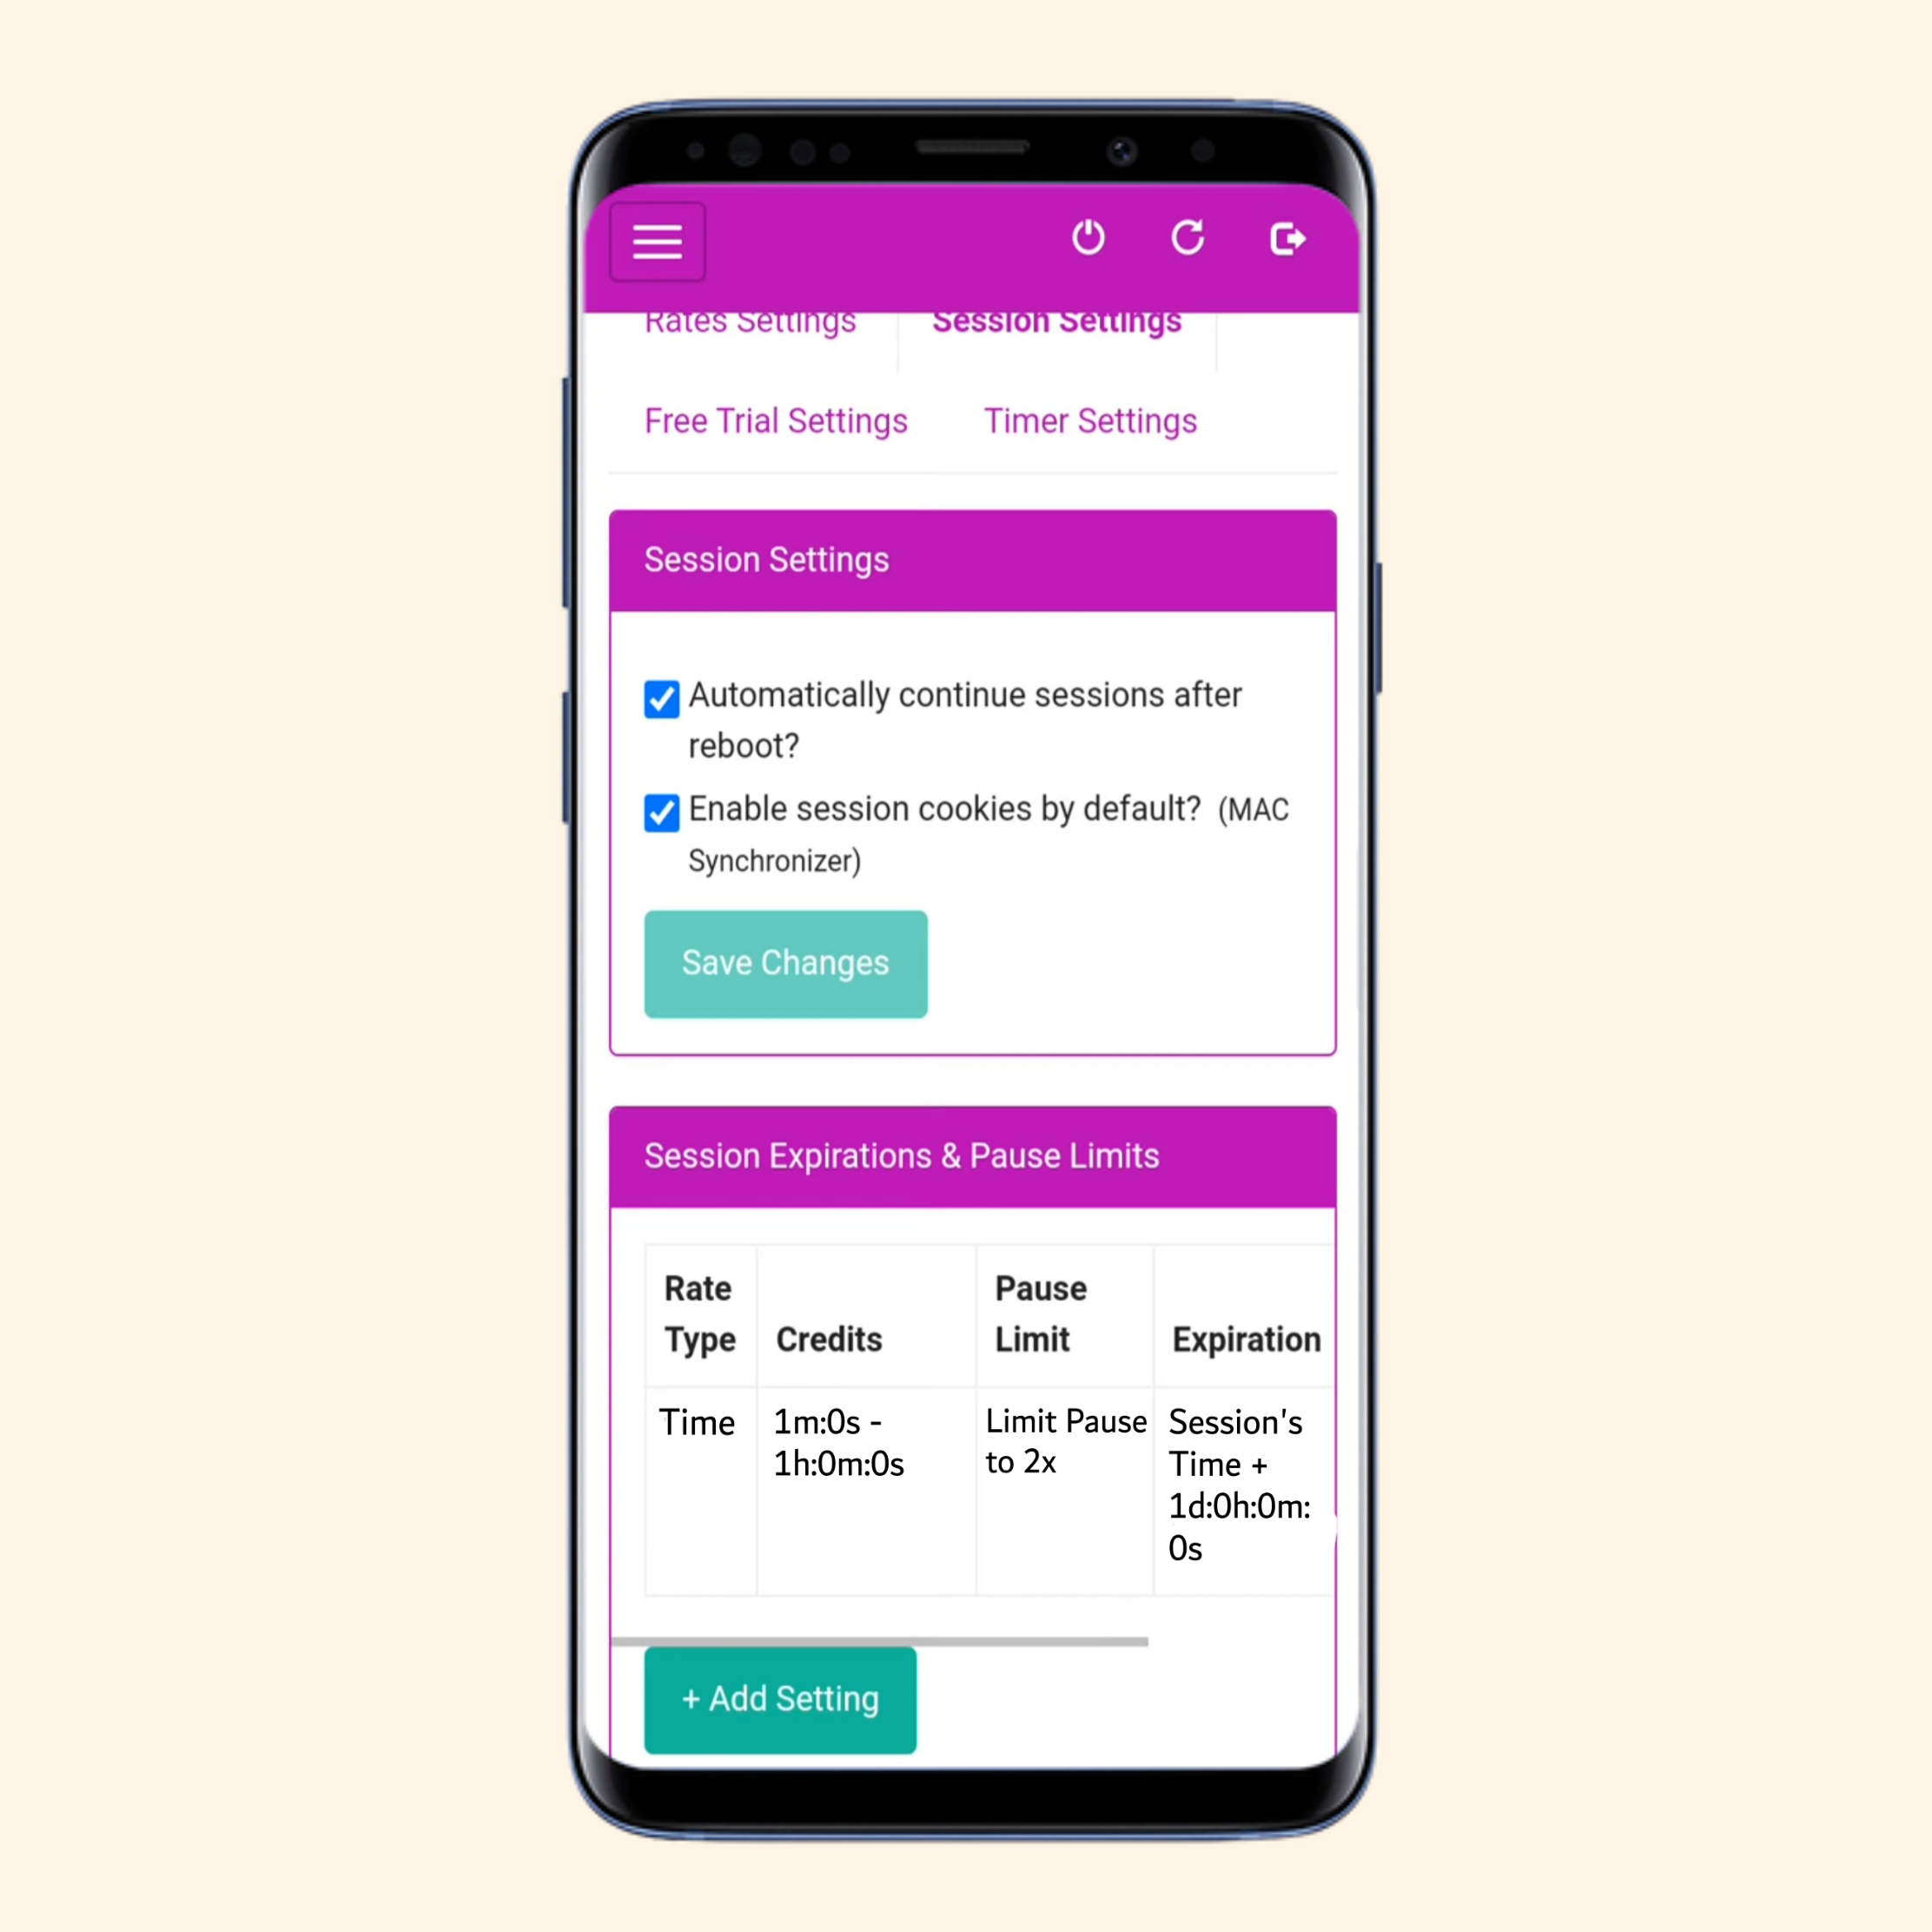
Tap Session Settings.
Tap + Add Setting to add pause limits and session expirations.
Credit: Specifies the time rate associated with the customer's payment, indicating the duration and features included within that range (e.g., 5m:0s for 1 peso granting up to 2 pauses, or 15d:0h:0m:0s for 300 pesos granting extended features like 10 pauses).
Pause Time Limit: Specifies the maximum number of pauses a customer can use to temporarily stop their session time.
Session Expiration: Specifies the time limit after which a customer's session automatically ends if unused or active time runs out.
How to See and Change Admin Username and Password on AdoPiSoft Piso WiFi
Open WiFi menu and connect to 'AdoPiSoft Piso Wifi'.
Open Google Chrome (or any browser: Mozilla Firefox, Opera, Safari, etc.) and write 10.0.0.1/admin to the address bar and go.
Enter Username (default: admin), Password (default: admin), and tap Login button to log into admin portal.
Tap ☰ (three-horizontal-lines or hamburger button) on the top left to see admin settings.
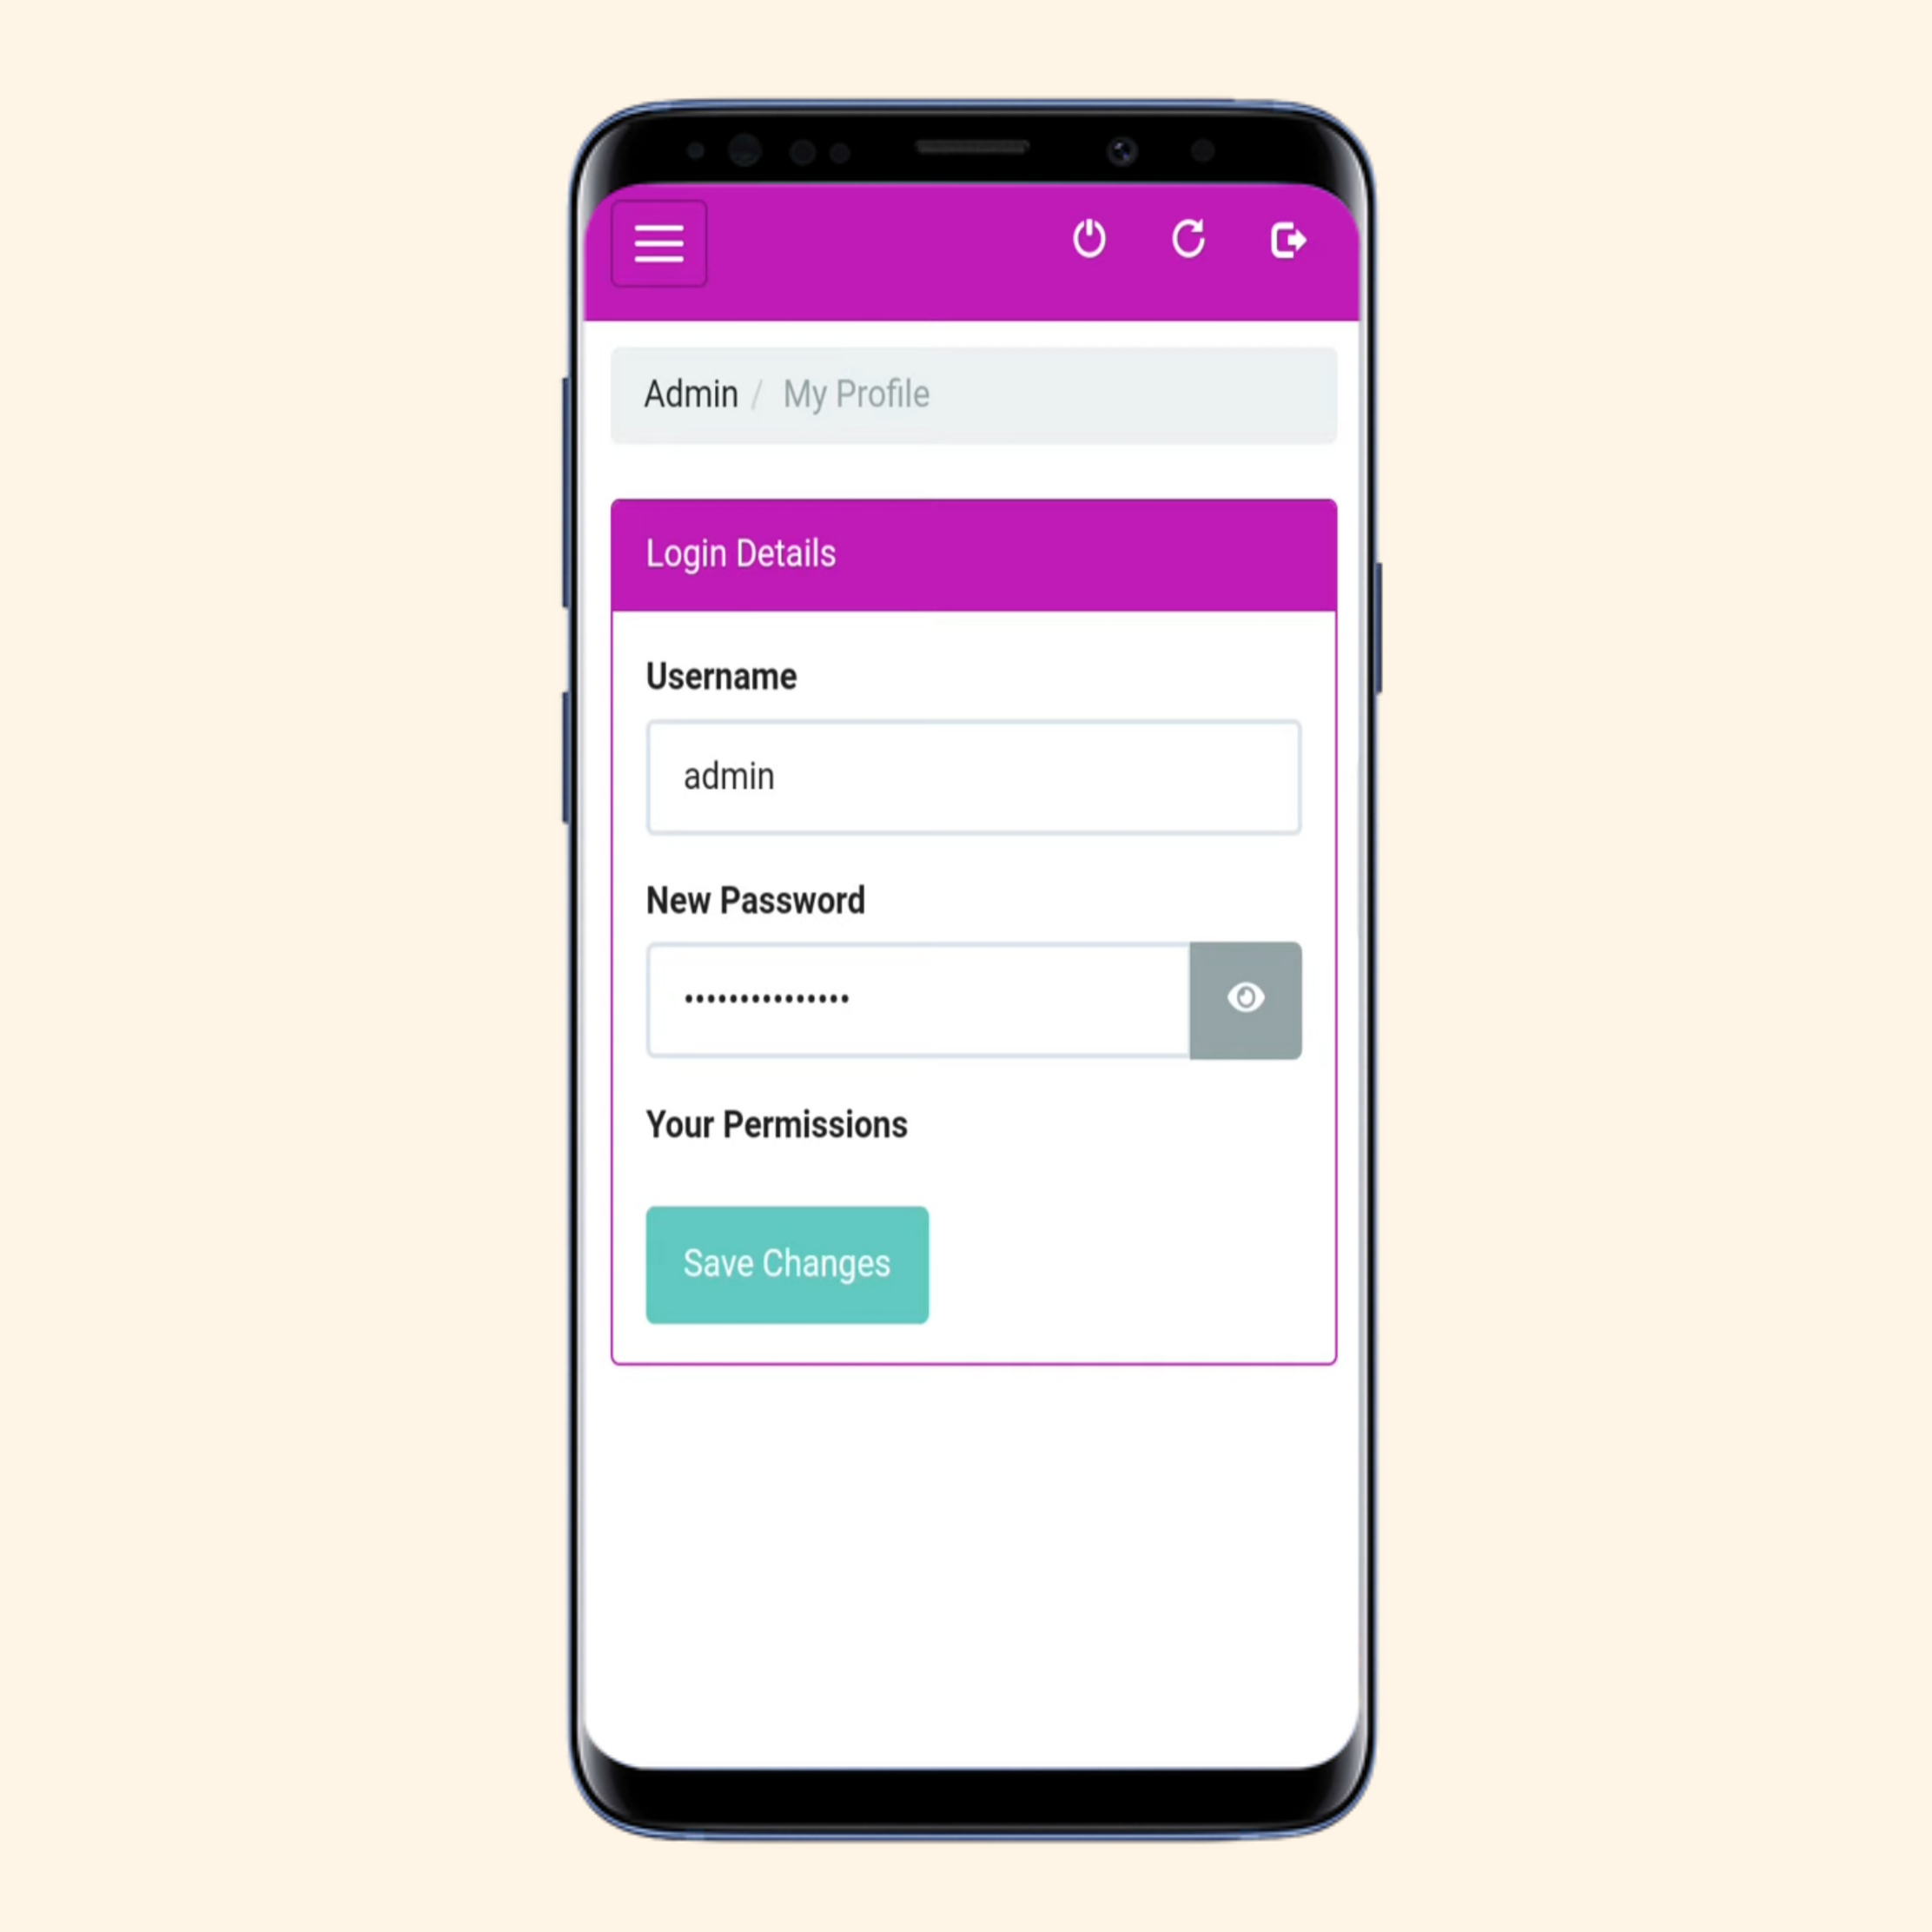
Tap My Profile.
To see current password, tap 👁 (eye symbol).
To change admin username and password, enter the new credentials and tap Save Changes button.
How to Create Sub Accounts on AdoPiSoft Piso WiFi
Open WiFi menu and connect to 'AdoPiSoft Piso Wifi'.
Open Google Chrome (or any browser: Mozilla Firefox, Opera, Safari, etc.) and write 10.0.0.1/admin to the address bar and go.
Enter Username (default: admin), Password (default: admin), and tap Login button to log into admin portal.
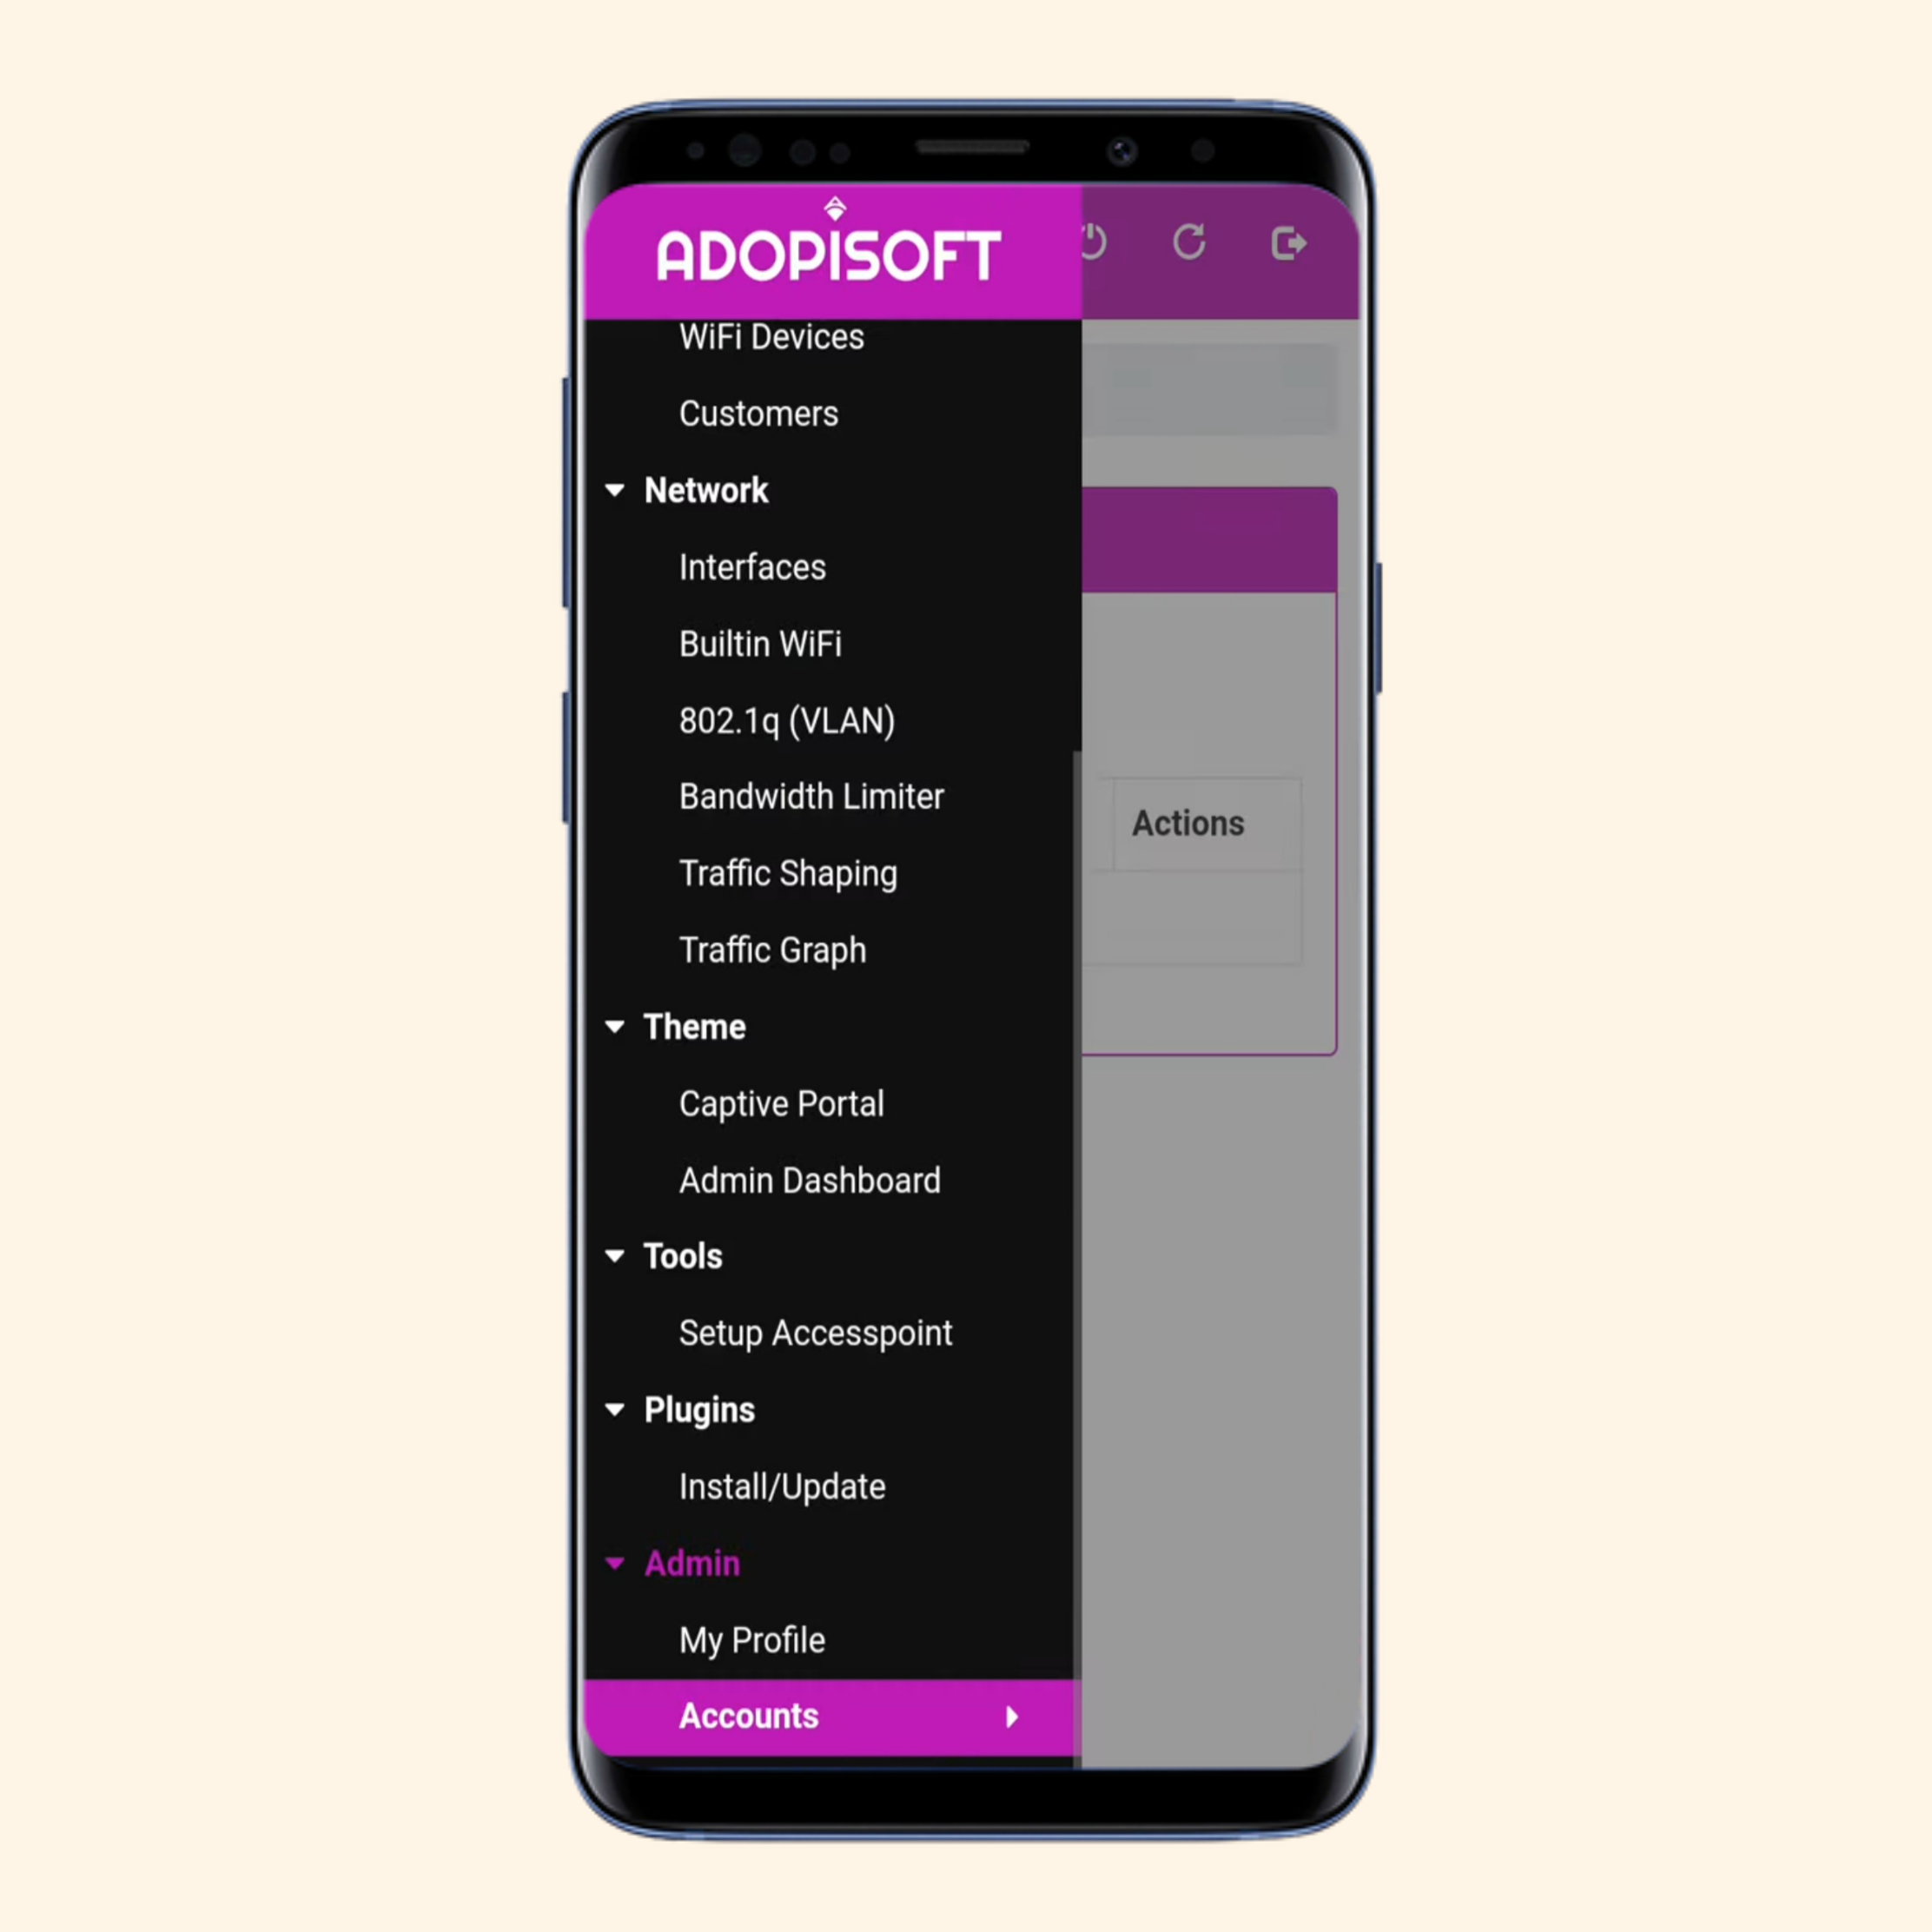
Tap ☰ (three-horizontal-lines or hamburger button) on the top left to see admin settings.
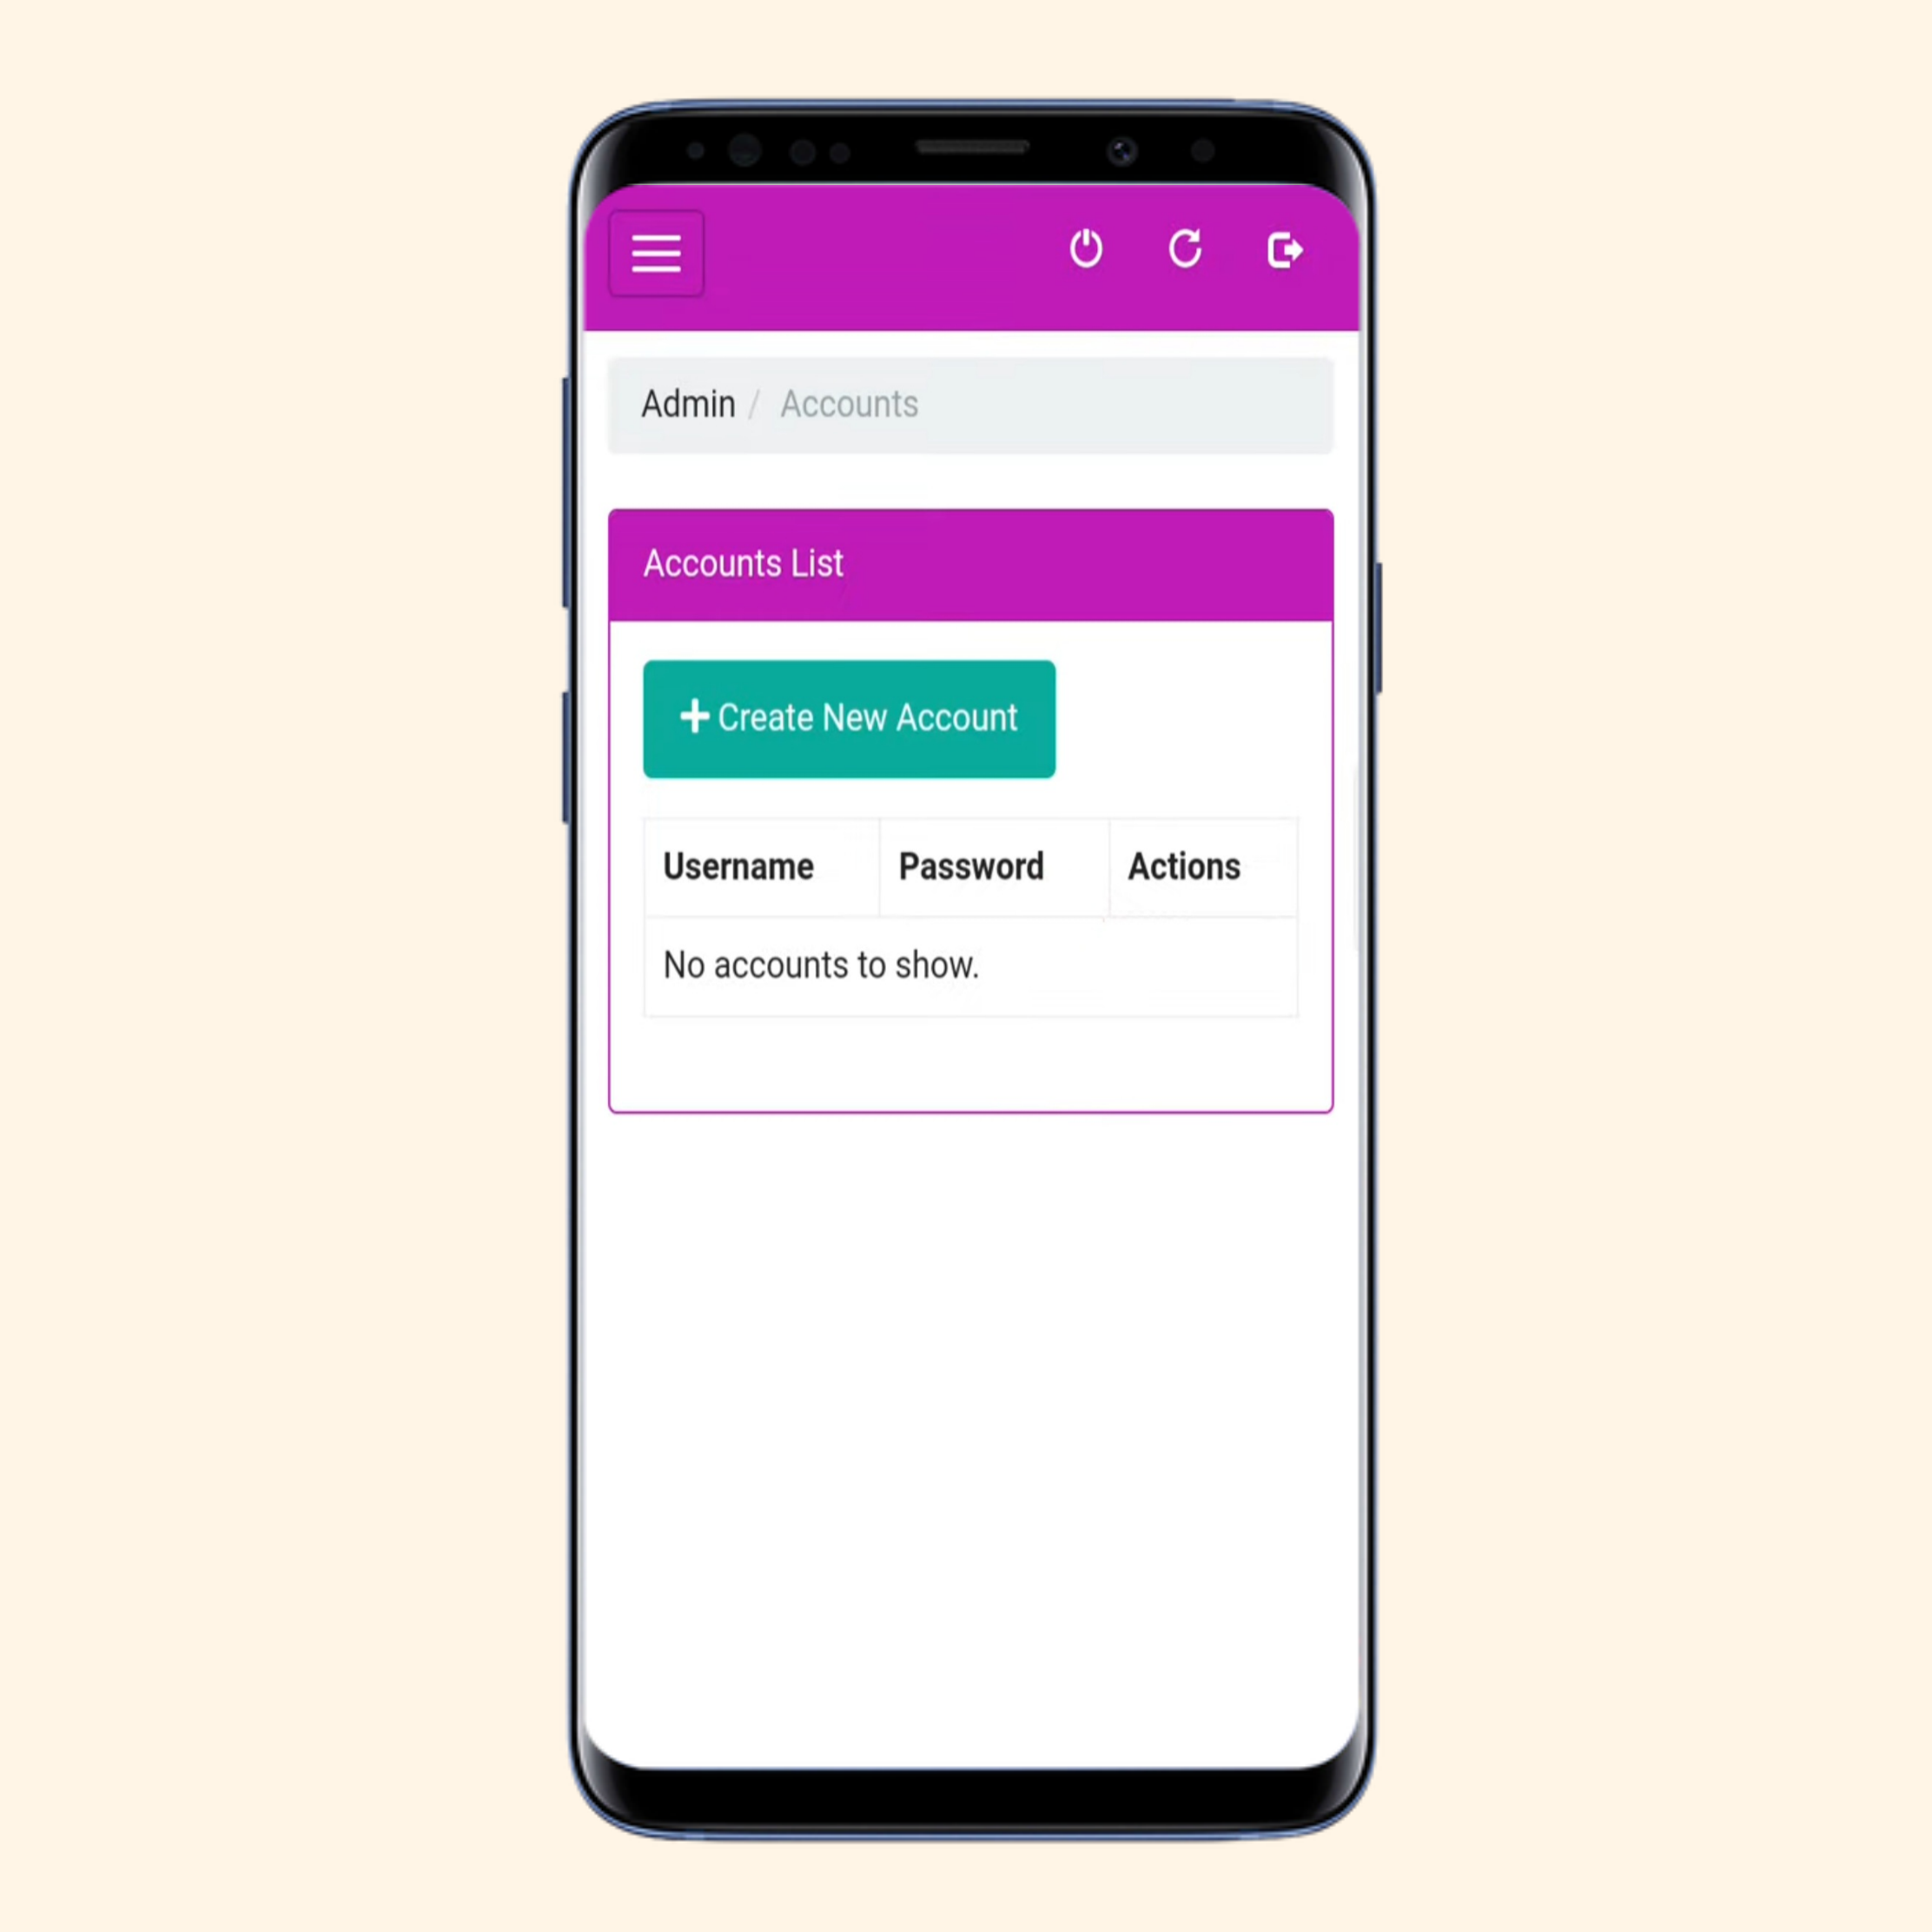
Tap Accounts.
Tap + Create New Account button to create the sub-account.